
If you use i-effect 2.7, please use one of the following instructions:
ZendServer 9 Installation with PHP 7.1
We recommend that you enable the SSL protocol for the ZendServer. You can find instructions here: Setting up SSL for ZendServer
Install ZendServer 2019
Download the latest version of ZendServer 2019 for IBM i at zend.com and follow the installation instructions.
CRTSAVF FILE(QGPL/ZENDPHP7)

CPYFRMSTMF FROMSTMF('/tmp/zendphp7.savf')
           TOMBR('/qsys.lib/qgpl.lib/zendphp7.file')
           MBROPT(*REPLACE)
In a German environment adapt the country-specific environment if necessary
2929:
CHGJOB LANGID(DEU)  CNTRYID(DE)  CCSID(273)

2924:
CHGJOB LANGID(ENU) CNTRYID(US)  CCSID(37)
RSTLICPGM LICPGM(7PHPZND) DEV(*SAVF) SAVF(QGPL/zendphp7)
Press the Enter key when the first display appears:
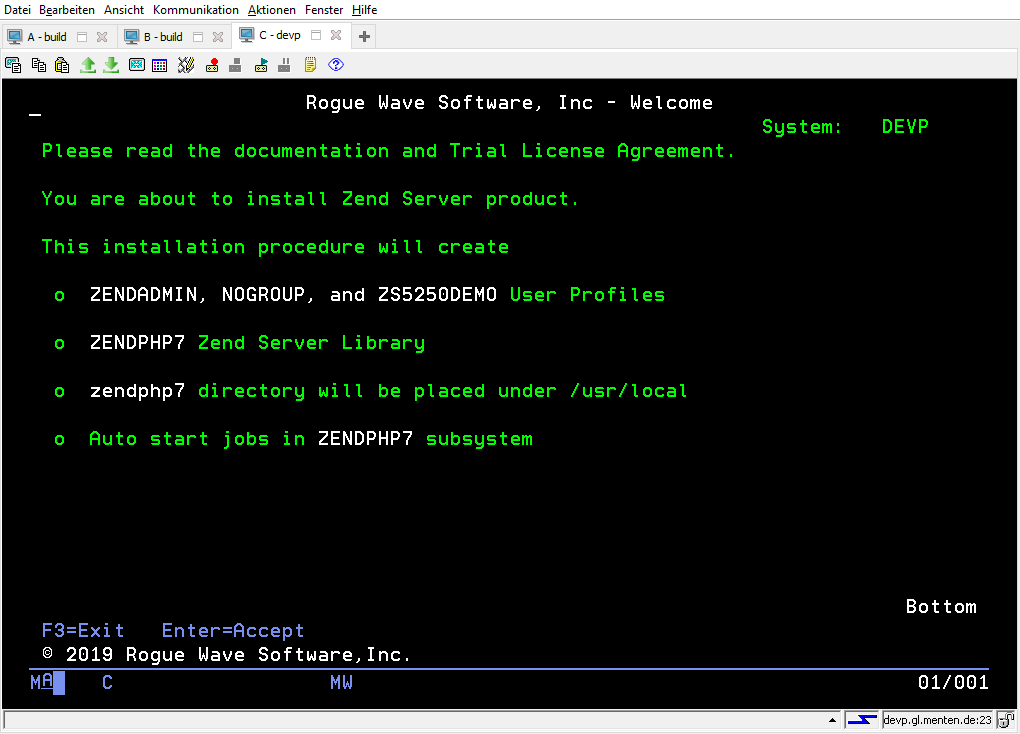
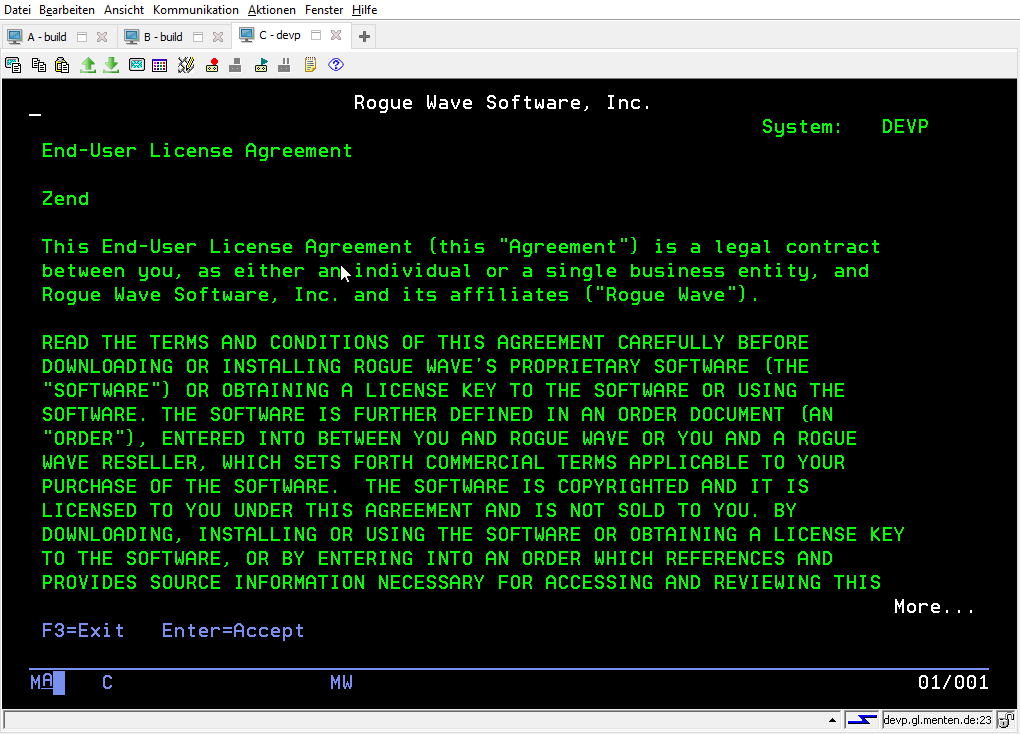
Press the Enter key again to accept the license terms:
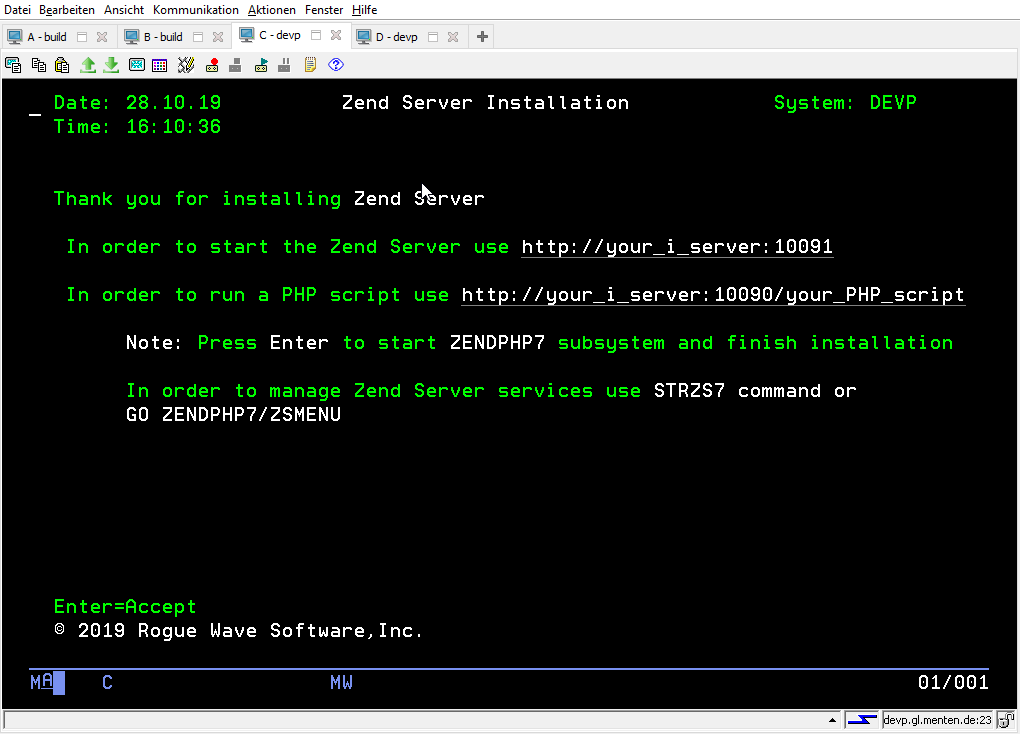
When the installation is complete, press the Enter key to start the new subsystem.
Am ZendServer anmelden
After the ZendServer has started, access the management interface
http://<SERVERNAME>:10081
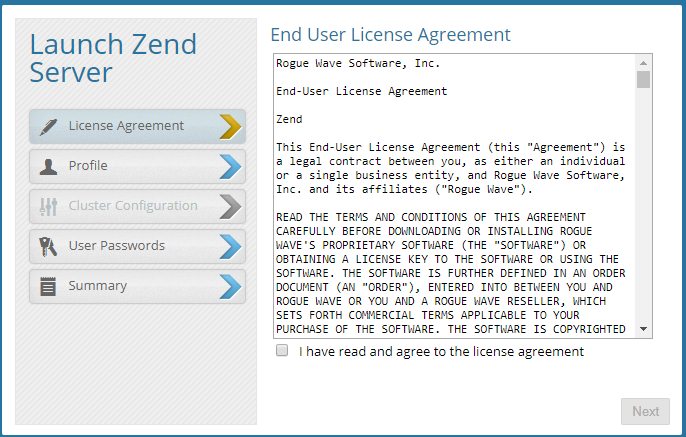
After the first registration the license must be accepted.
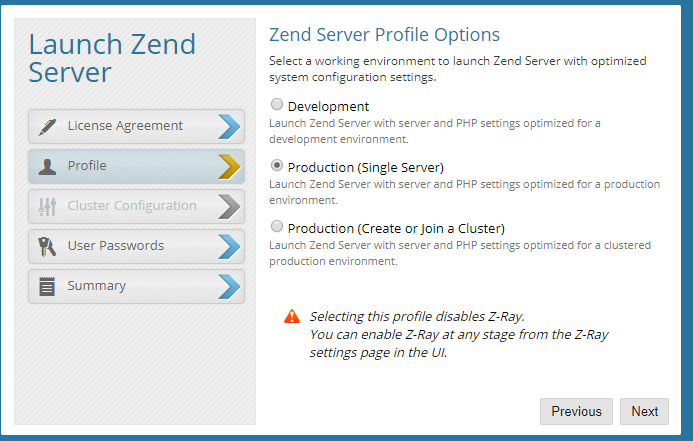
Select the Single Server and go to the next step with Next.
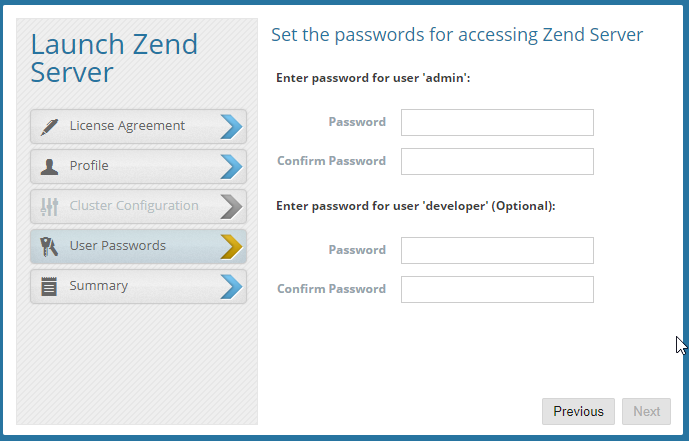
Set a password for the user "admin".
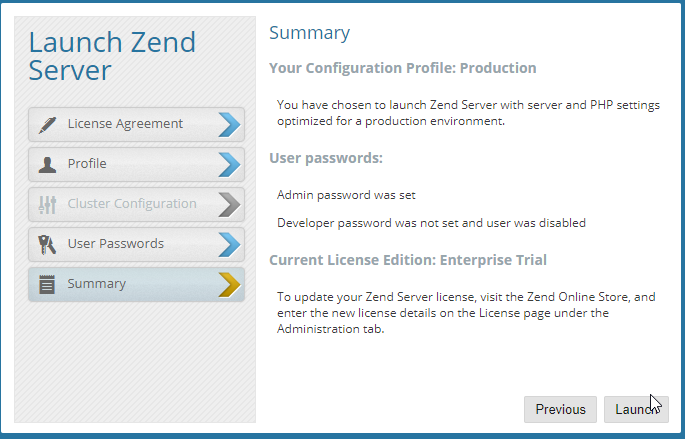
A click on "Launch" starts the ZendServer administration interface
Update libraries
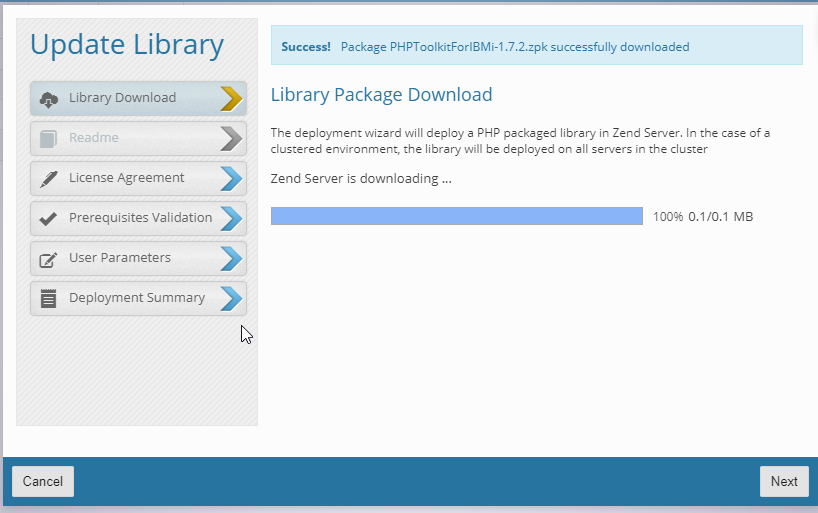
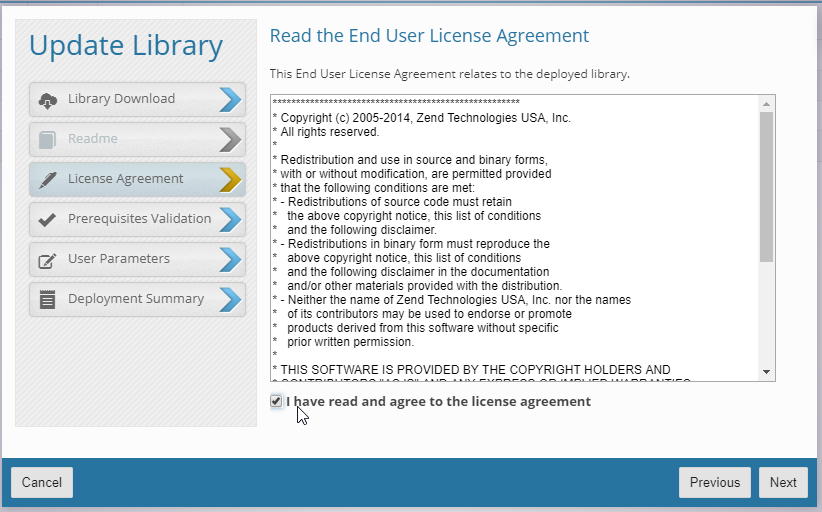
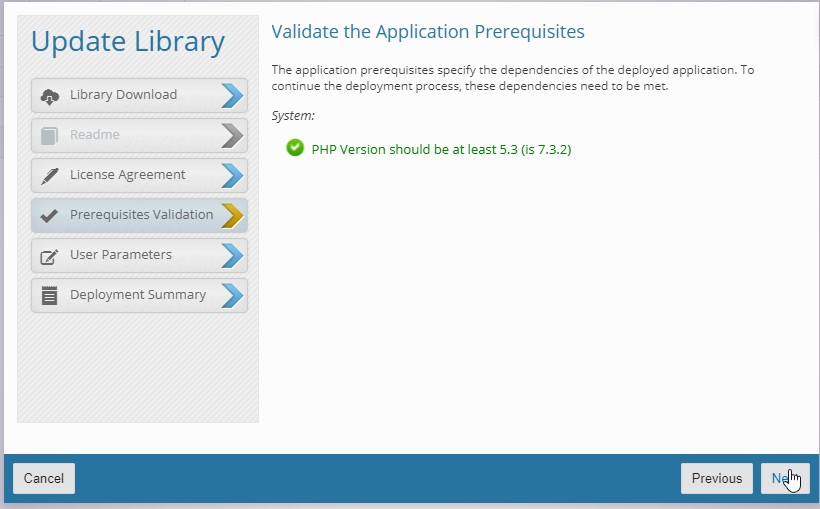
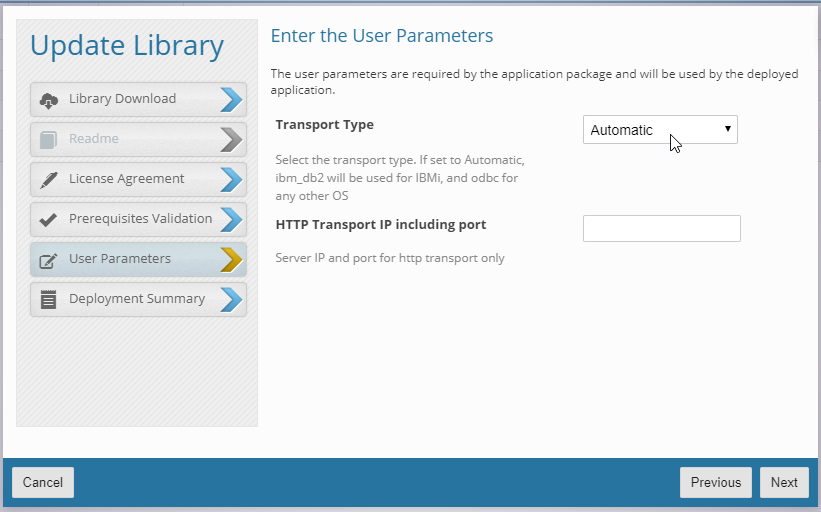
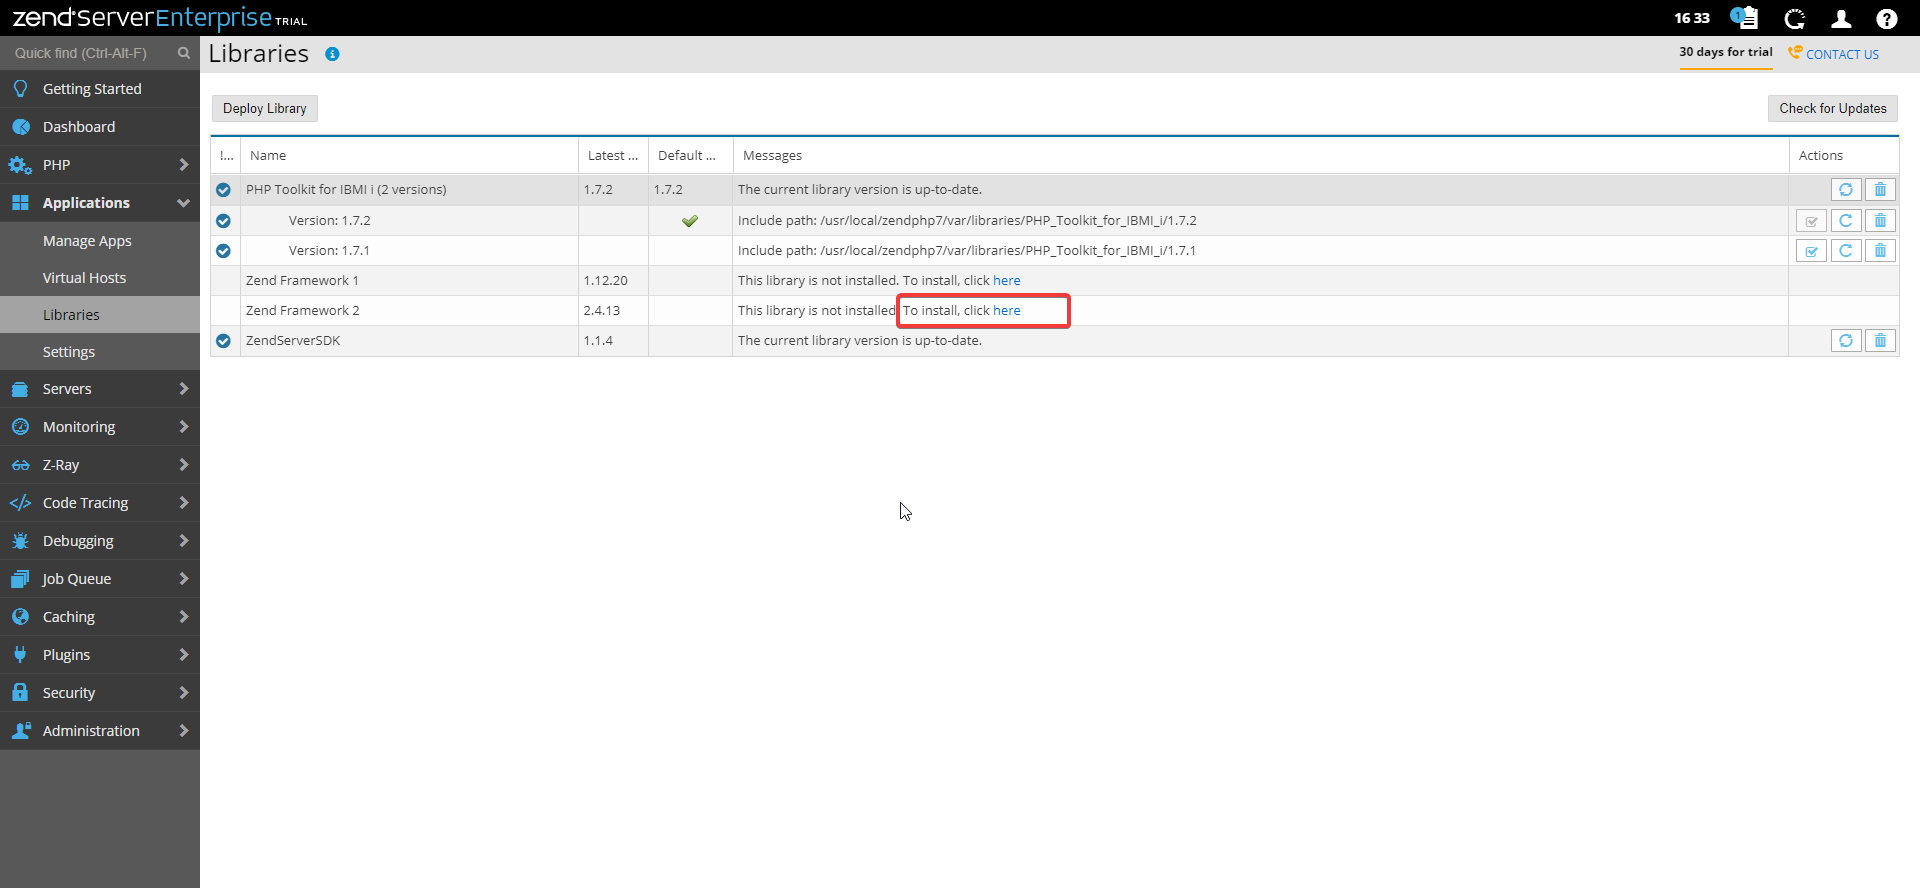
In the web interface of the Zend Server some libraries need to be updated and possibly Zend Framework 2 needs to be installed.
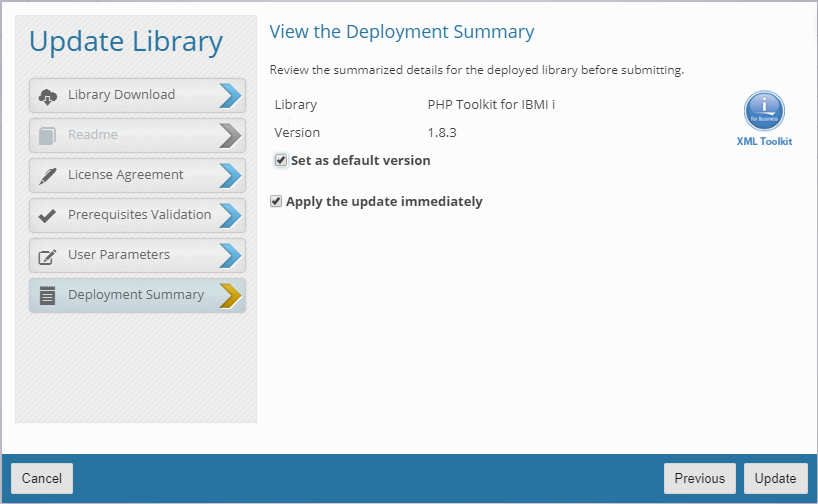
The XML Toolkit for IBM i should always be updated to the latest version displayed, the latest version must be set as default.
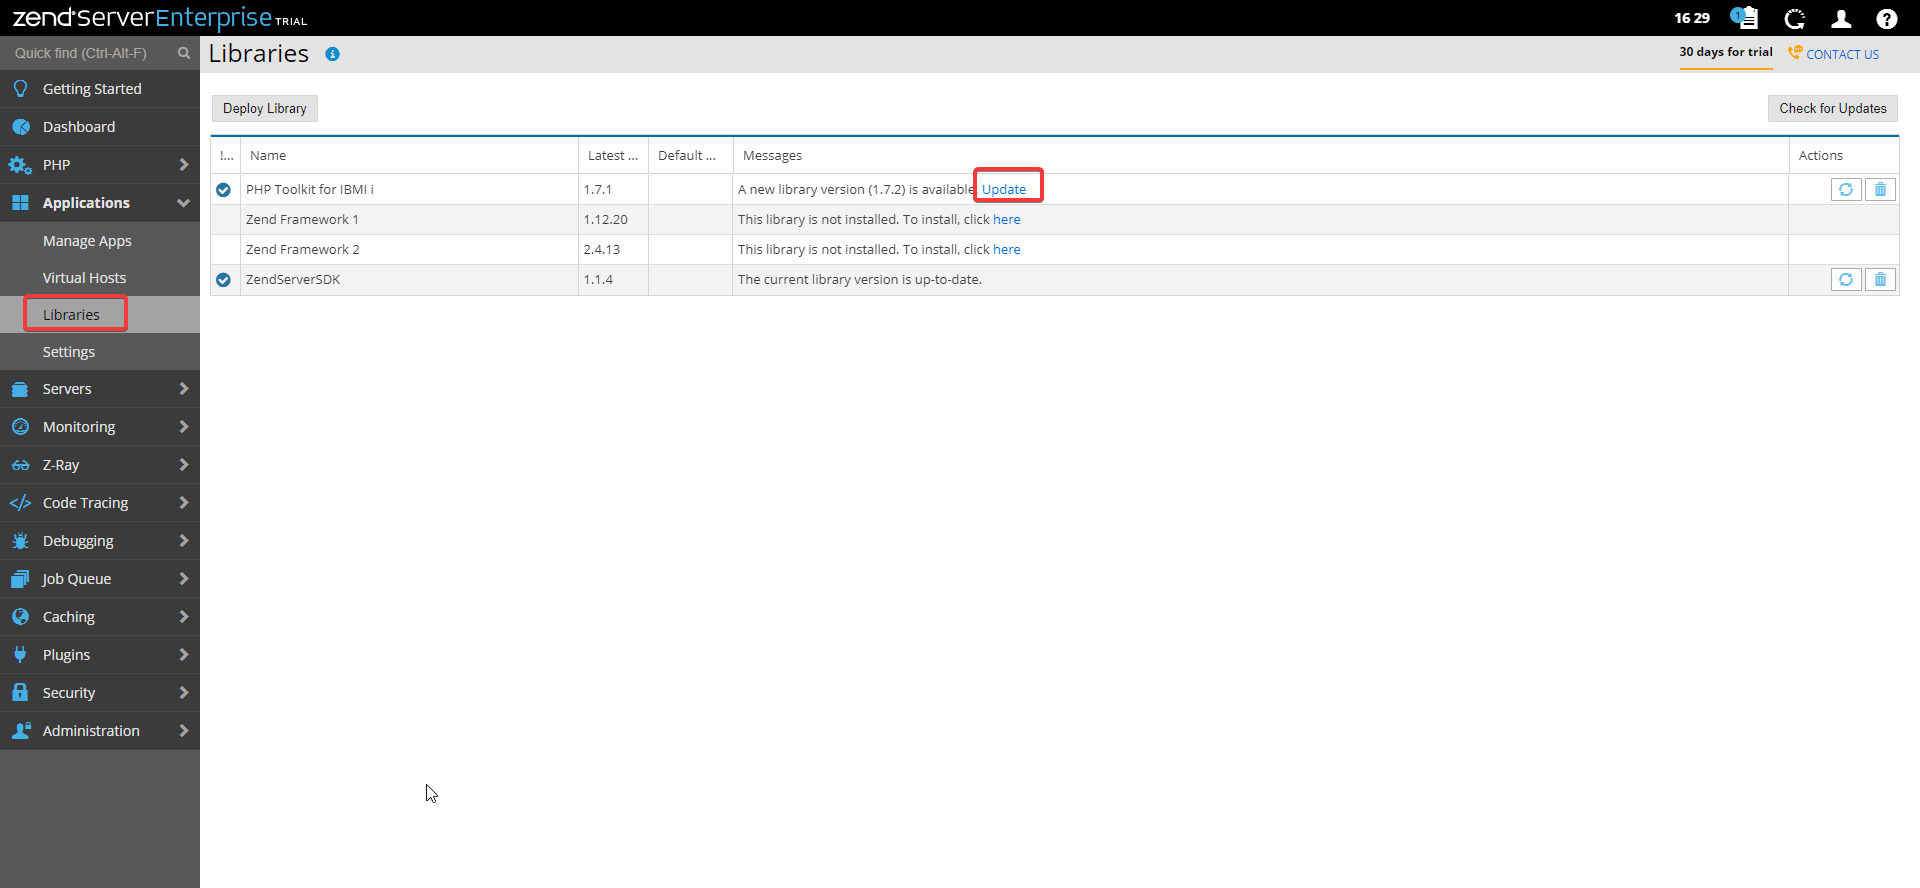
Update the PHP Toolkit with one click on this button
ZendServer Framework 2 must be installed
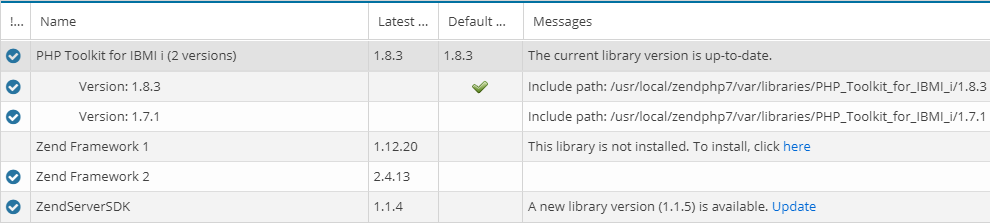
After the installation or update, the list of existing libraries should look as follows:
Select PHP version
In this menu item set the PHP version to be used to 7.2
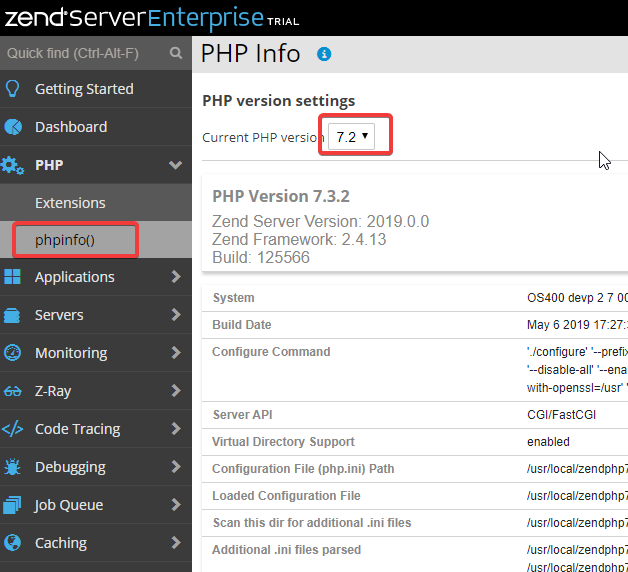
Alternatively the PHP version can be changed as follows.
STRZS7
Selection 80
Selection 8
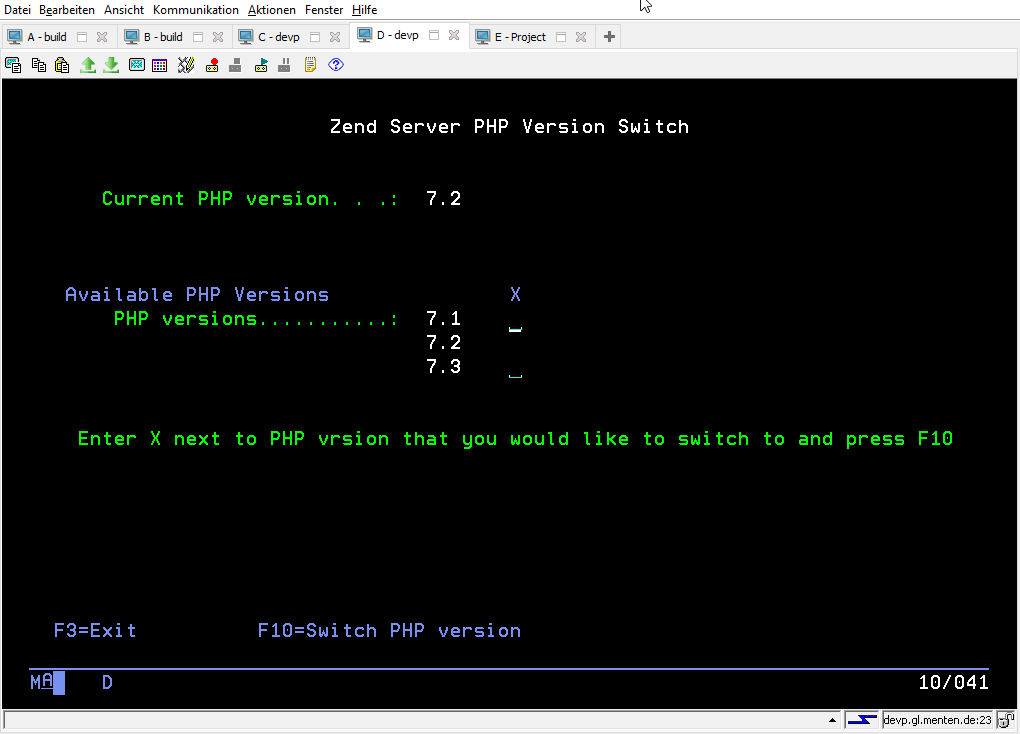
ZendServer Administration in GreenScreen
In the GreenScreen, access the ZendServer menu with the following command:
GO ZENDPHP7/ZSMENU
GO ZENDSVR6/ZSMENU
Install WebControl manually
The following steps are NOT necessary if WebControl is automatically installed together with i-effect.
The required WebControl version is available on request (support@menten.com)
Installing WebControl
For installation, the WebControl folder must be extracted from the ZIP file in "/www/zendphp7/htdocs/webcontrol".
Afterwards, files must be copied from the following subfolders of WebControl:
-
The Loader "ioncube_loader_os400_7.2_10.3.3.so" must be copied from the folder "/www/zendphp7/htdocs/webcontrol/V2R8M0/_ioncube_php_7.2" into the folder "/root/usr/local/zendphp7/php/7.2/lib/ext".
-
The file "ioncube.ini" must be copied from the folder "/www/zendphp7/htdocs/webcontrol/V2R8M0/_ioncube_php_7.2" into the folder "/usr/local/zendphp7/php/7.2/etc/conf.d".
CPY OBJ('/www/zendphp7/htdocs/webcontrol/V2R8M0/_ioncube_php_7.2/ioncube_loader_os400_7.2_10.3.3.so')
TODIR('/usr/local/zendphp7/php/7.2/lib/ext')
REPLACE(*YES)

CPY OBJ('/www/zendphp7/htdocs/webcontrol/V2R8M0/_ioncube_php_7.2/ioncube.ini')
TODIR('/usr/local/zendphp7/php/7.2/etc/conf.d')
REPLACE(*YES)
Customize permissions
The required permissions for the WebControl directory are set via a script:
qsh

/i-effect/v2r8m0/base/tools/scripts/setWebcontrolAccess.sh V2R8M0 /www/zendphp7/htdocs/webcontrol/v2r8m0
IBM i Toolkit Patch
Furthermore, the version of the XML Toolkit for IBM i shipped with ZendServer contains several bugs. Therefore files must be replaced here if you are using version 1.7.x.
Depending on the version you use, you have to copy into the folder ".../1.7.1/library" or ".../1.7.2/library".
-
The file "autoload.php" must be copied from the folder "/www/zendphp7/htdocs/webcontrol/V2R8M0/_xmltoolkit_patch" into the folder "/root/usr/local/zendphp7/var/libraries/PHP_Toolkit_for_IBMI_i/1.7.x/library".
-
The file "Toolkit.php" must be copied from the folder "/wwww/zendphp7/htdocs/webcontrol/V2R8M0/_xmltoolkit_patch" into the folder "/root/usr/local/zendphp7/var/libraries/PHP_Toolkit_for_IBMI_i/1.7.x/library
CPY OBJ('/www/zendphp7/htdocs/webcontrol/V2R8M0/_xmltoolkit_patch/autoload.php')
TODIR('/usr/local/zendphp7/var/libraries/PHP_Toolkit_for_IBMI_i/1.7.1/library')
REPLACE(*YES)

CPY OBJ('/www/zendphp7/htdocs/webcontrol/V2R8M0/_xmltoolkit_patch/Toolkit.php')
TODIR('/usr/local/zendphp7/var/libraries/PHP_Toolkit_for_IBMI_i/1.7.1/library')
REPLACE(*YES)
CPY OBJ('/www/zendphp7/htdocs/webcontrol/V2R8M0/_xmltoolkit_patch/autoload.php')
TODIR('/usr/local/zendphp7/var/libraries/PHP_Toolkit_for_IBMI_i/1.7.2/library')
REPLACE(*YES)

CPY OBJ('/www/zendphp7/htdocs/webcontrol/V2R8M0/_xmltoolkit_patch/Toolkit.php')
TODIR('/usr/local/zendphp7/var/libraries/PHP_Toolkit_for_IBMI_i/1.7.2/library')
REPLACE(*YES)
Now the ZendServer must be restarted: In the green screen call "go zendphp7/zsmenu" and quit the ZendServer with selection 11. Then restart with selection 1.