
This tutorial explains the simple setup of a SFTP communication with i-effect.
Step 1 - Creating a server profile
The first step is to create an SFTP server profile. To do this, please proceed as follows:
Open the Communication menu item and navigate to the Profiles page. Now click on the plus sign to create a new communication profile.
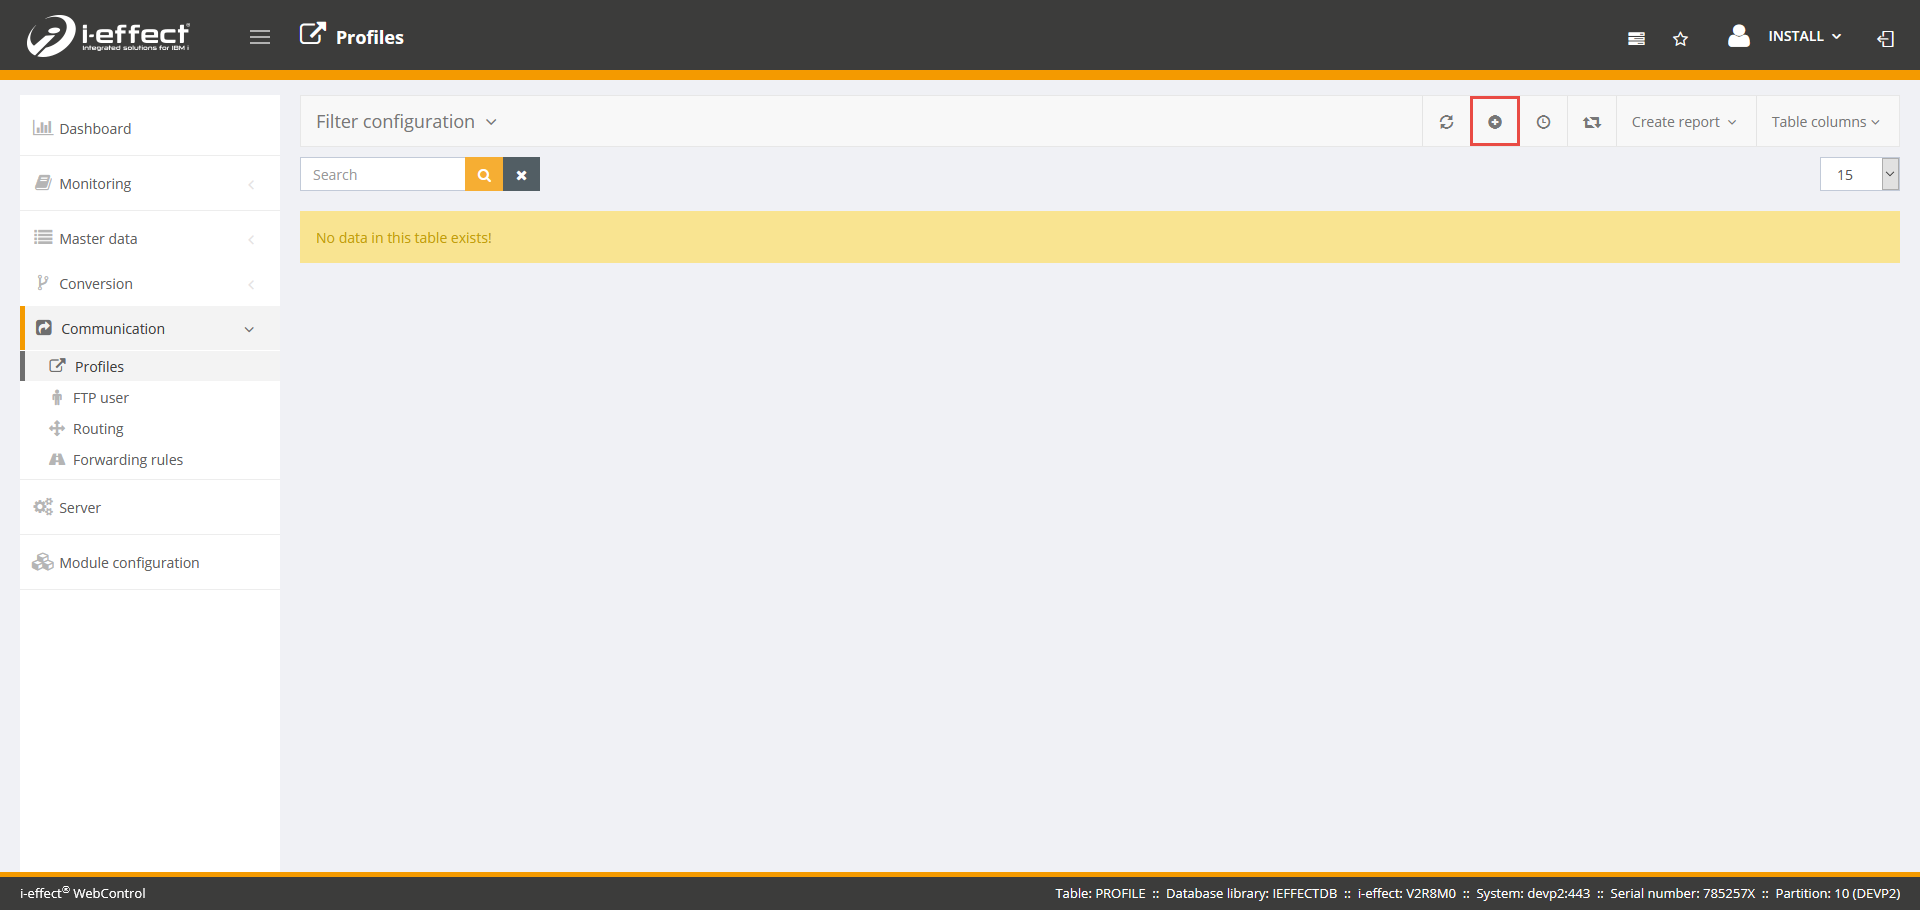
Fill in the masks with your data and then press Save. Make sure that you accept the following selection accordingly:
-
Module: *SFTPSRV
-
Direction: *BOTH
-
Key path: /home/ieffect/ftp/server/sftp.pem
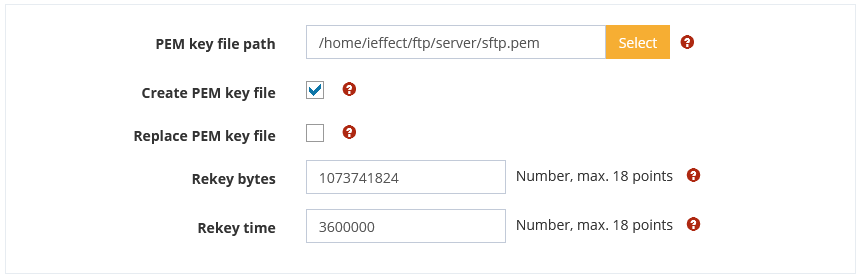
Use multiple hostkey
In the SFTP server, a folder can be specified as the key path instead of a single file. If the folder exists, all hostkeys in it are loaded. Exactly one key can be used for each algorithm.
If the option to create a key is activated in the settings, then a key is generated for ssh-rsa and ssh-dss. The option to replace unusable files has no use if a folder has been specified.
Supported keys:
ecdsa-sha2-nistp256, ecdsa-sha2-nistp384, ecdsa-sha2-nistp521, ssh-ed25519, rsa-sha2-512, rsa-sha2-256, ssh-rsa, ssh-dss
Now you have to assign an FTP user to the communication profile. To do this, right-click on the previously created communication profile and select Manage FTP Users.
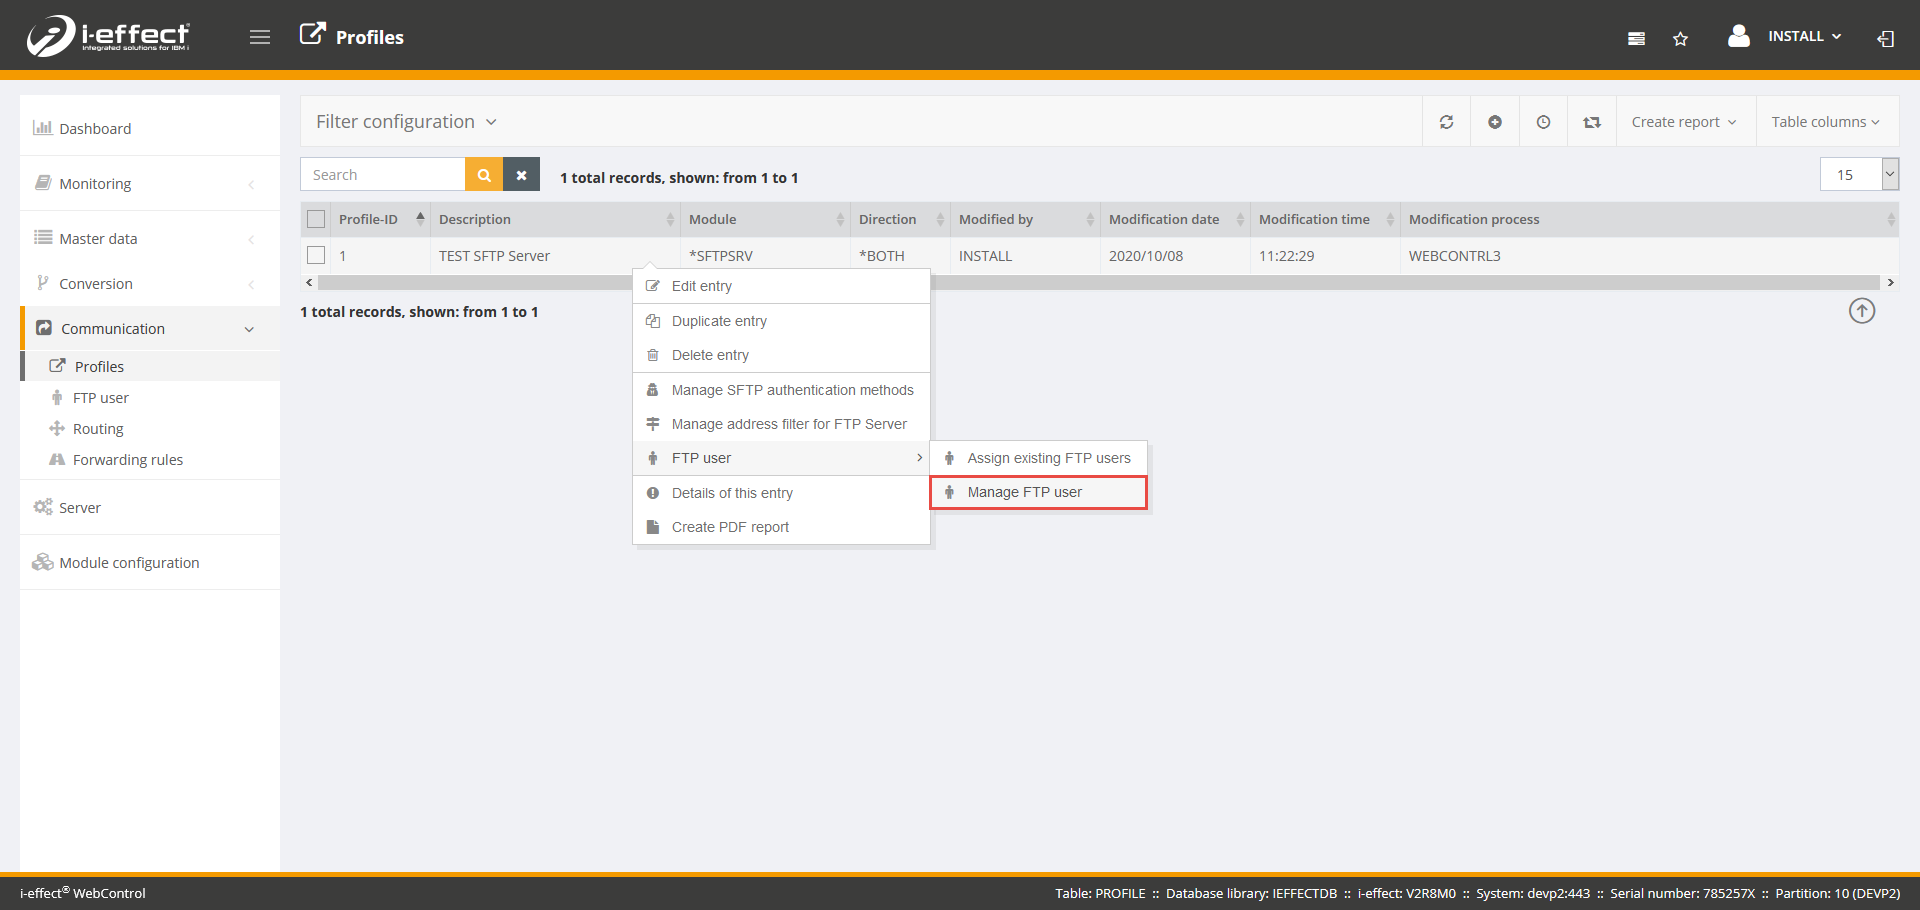
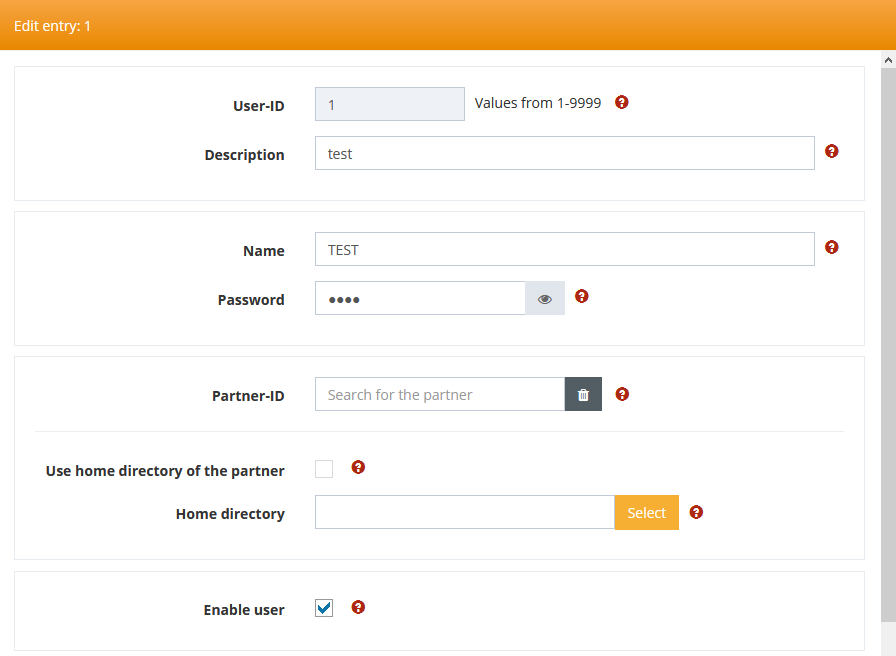
A new browser window opens with a processing view of the job. Create a new FTP user by clicking on the plus sign.
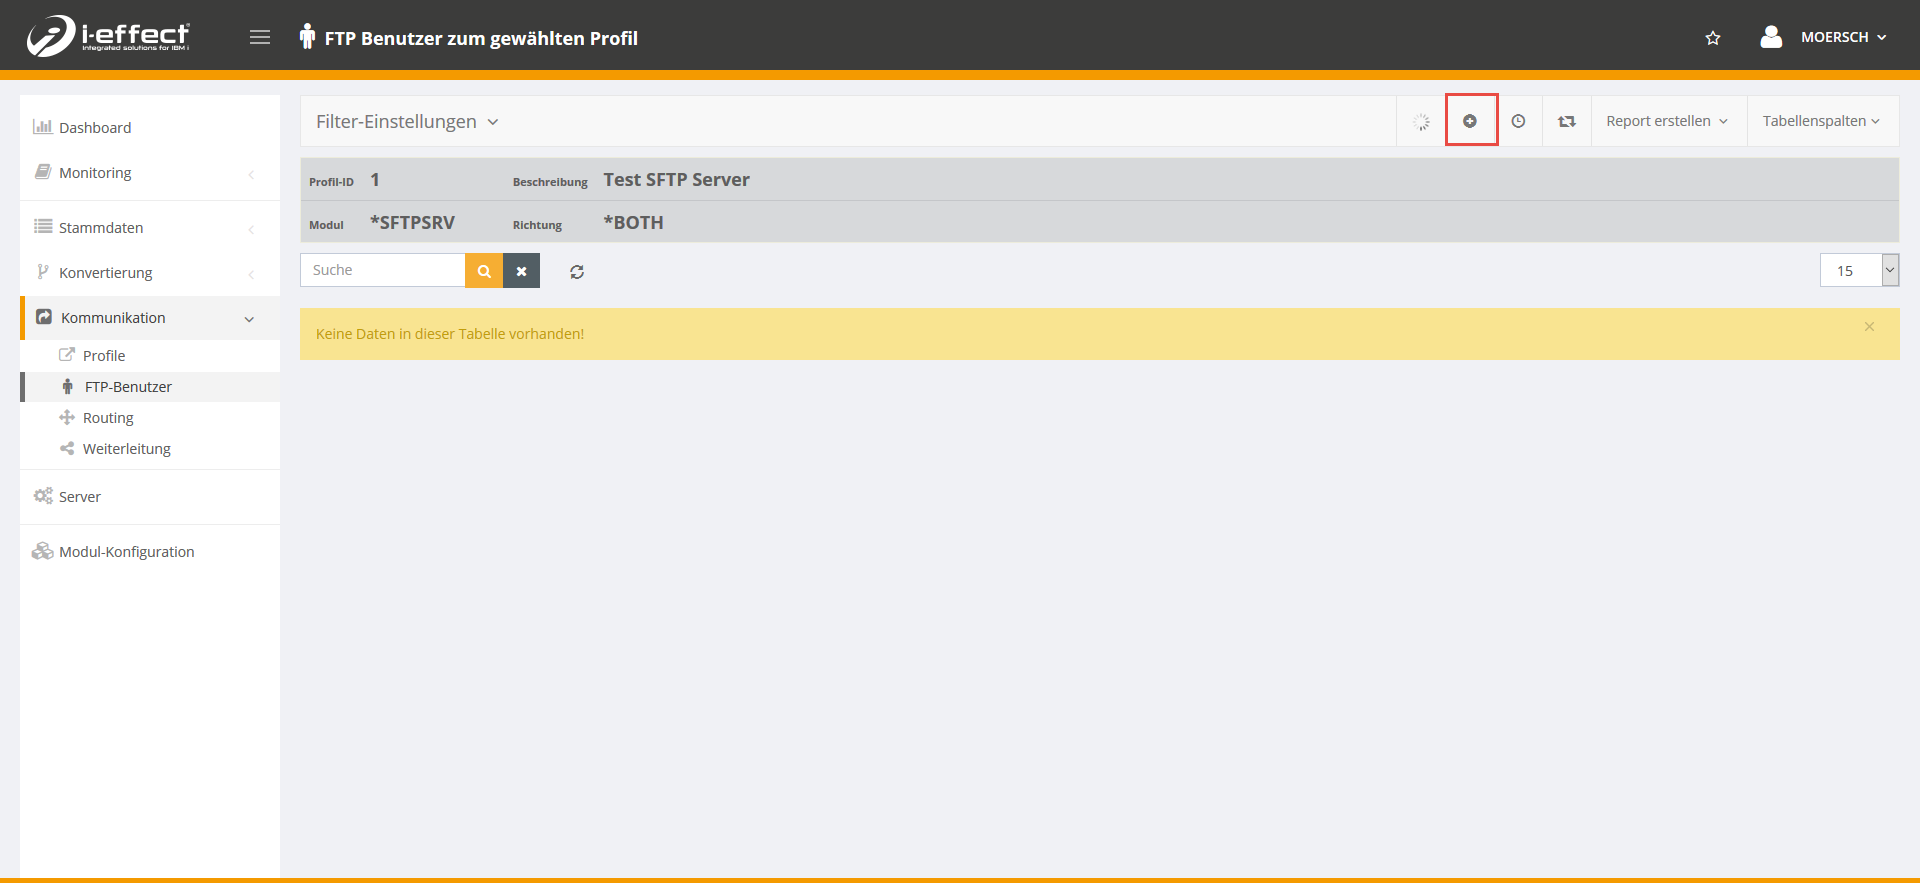
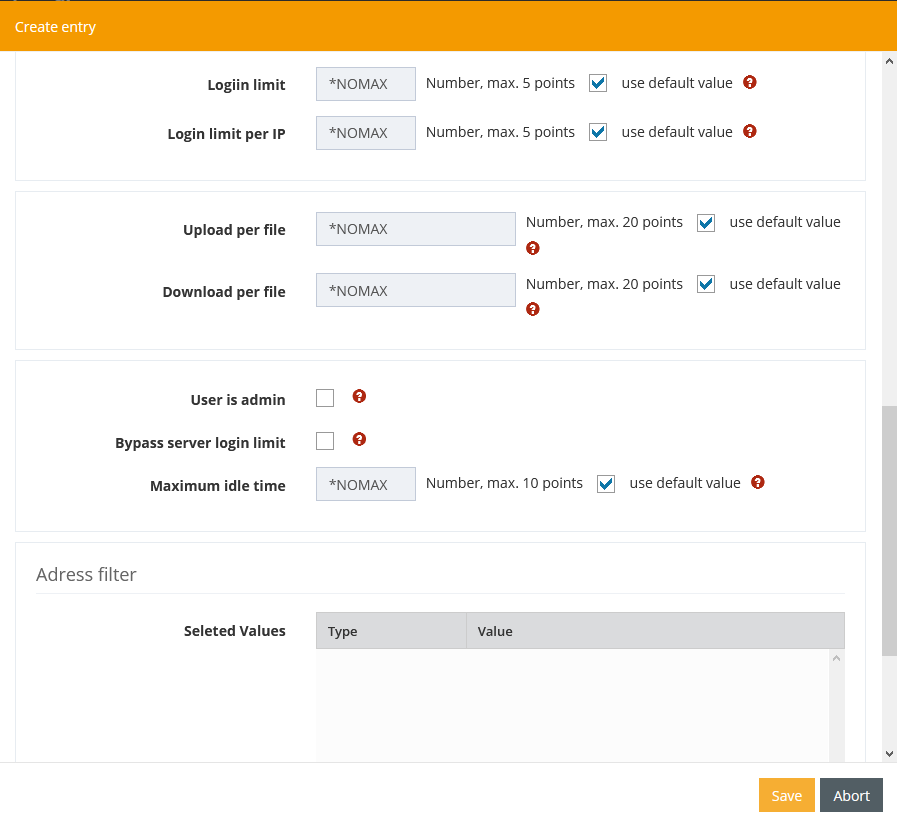
Fill in the masks with your data and then press Save.
Step 1.1 - Add FTP server address filter to selected profile (optional)
To add an address filter to a *SFTP server profile, follow these steps:
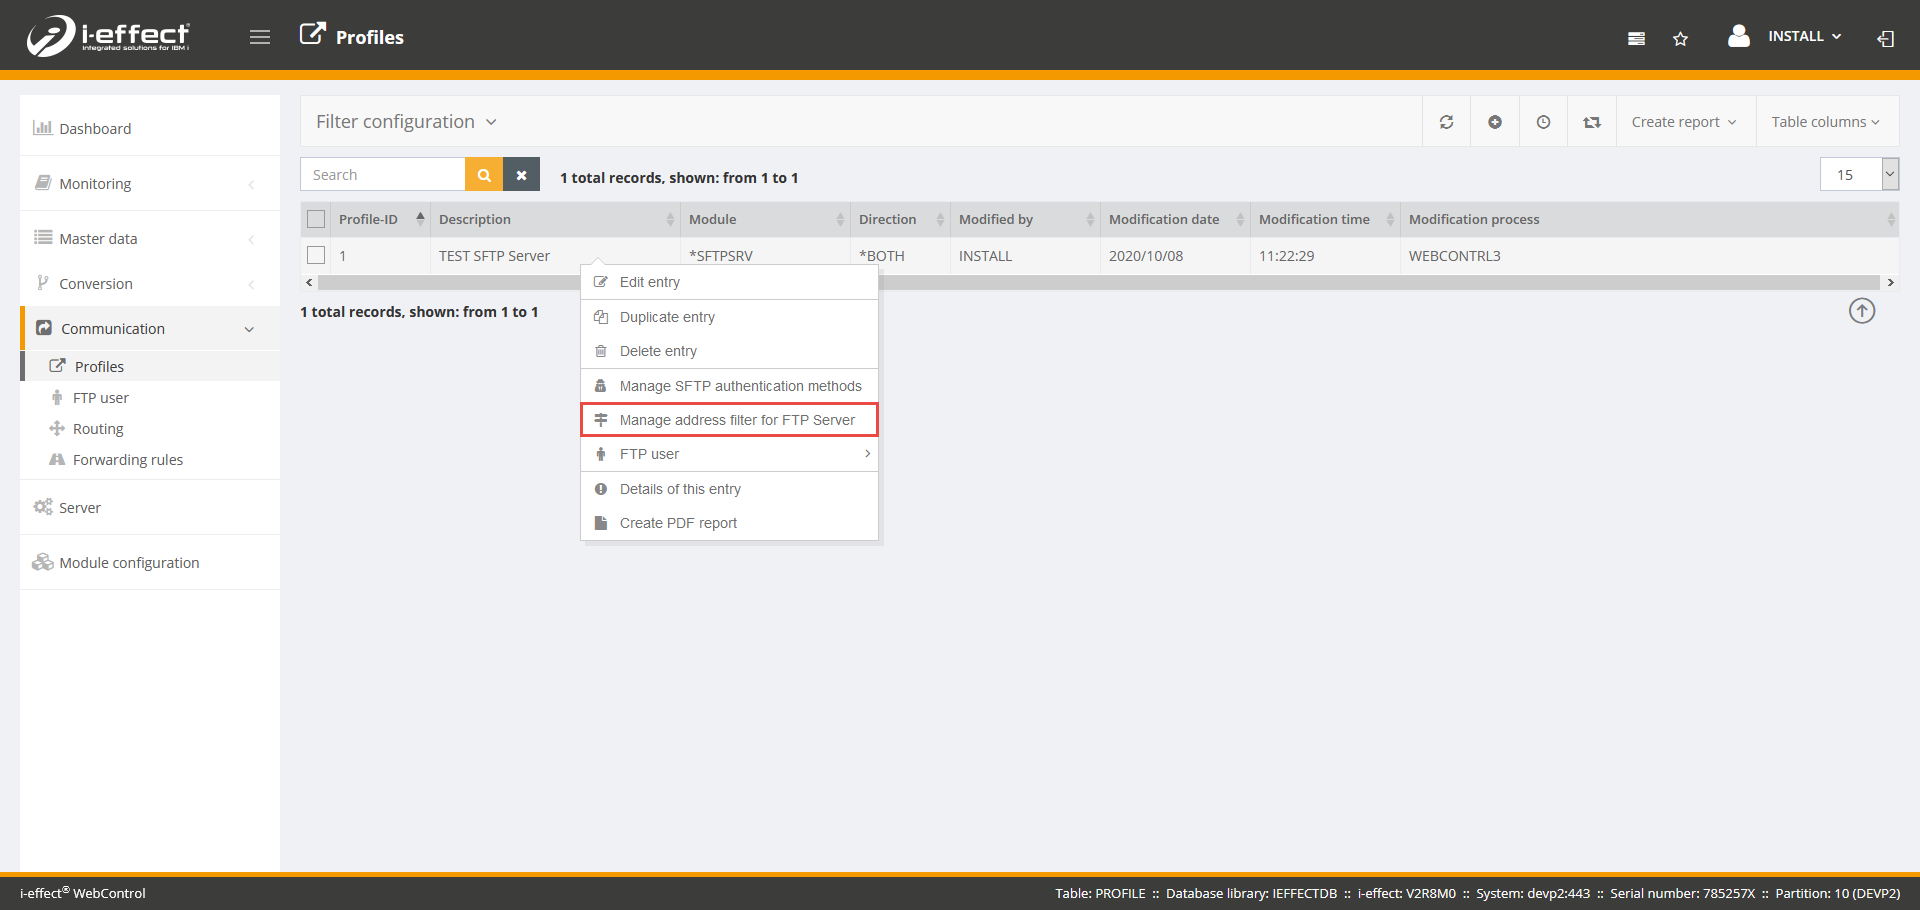
Right click on any *SFTP server profile and select Manage FTP server address filters.
Now a new browser window opens, now click on the plus sign to create an address filter.
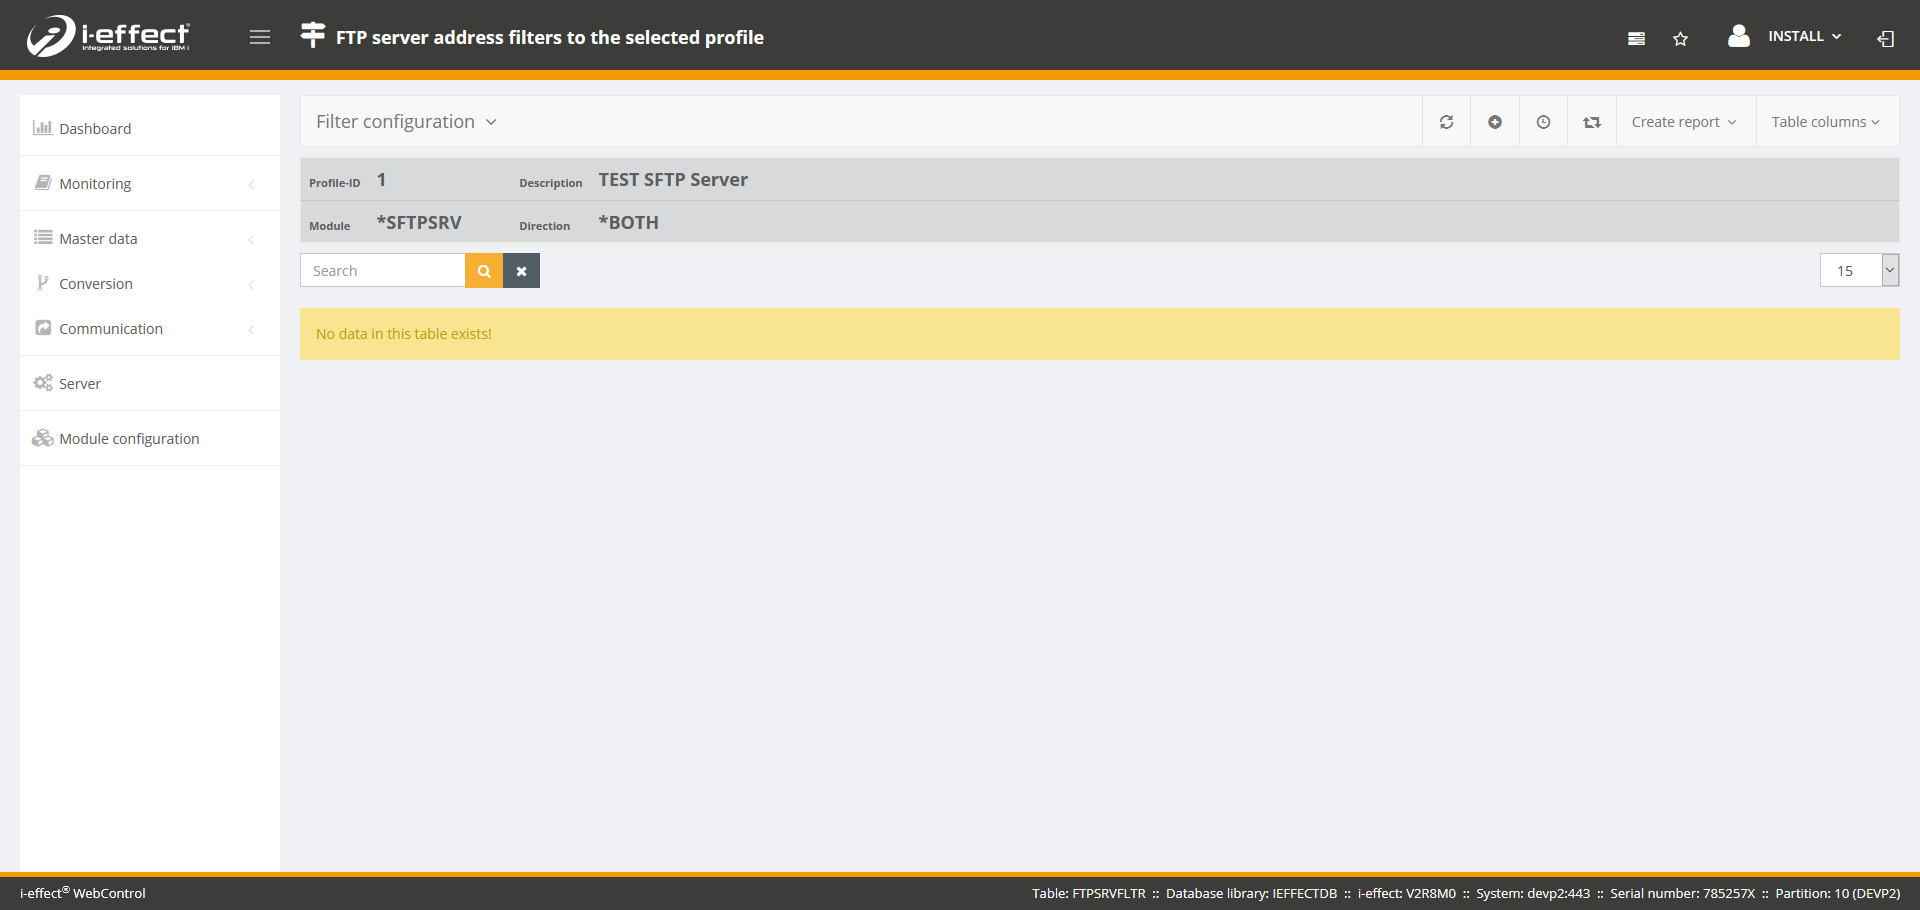
Fill in the masks with your data and then press Save.
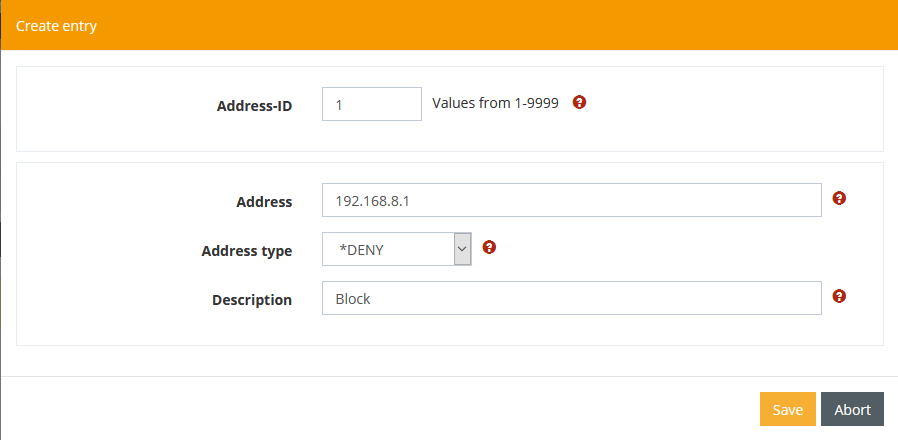
Step 1.2 - SFTP authentication methods for the selected profile (Optional)
You can add authentication methods to a *SFTP server profile in the form:
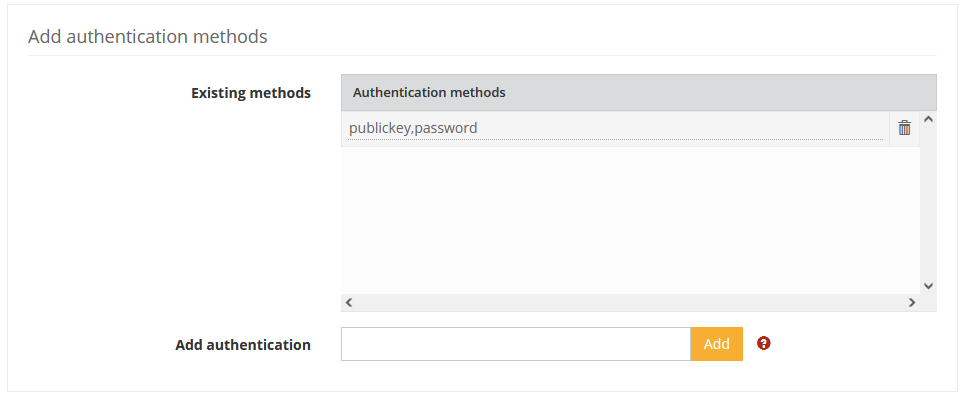
Fill in the Add field with your details and then press Add. The following parameters are available for selection:
-
Public key
-
Password
-
Keyboard-interactive
Authentication methods already in the list can be edited or deleted.
If you want to use several authentication methods in succession, you must separate them with a comma in an entry.
If you want to allow multiple authentication methods in parallel, you must create multiple entries with each method.
Step 2 - Perform test run
After you have successfully created an SFTP server profile and entered all necessary information, we can now test the receiving of files. Please proceed as follows:
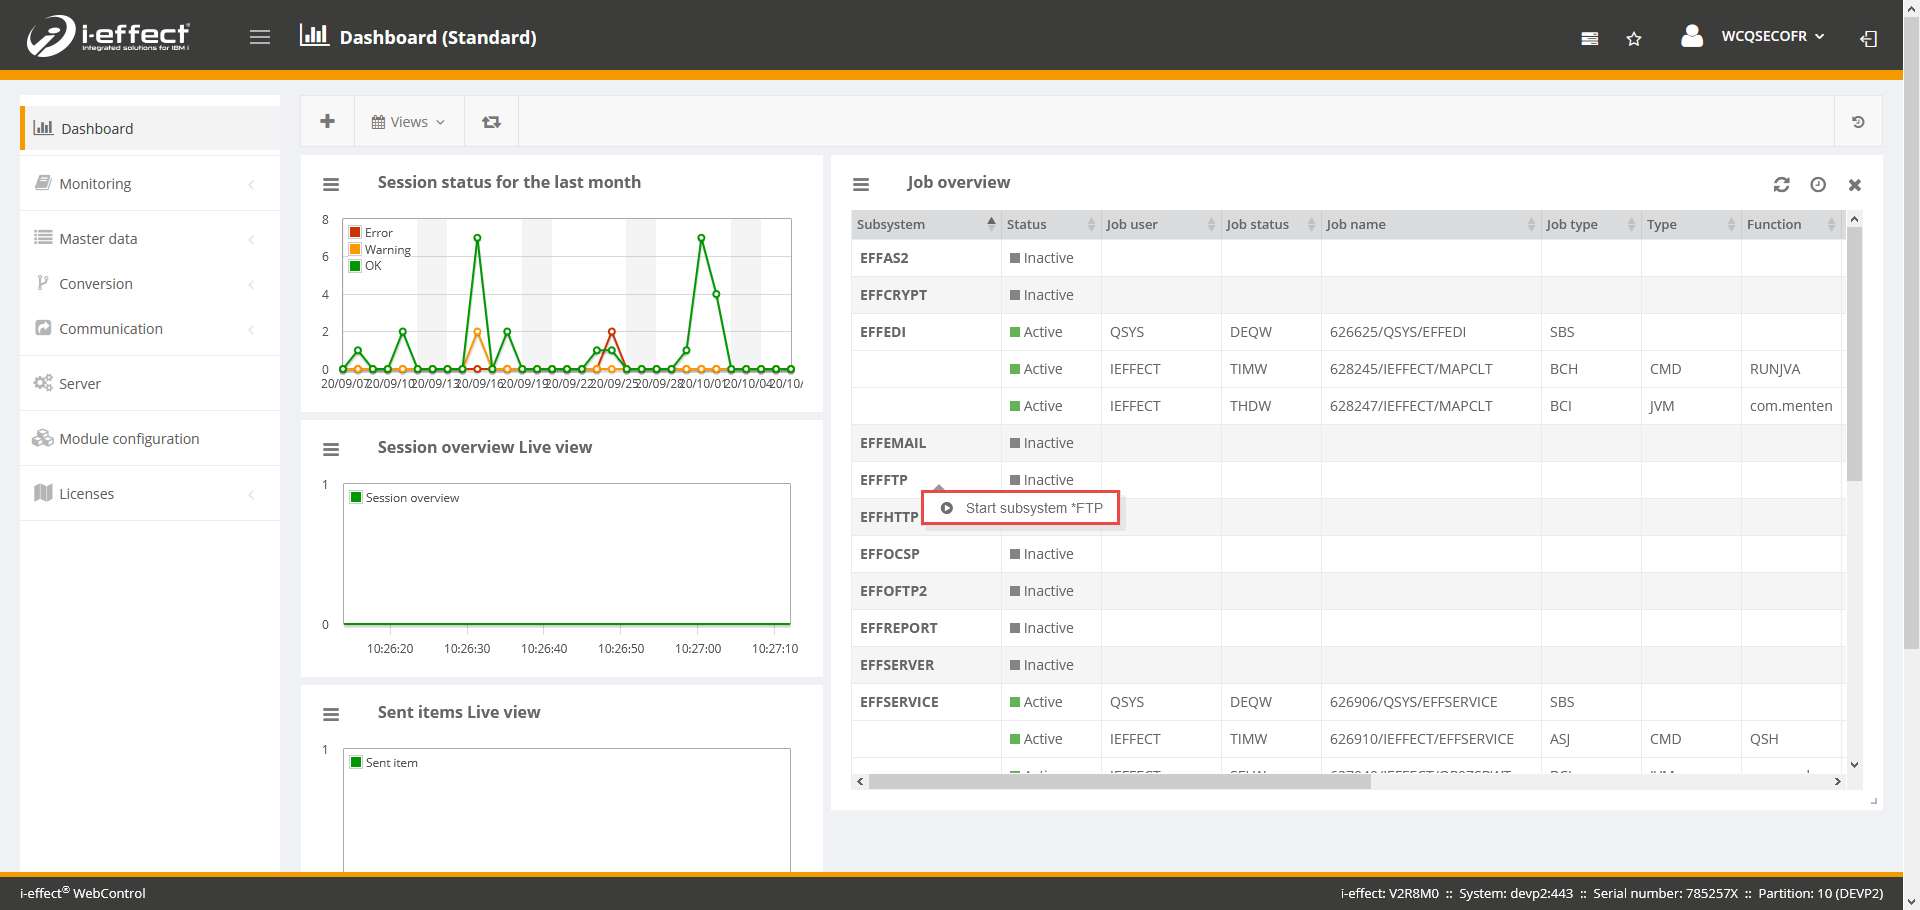
Navigate to the menu item Dashboard and start the FTP subsystem by right-clicking on EFFFTP and selecting Start Subsystem *FTP.
Now the FTP subsystem should be started, you can see this in the job overview.
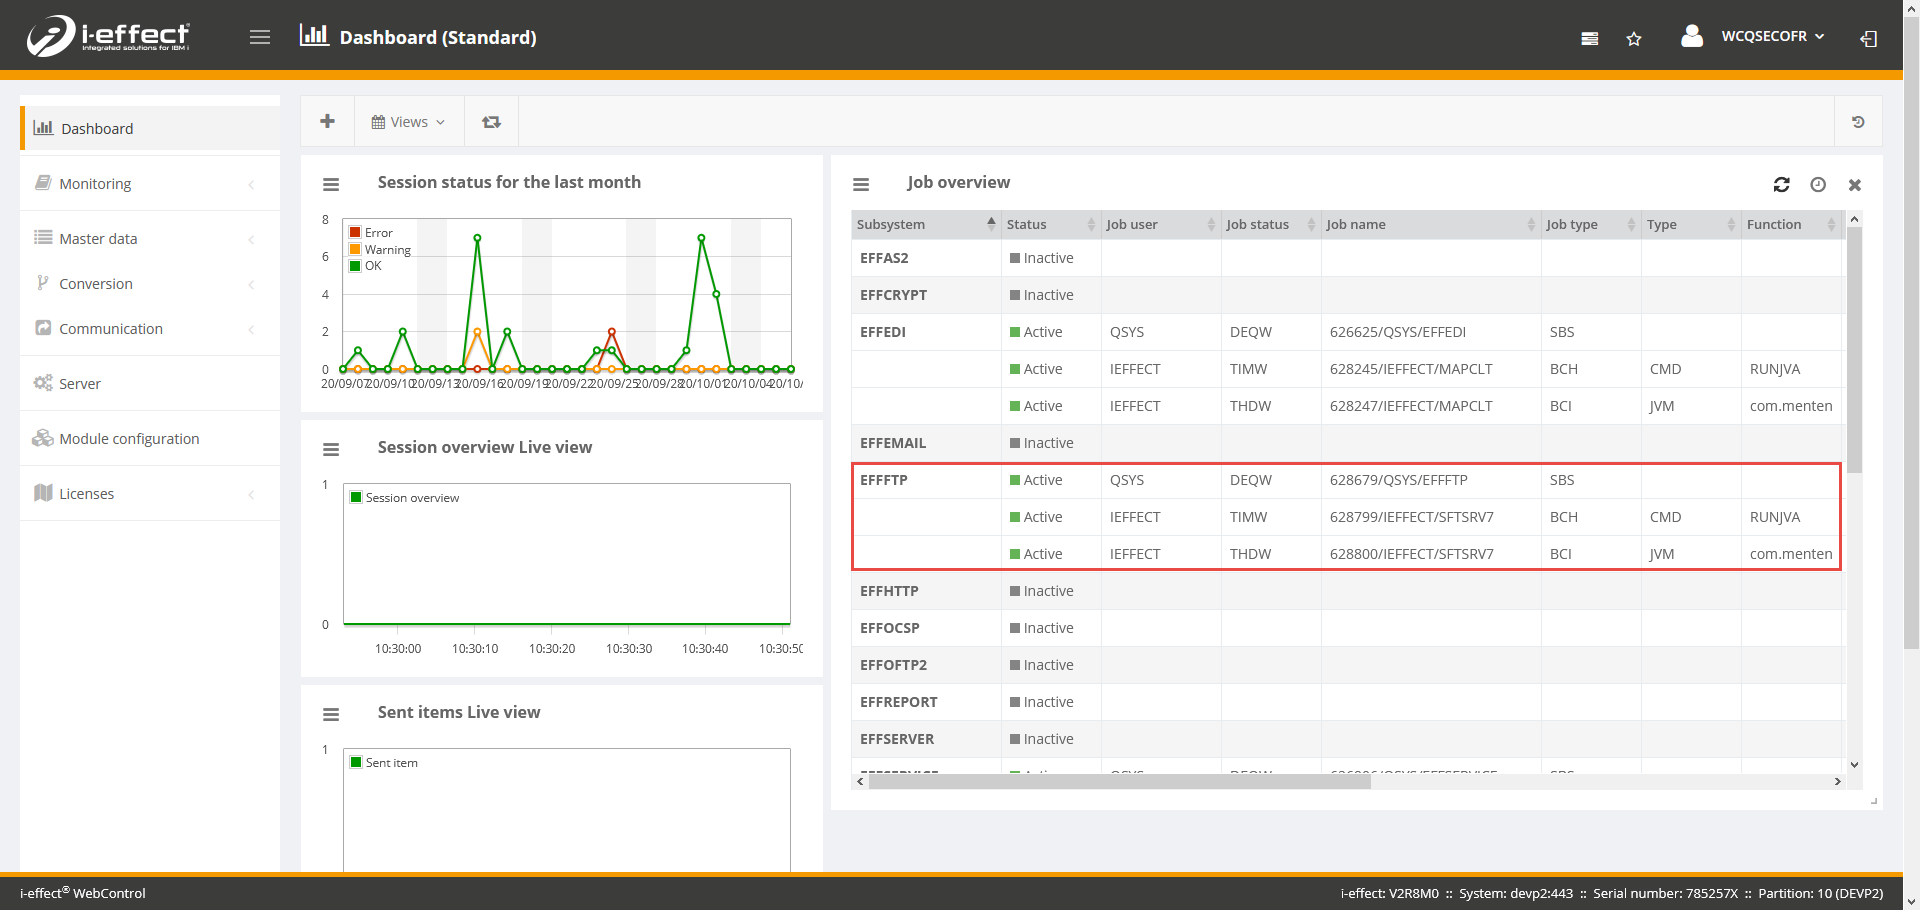
After you have started the subsystem, you can now test the reception of the data. To do this, simply send a file via another system and check whether the file has been successfully transmitted.
Information about the SFTP Server
The SFTP server uses a fixed path to a trust store, which is created automatically. This is /home/ieffect/ftp/server/ts_sftp4102.p12 where the number is the profile number of the communication profile. The default password is ieffect123.
In the trust store, the certificates for a particular user must begin with his user name and "_", e.g. username_certificate01