Setup Basic Communication
This article explains how to easily set up a OFTP2 communication with i-effect®.
Easy to setup, because we consciously forgo
- SSL encryption
- Datei encryption
- as well as data encryption
in this step.
Step 1 - Create server profile
In the first step, a seperate server profile must be created to receive data. For this, please follow the following steps from te chapter Creating an OFTP2 Server Profile.
Schritt 2 - Create client profile
After the server profile has been created. the next step is to create the client profile. This contains the connection information used to connect to partner. In addition, the information stored therein is used when the partner connects to your OFTS2 server.
To create a OFTP client profile, please proceed as described in the chapter Creating an OFTP2 Client Profile.
Schritt 3 - Link the client profile with the partner
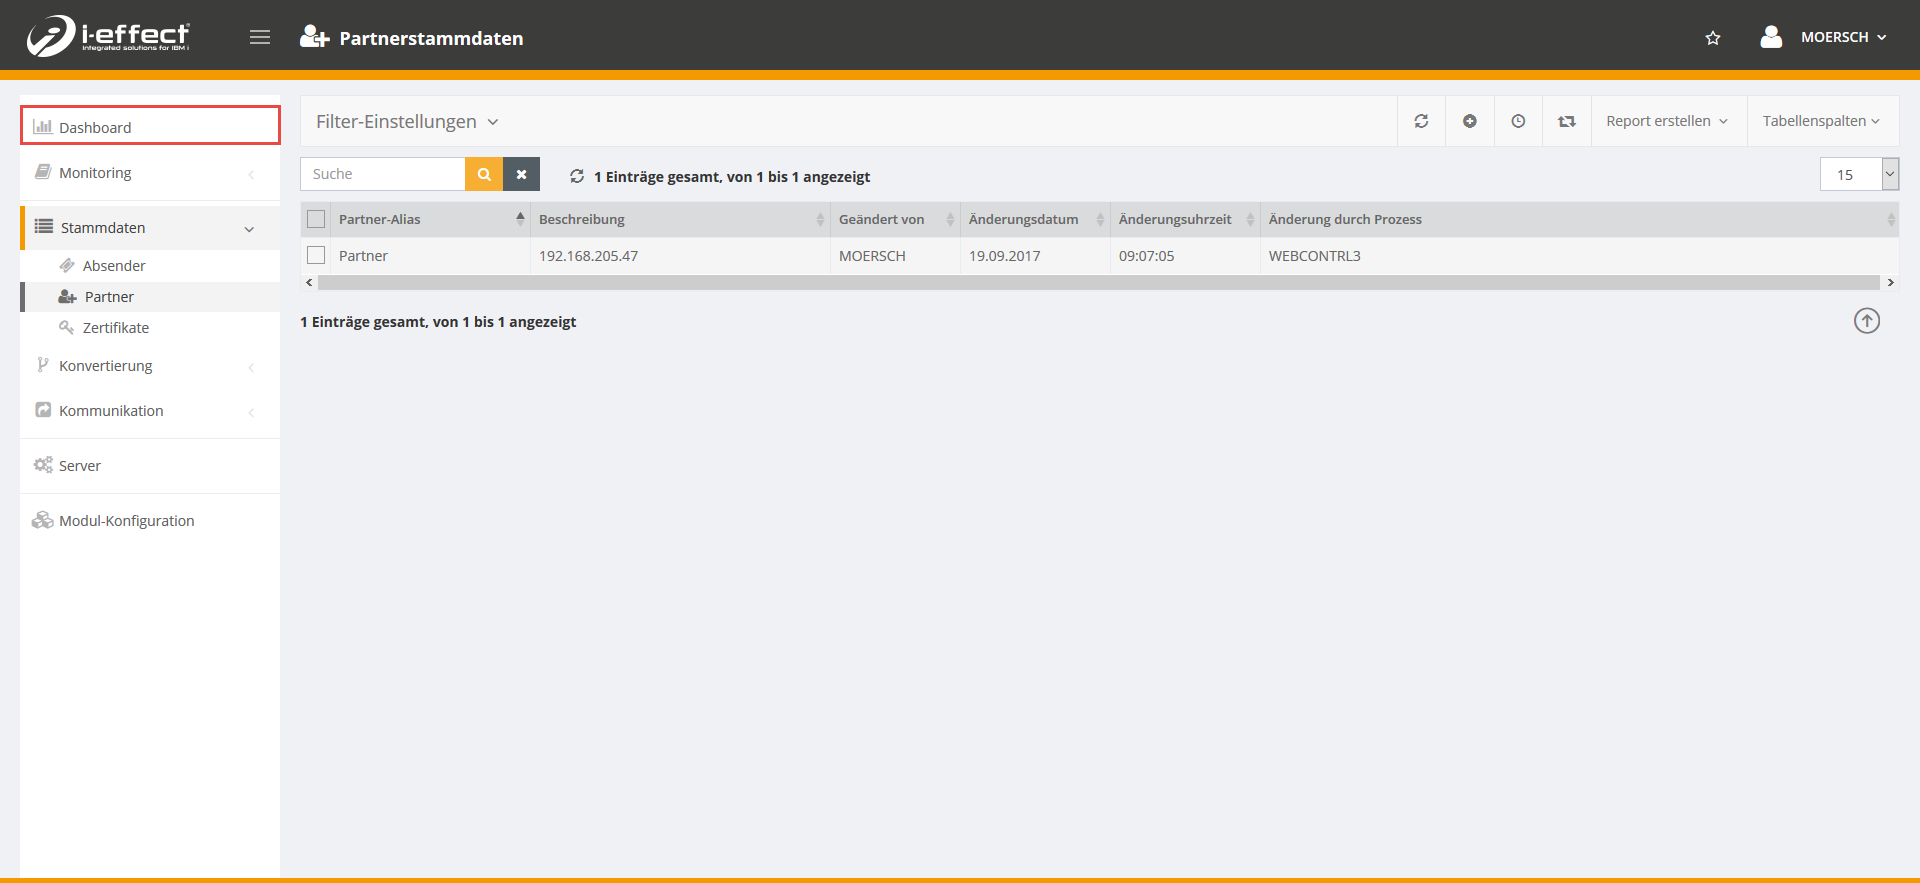
In the third step, the respective client profiles are assigned to the partners in the master data. to create the link, please proceed as described in the chapter Link Client Profiles with Partners
Schritt 4 - Carry out a test run
After successfully creating an OFTP2 server and client profile and linking a partner to the client profile, you can test your OFTP2 connection. For this please proceed as follows:
Start the OFTP2-Subsystem from i-effect®
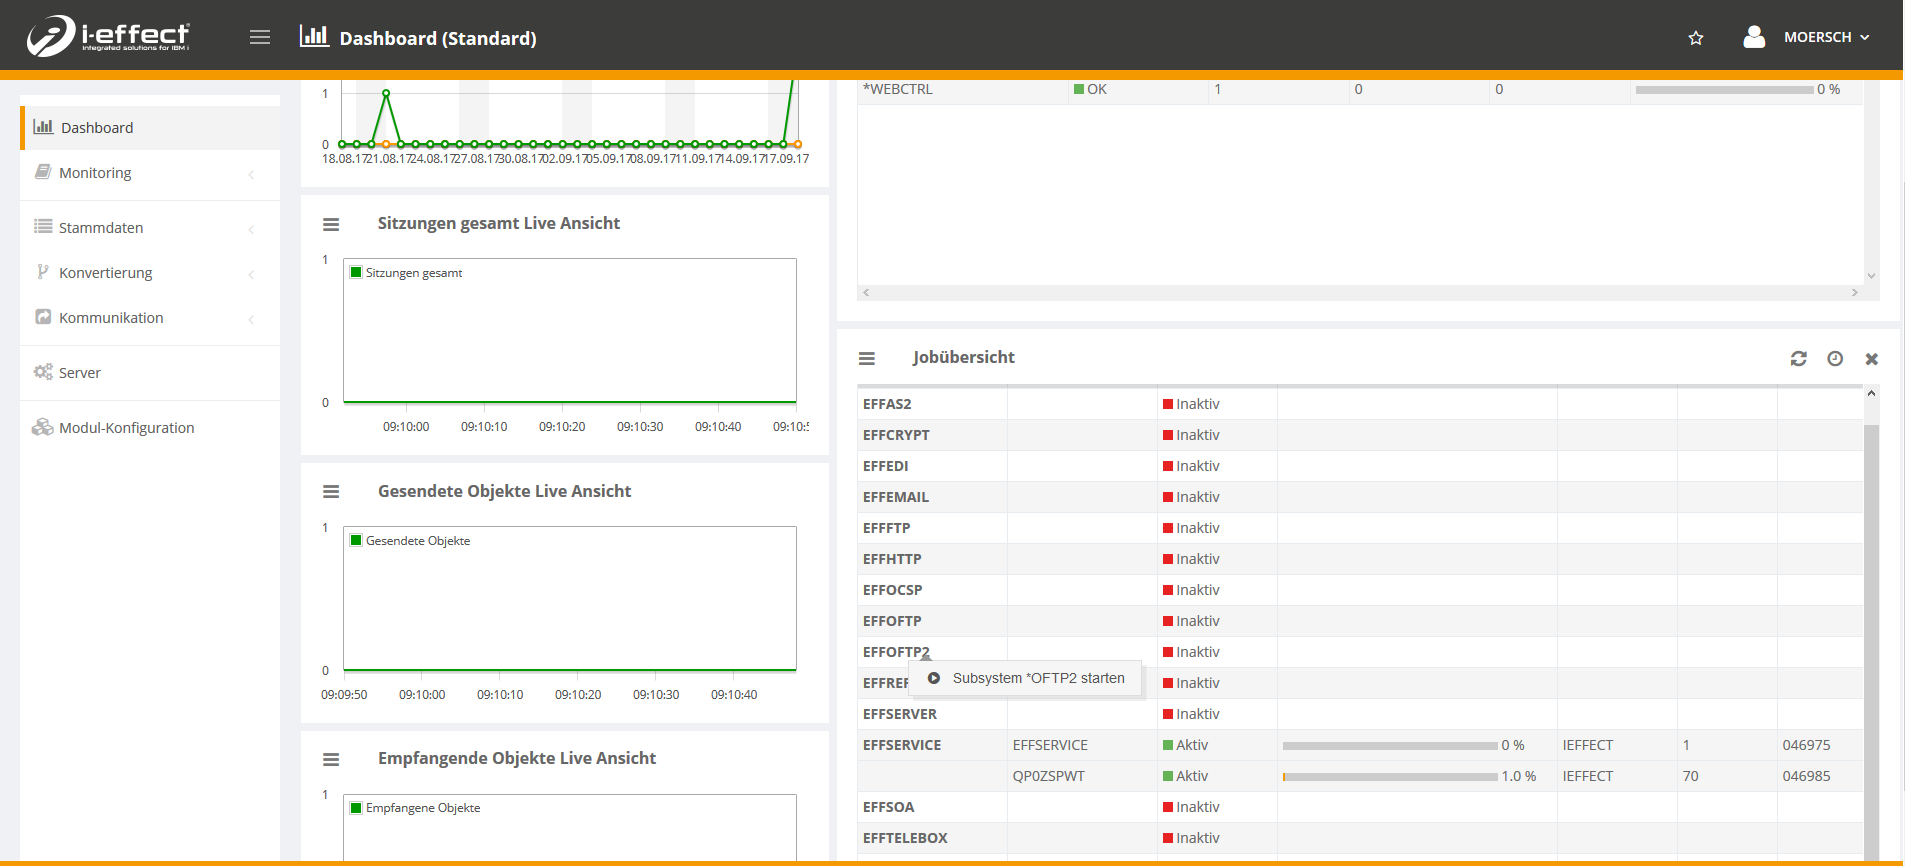
To start the OFTP2 subsystem of i-effect®, please navigate to the dashboard.
On the Dashboard you will find the subsystems in the job overview. Rightclick the EFFOFTP2 subsystem and select start subsystem.
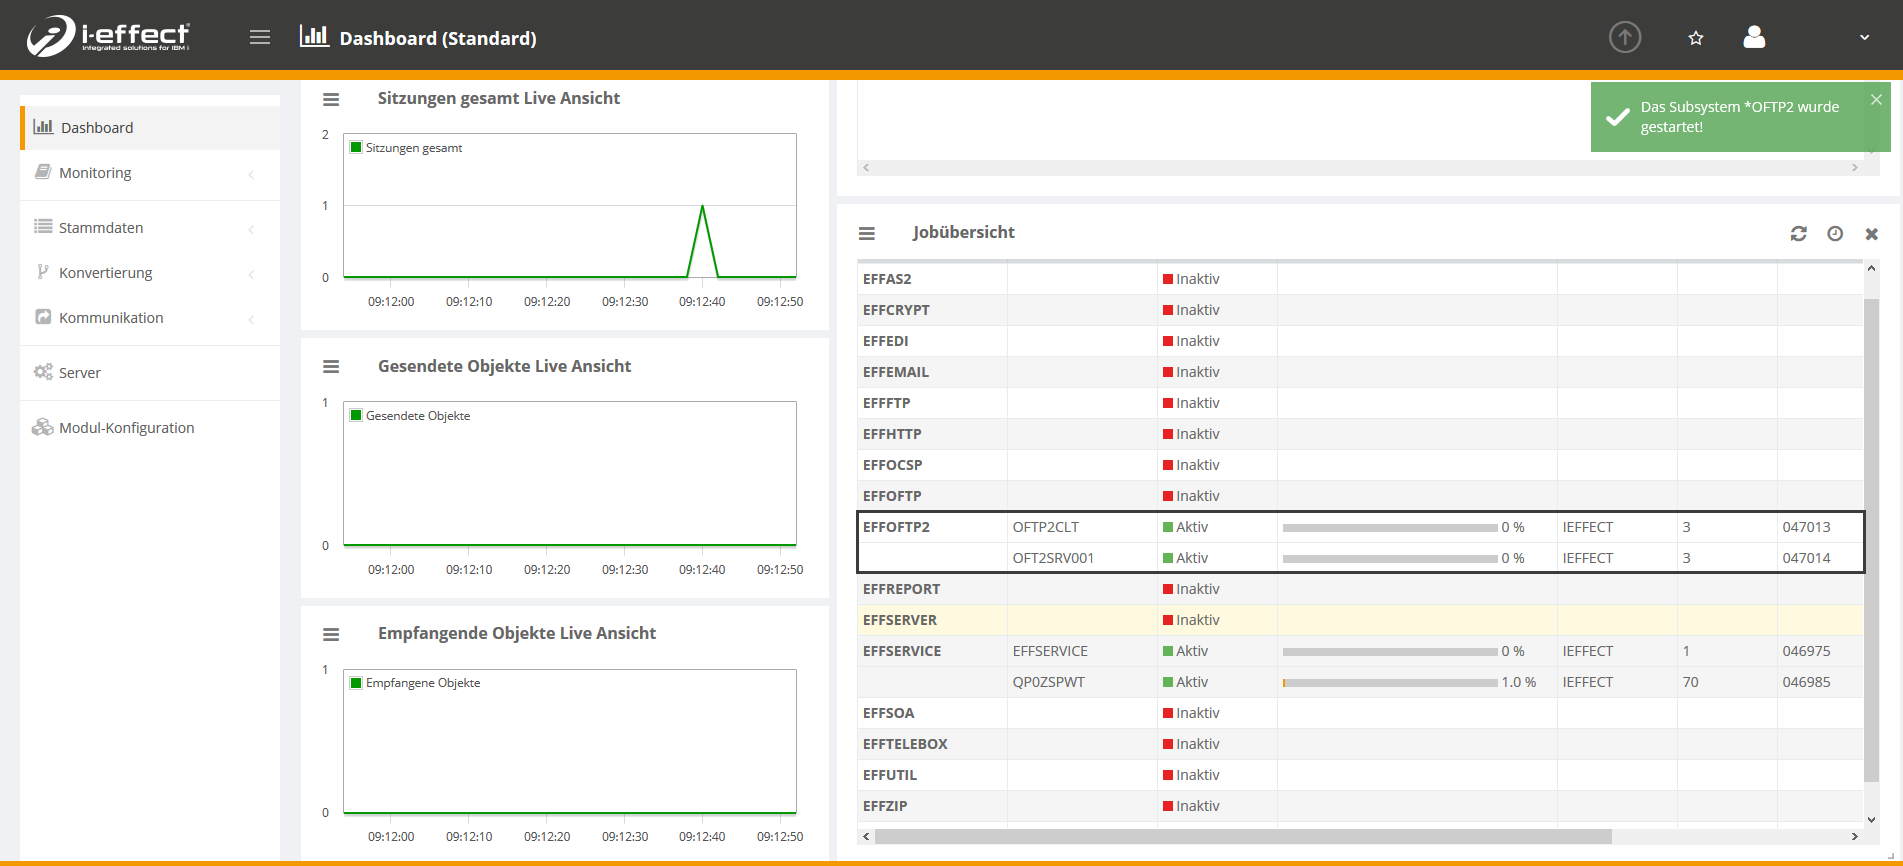
The subsystem is going to start and after a short period of time the status will change to active.
After successfully launching the subsystem, you can send or receive a file. First, we will send a file. If you own the module *SERVER, you can run this test in WebControl. If you do not own the module *SERVER, you can run this test on the greenscreen. An instruction manual of the command STROFTP2 can be found here. If you do own *SERVER, continue with the next step.
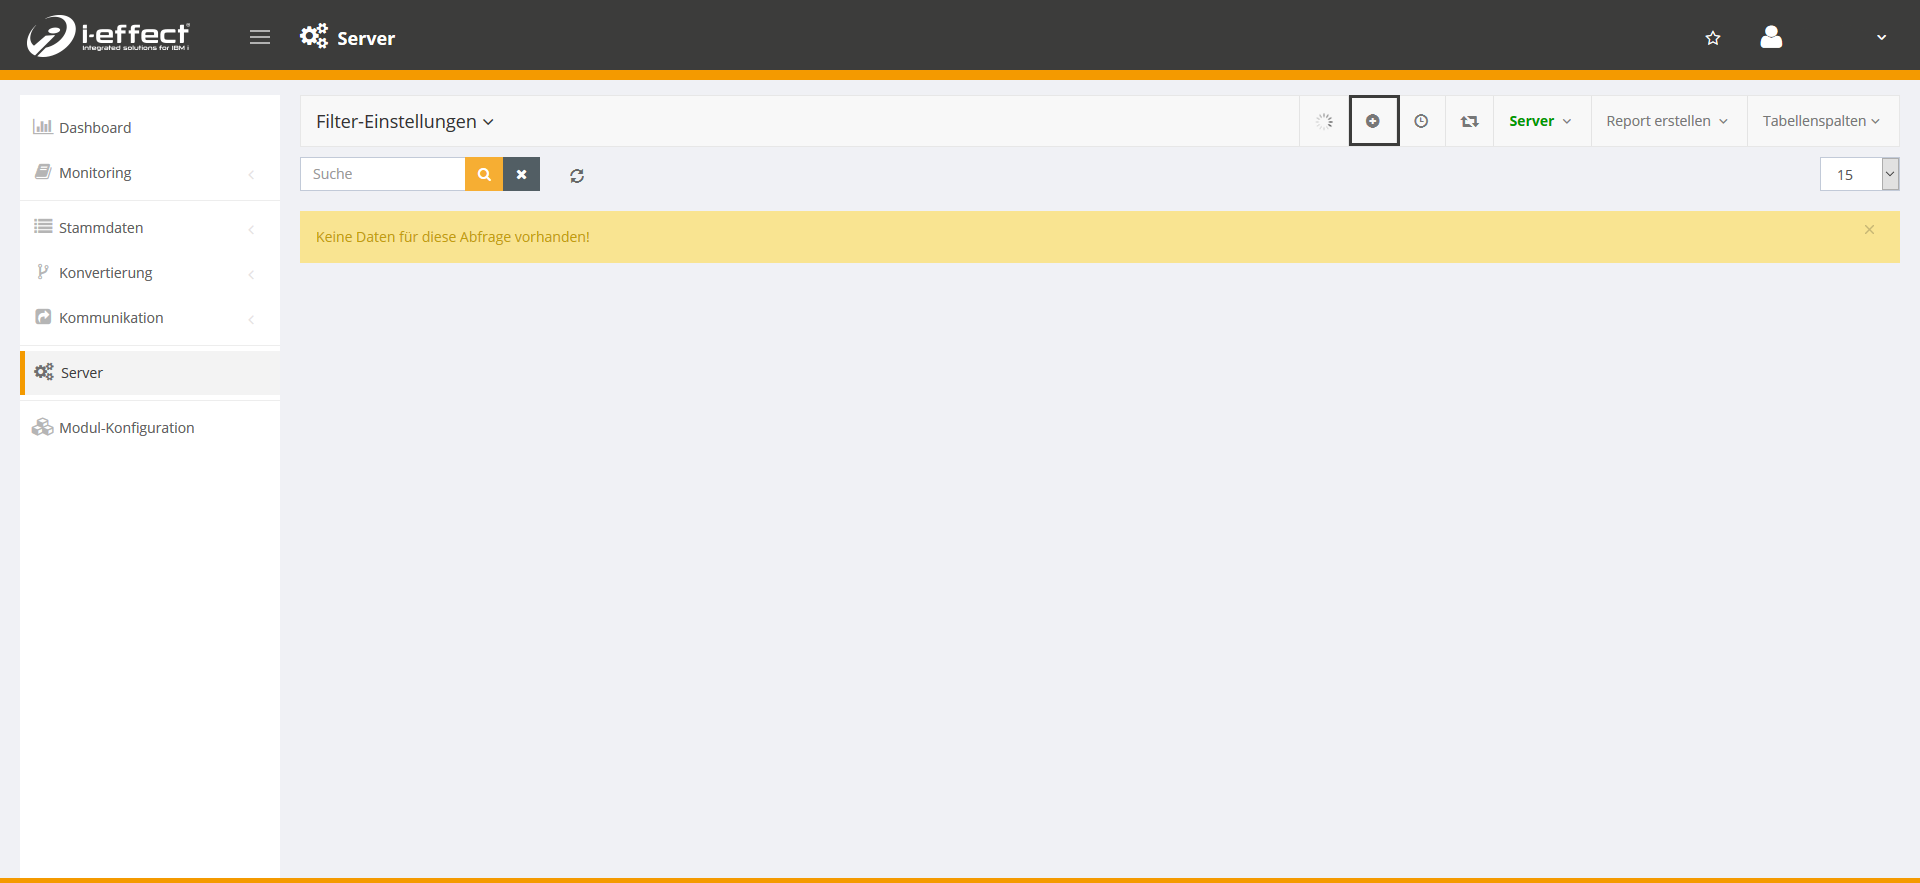
Create an entry
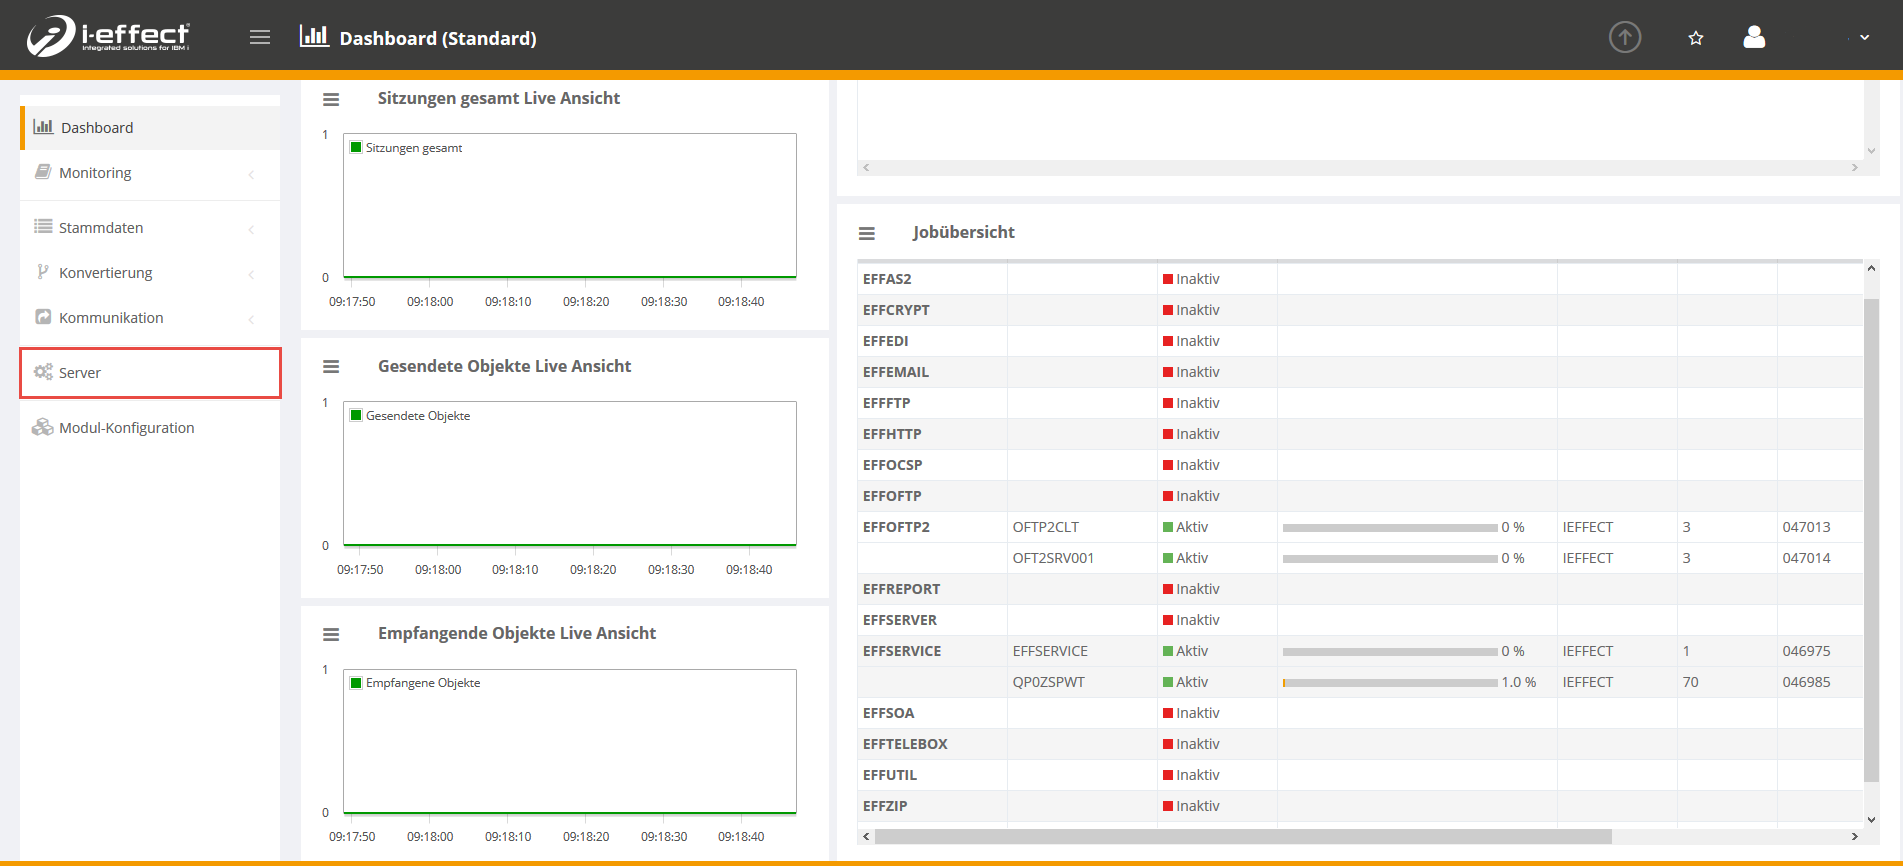
Navigate to the menu item server and click on the plus sign to create a new entry.
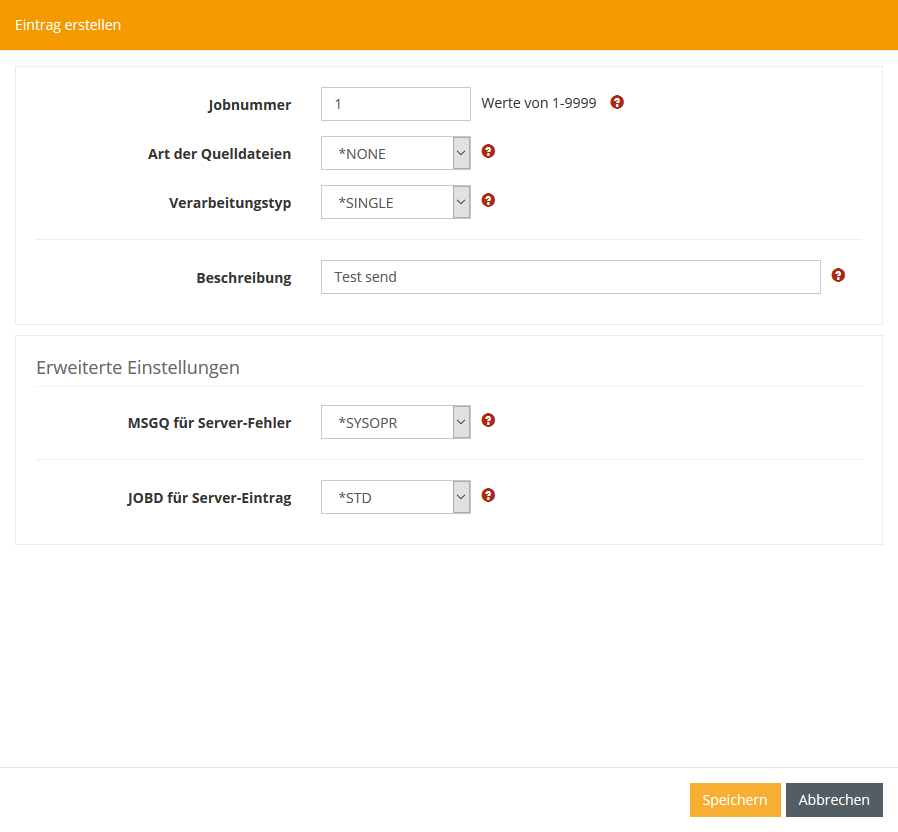
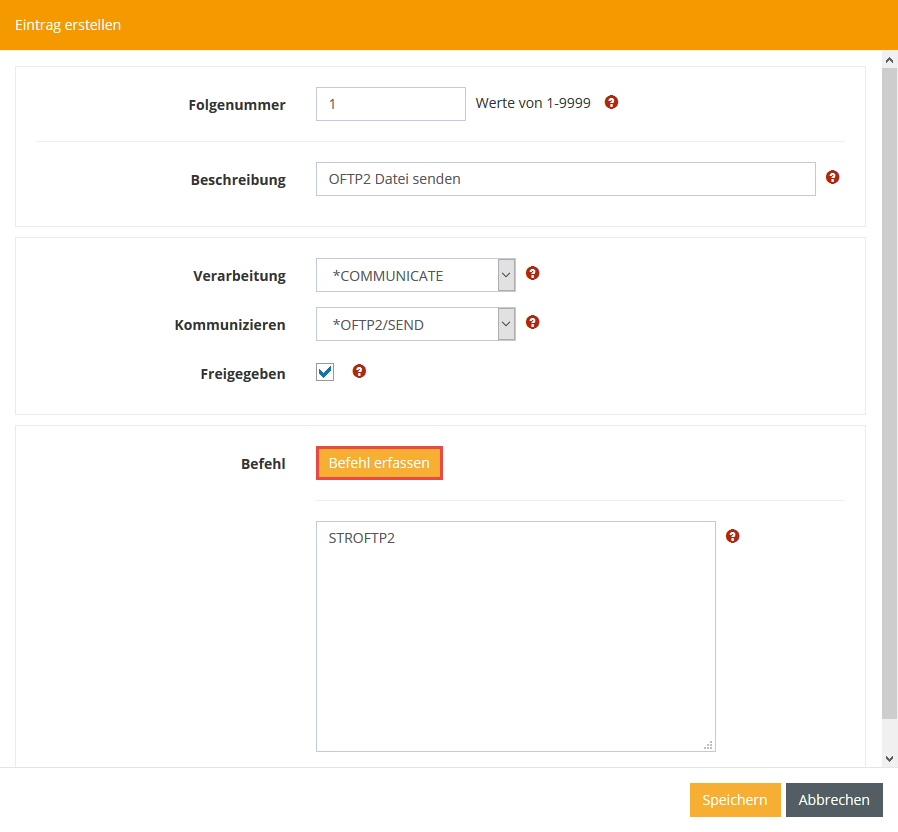
Fill the form
In the form, make the following settings and click save.
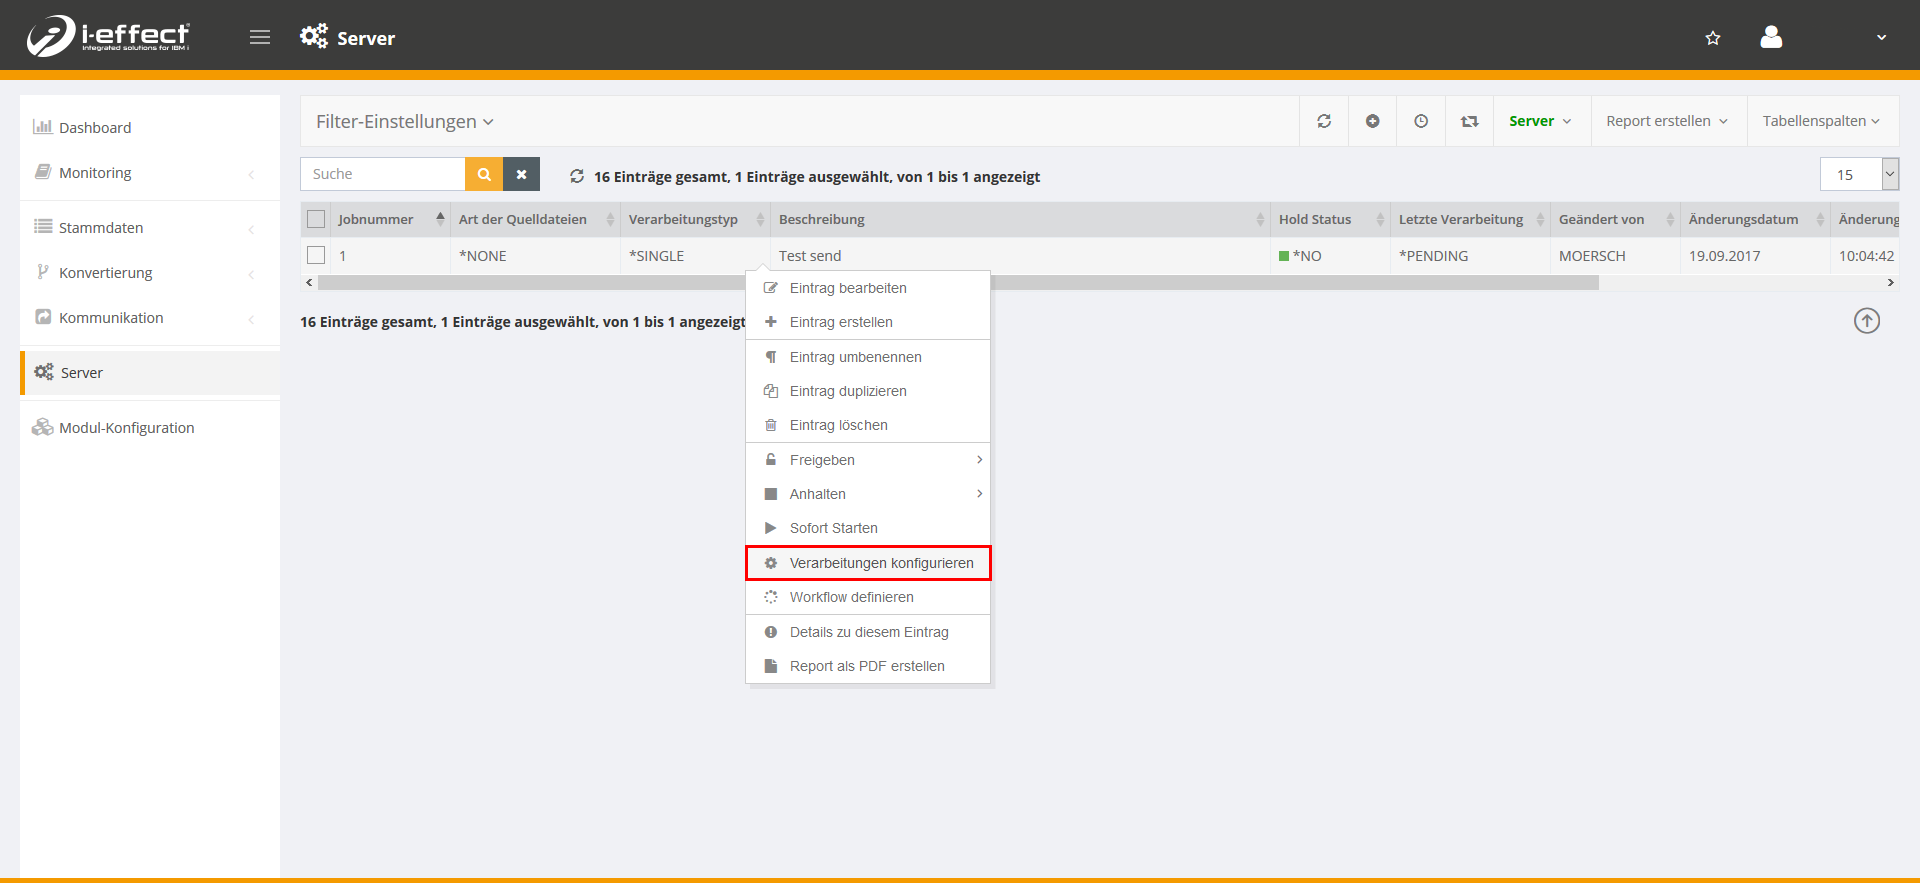
Processing
Right-click on the new entry in the list and choose configure the processing.
A new browser window opens with a processing view of the job. Now create a new processing entry by clicking on the plus sign.
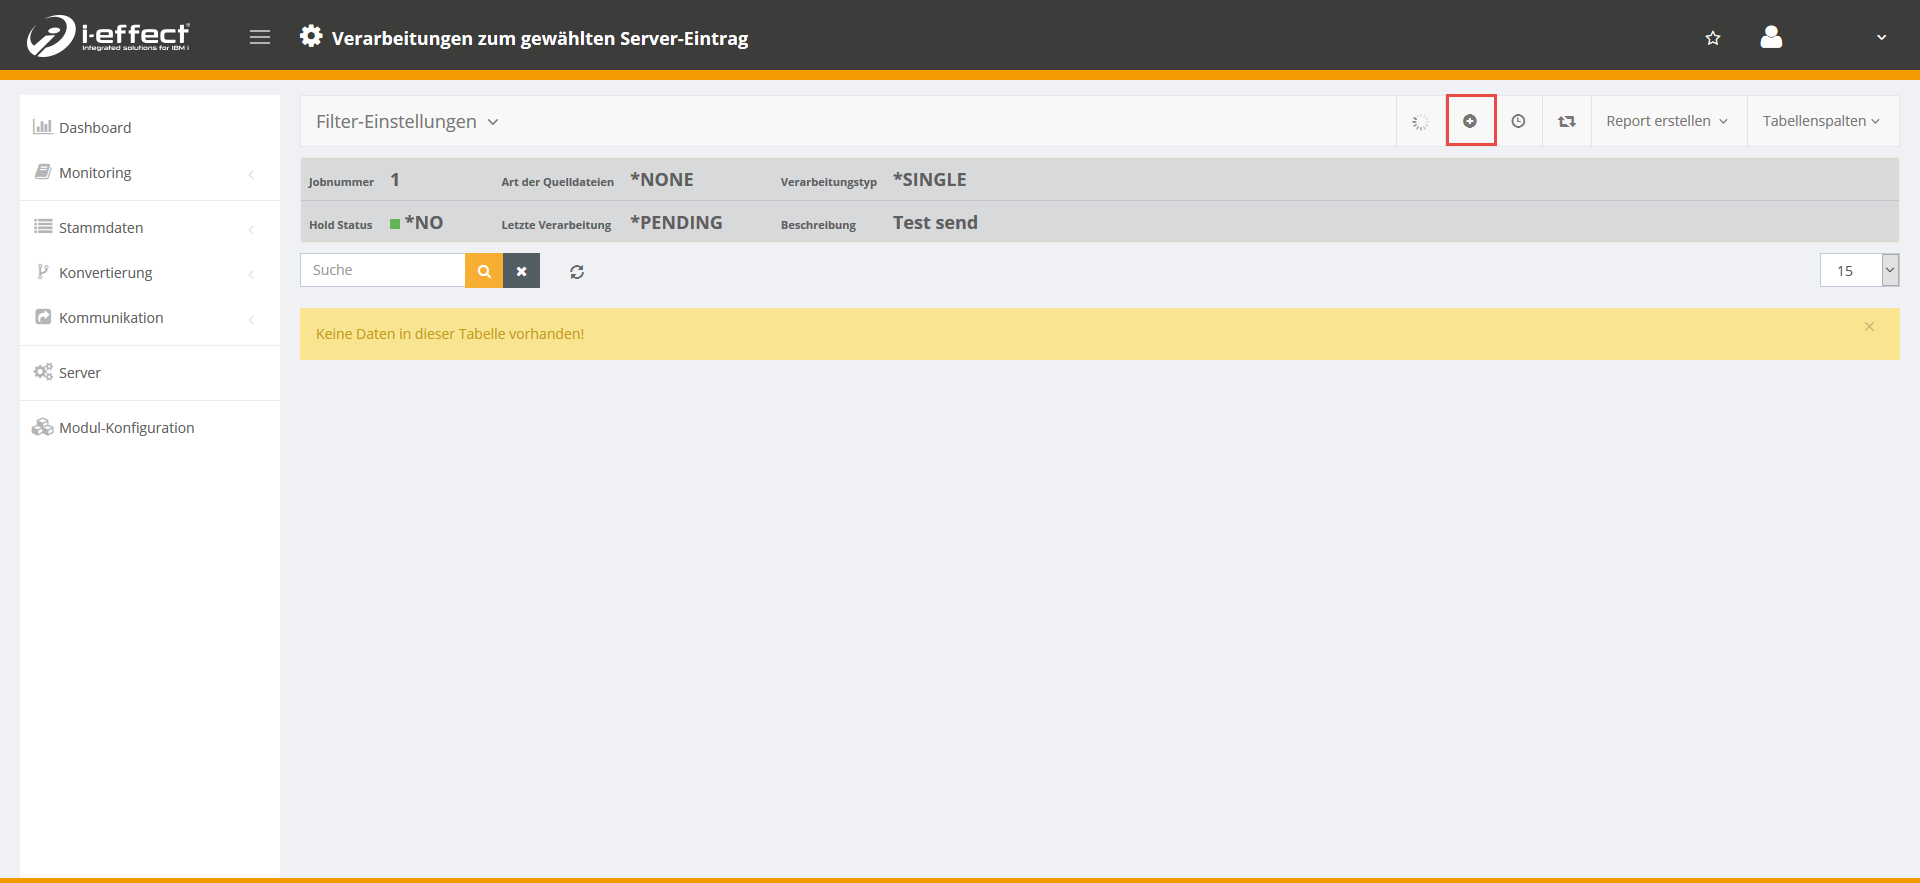
Select the following settings and fill in STROFTP2 in the command field. Now click on capture command. This opens an input mask with the available parameters.
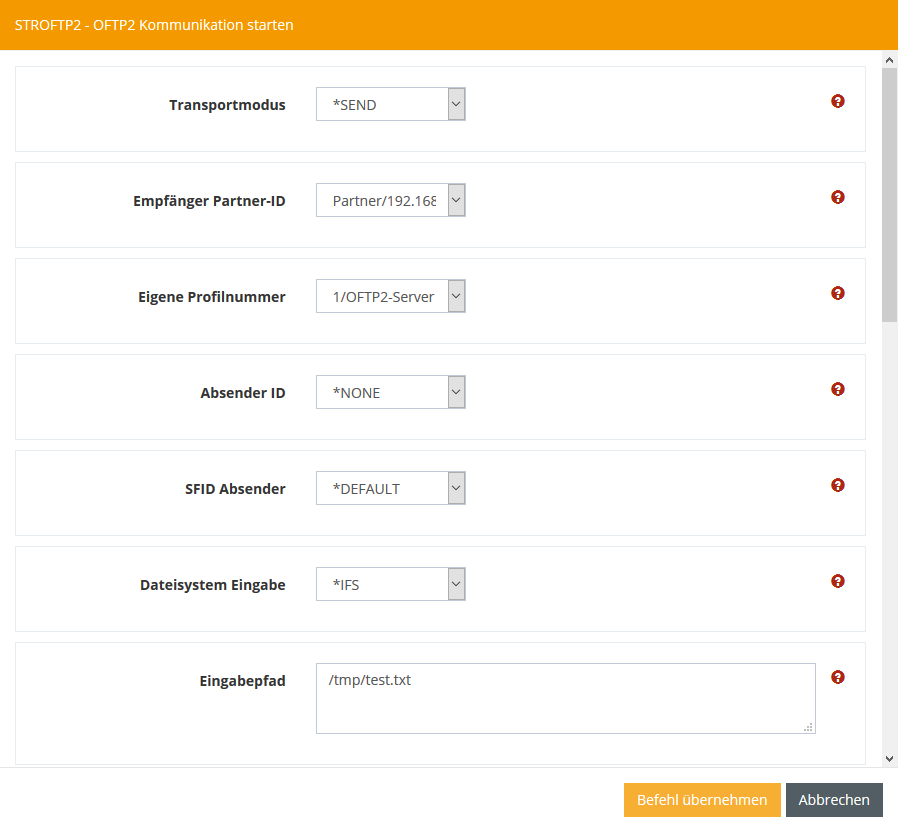
After making all the settings, click apply to command and save.
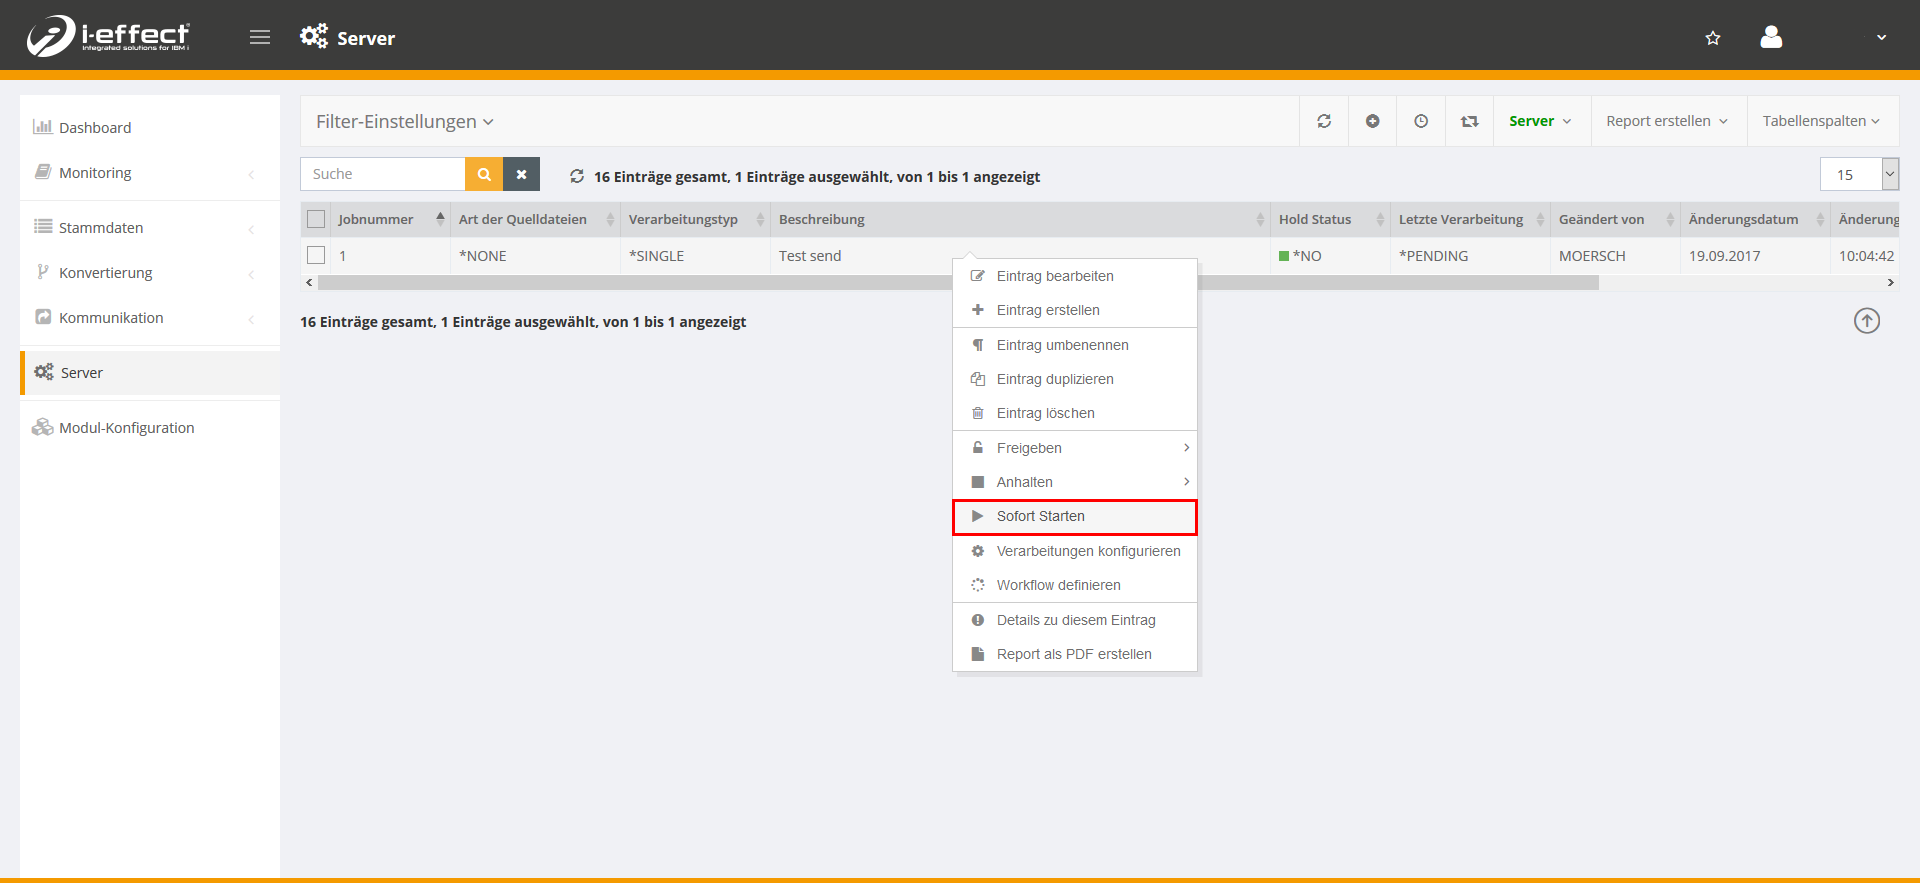
Start Server task
Start the Server task by right-clicking on the previously created task and clicking start immediately.
Track Status
You can track the status of the job in the logbook. To do this, navigate to the menu item Monitoring → Session-Logbook and choose Session → (X) Action(s) for this entry by right-clicking.