Usage of the OFTP2 Security Features
In this last step of the chapter OFTP2, the OFTP2 security features are introduced. For this, similar to the chapter Extend Communication by SSL, a keystore is stored in the certificate management for sending and receiving. But this time with the purpose *OFTP.
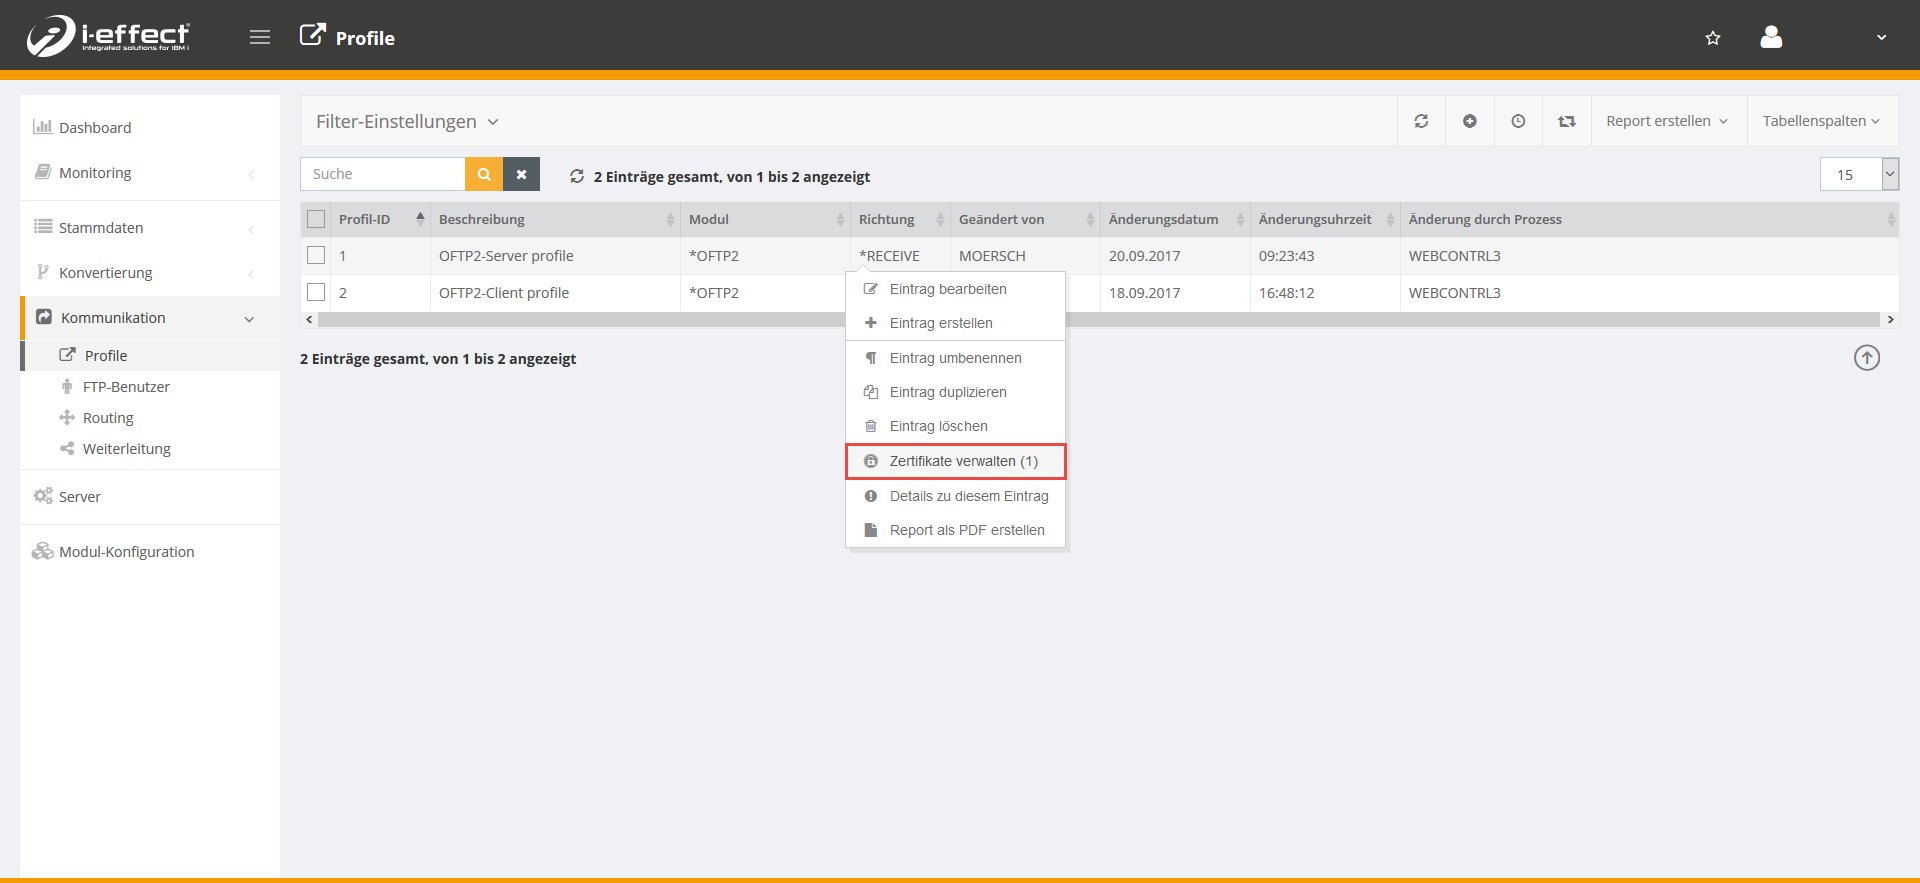
Step 1 - Entering the Keystore in the certificate management (for OFTP *RECEIVE)
Open the menu item communication → profiles. Right-click on the corresponding server profile and select manage certificates in the context menu.
Now click on the plus sign to add a certificate to the selected profile.
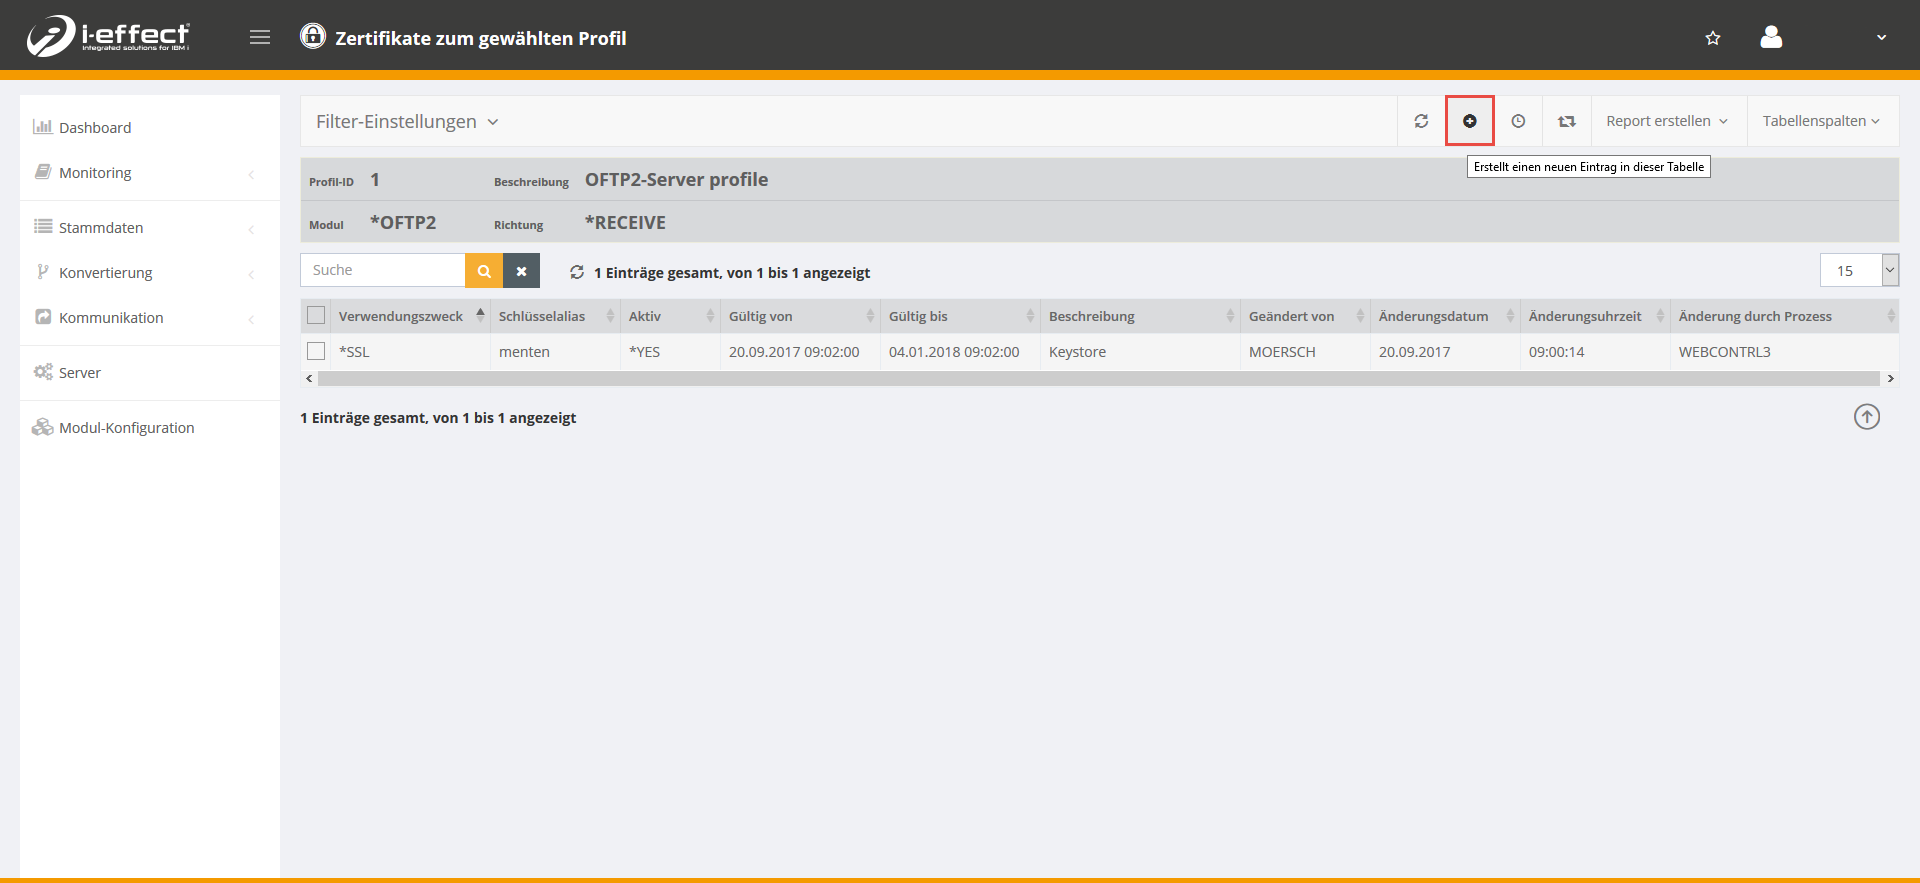
Now enter the corresponding data (use here the purpose *OFTP) and save the dialog.

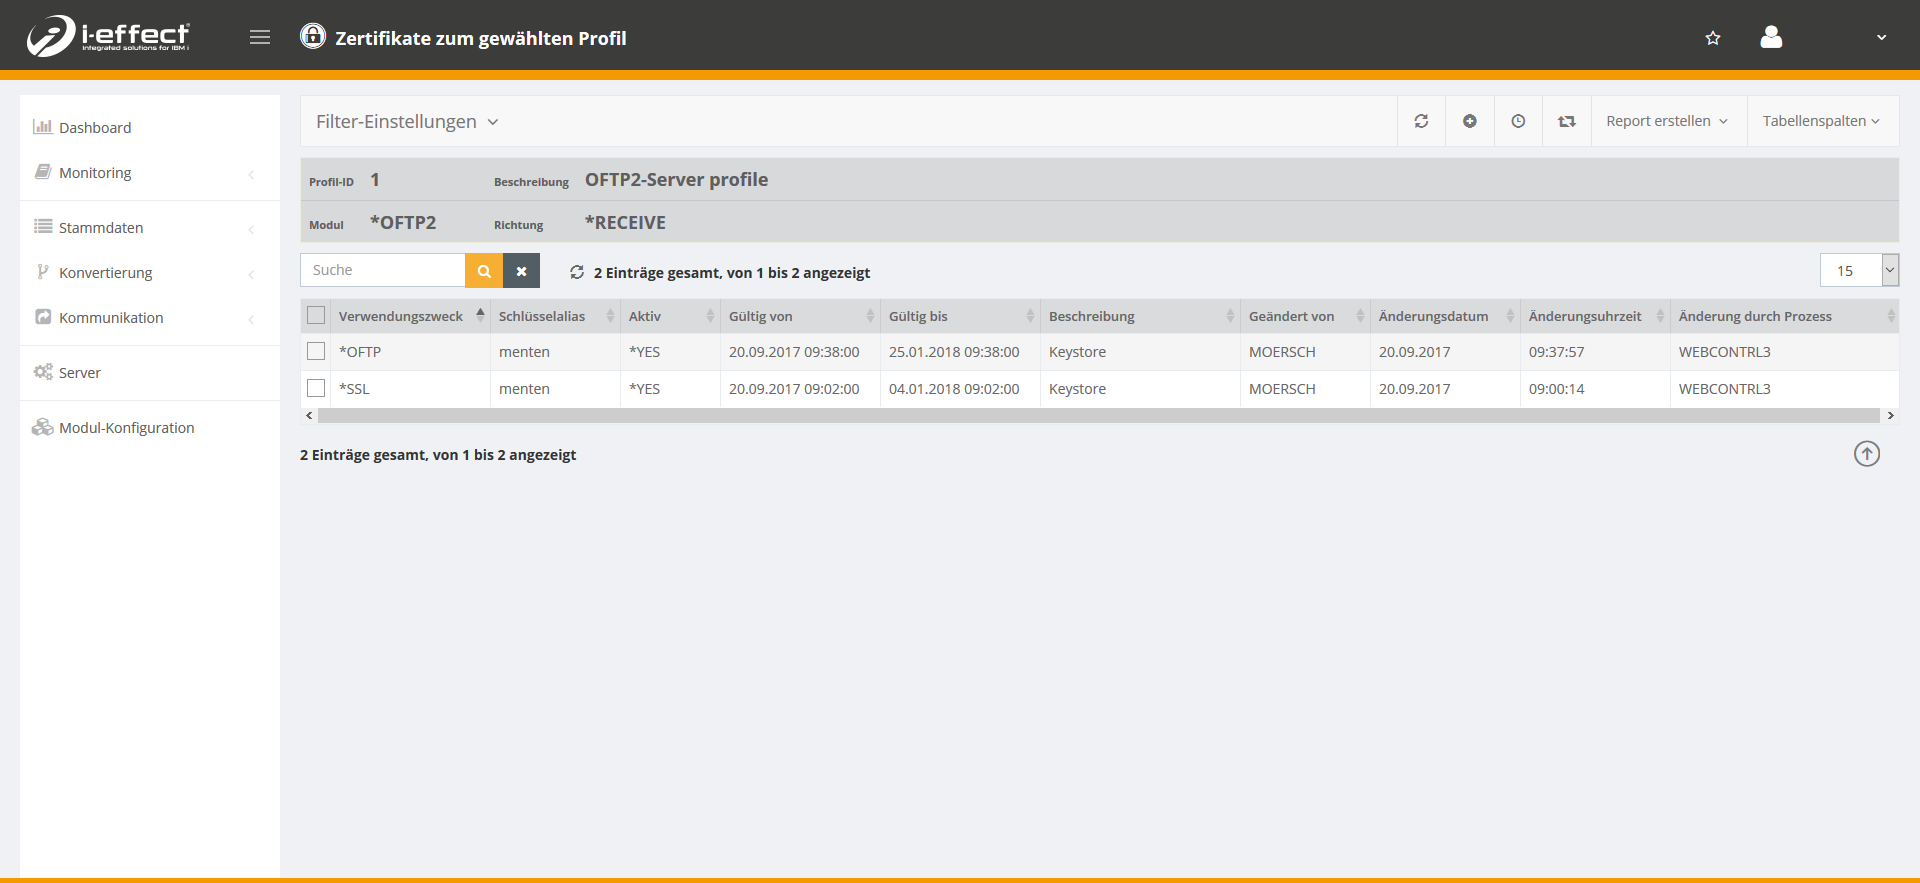
Now another line appears with the purpose *OFTP.
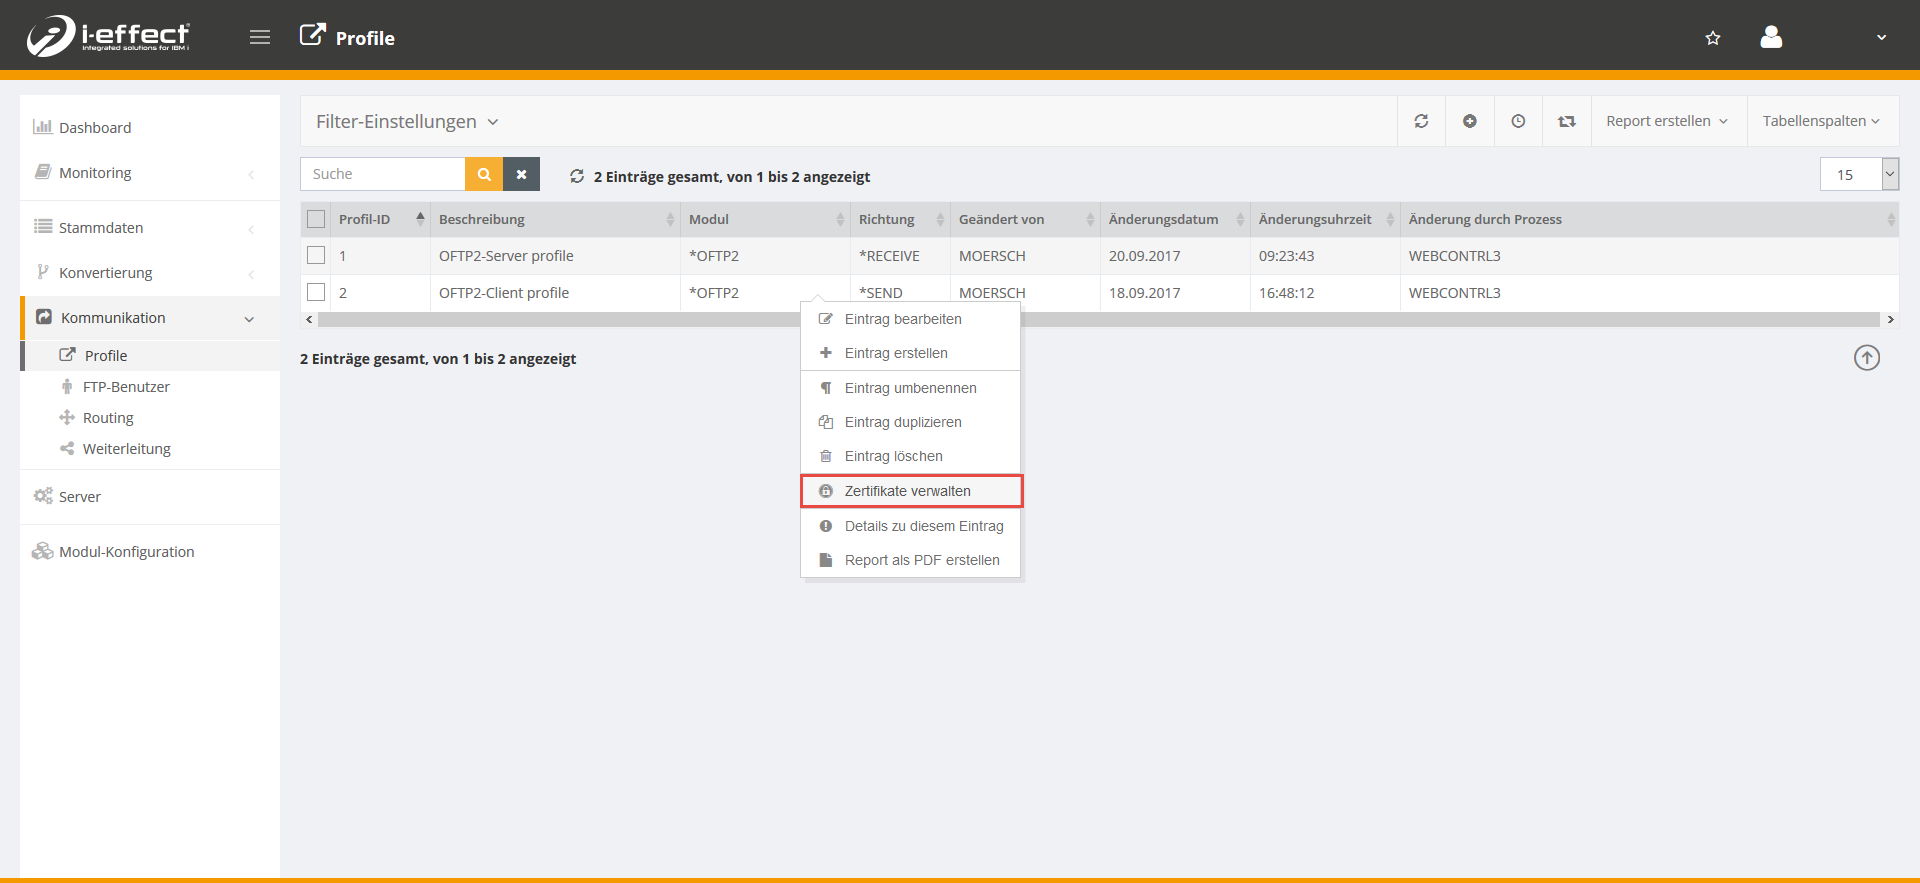
Step 2 - OFTP2 Client-Zertifikat einrichten und sichere Authentifizierung aktivieren
Open the menu item Communication → profiles. Select the corresponding client profile (*SEND) and right-click to open the context menu and then select manage certificate.
Now click on the plus sign to add a certificate to the selected profile.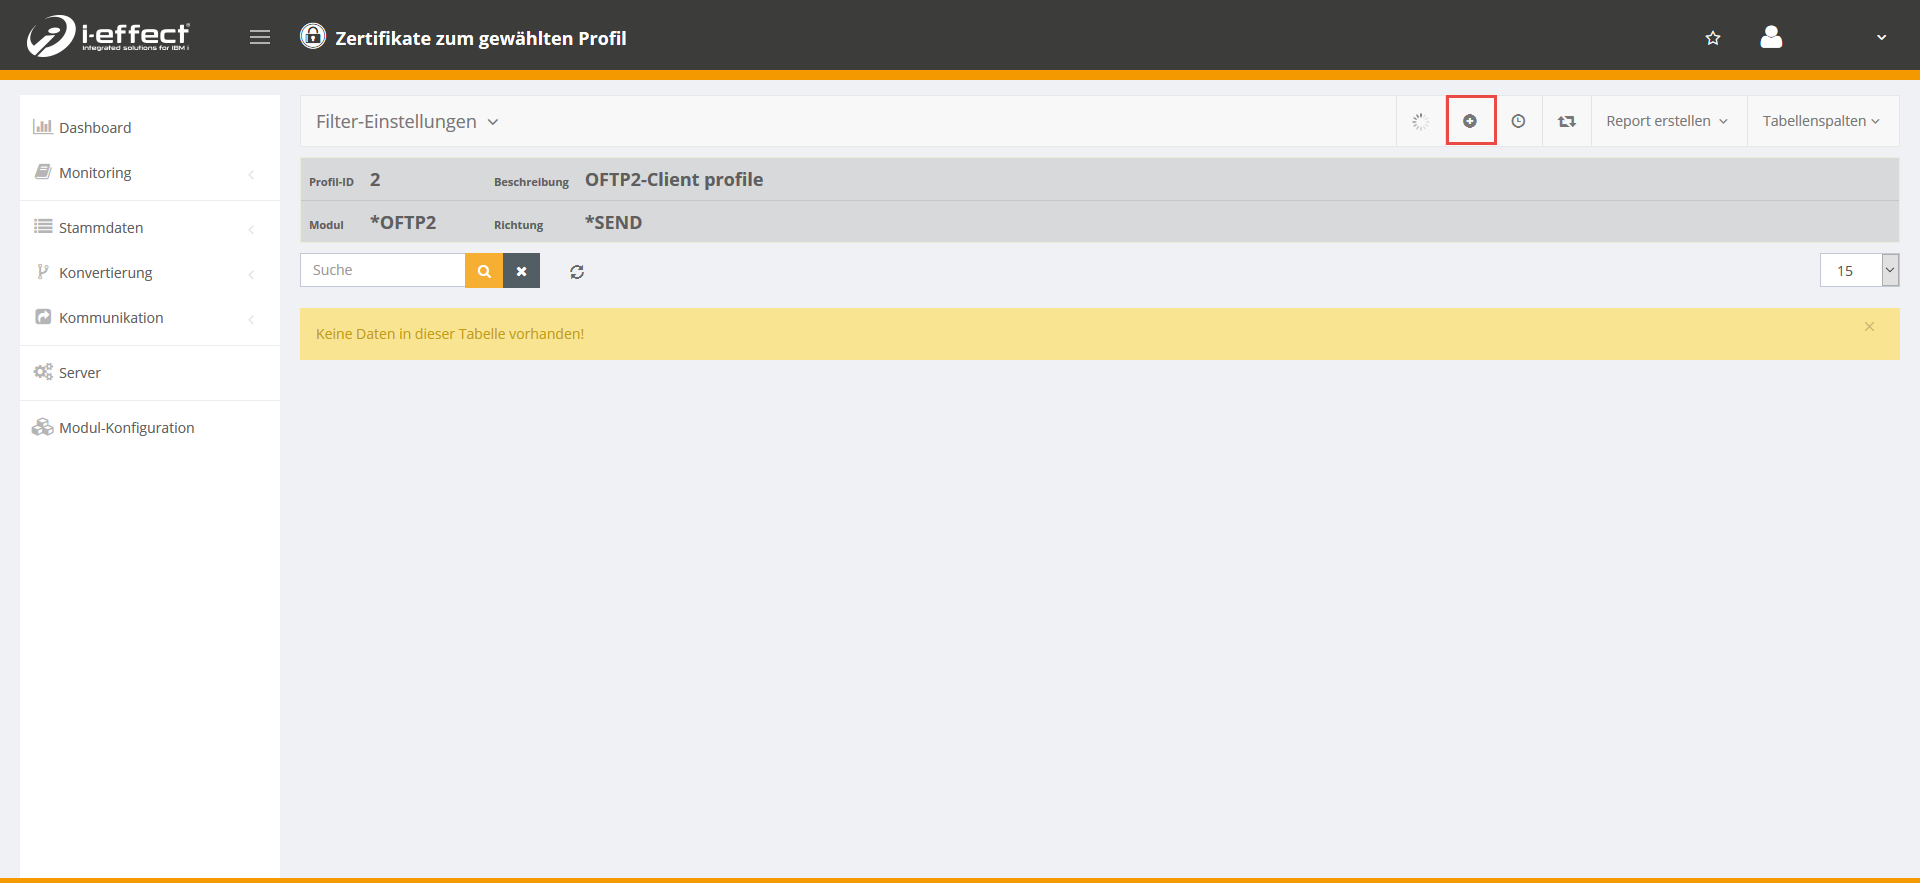
Select *OFTP as the intended use and enter the relevant data for your trust store. Then confirm by clicking Save.

Step 3 - Activating secure OFTP2 authentication
Go to the menu item Communication → Profiles. Select the appropriate client profile (*SEND) and open the context menu by right-clicking, then select Edit entry.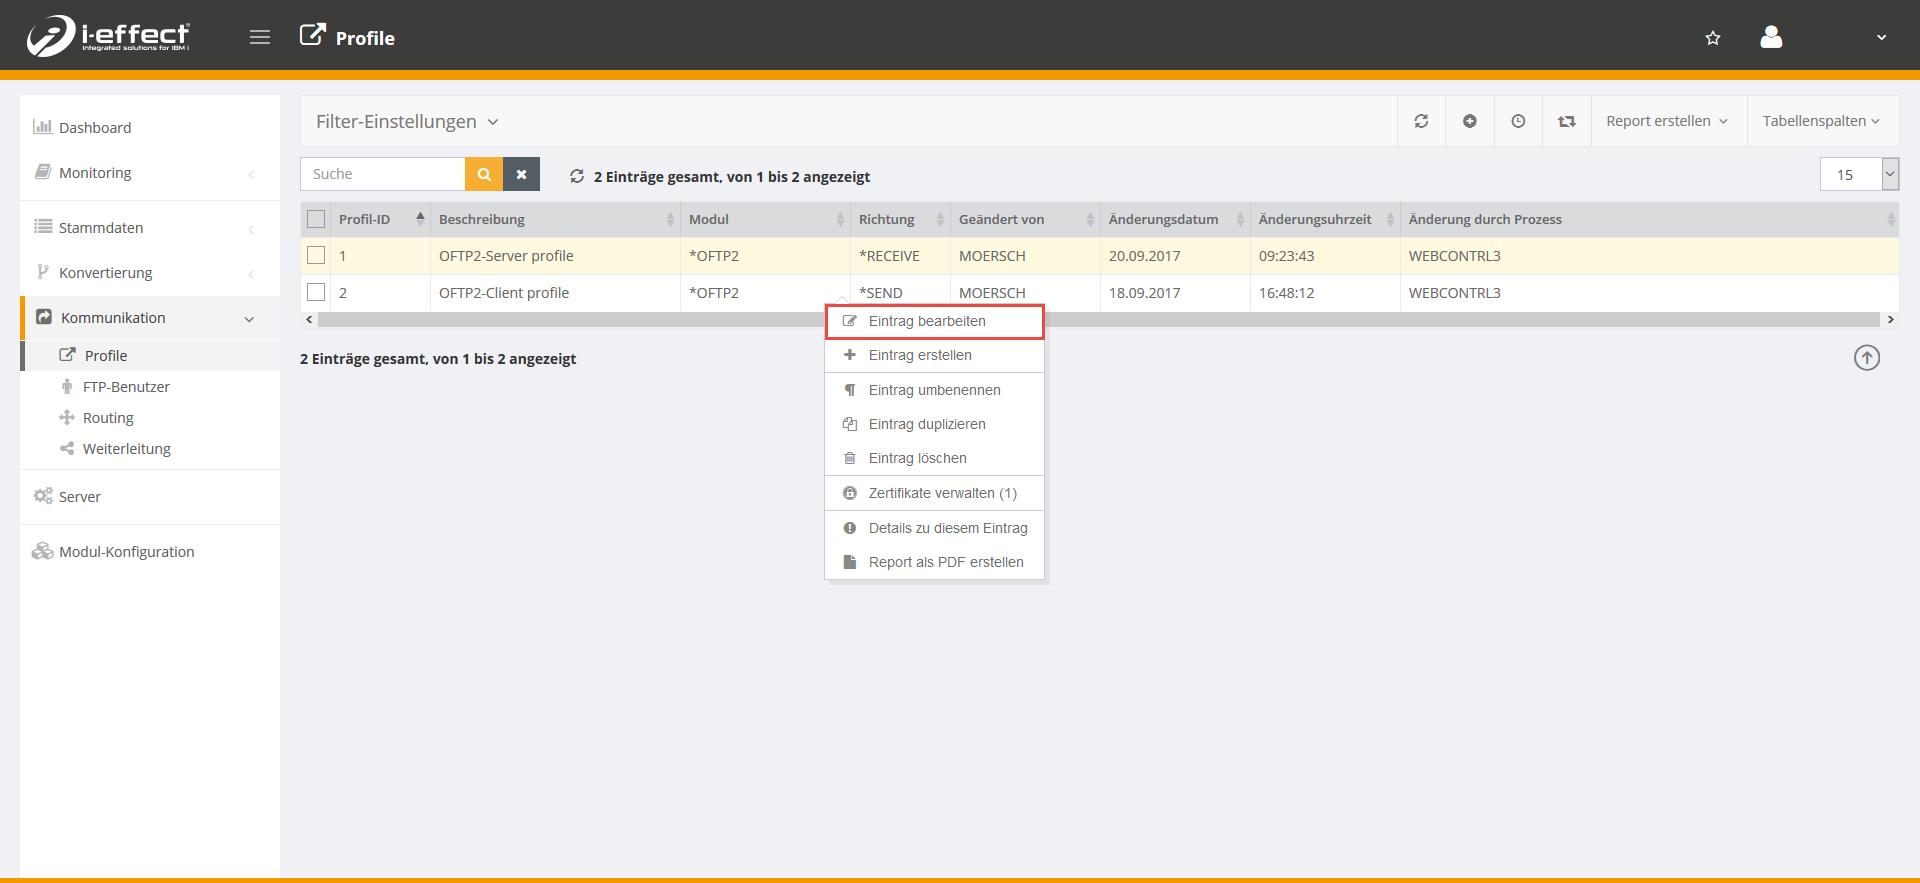
Scroll down until you reach the Secure Authentication setting and activate it by ticking the box. Then click Save.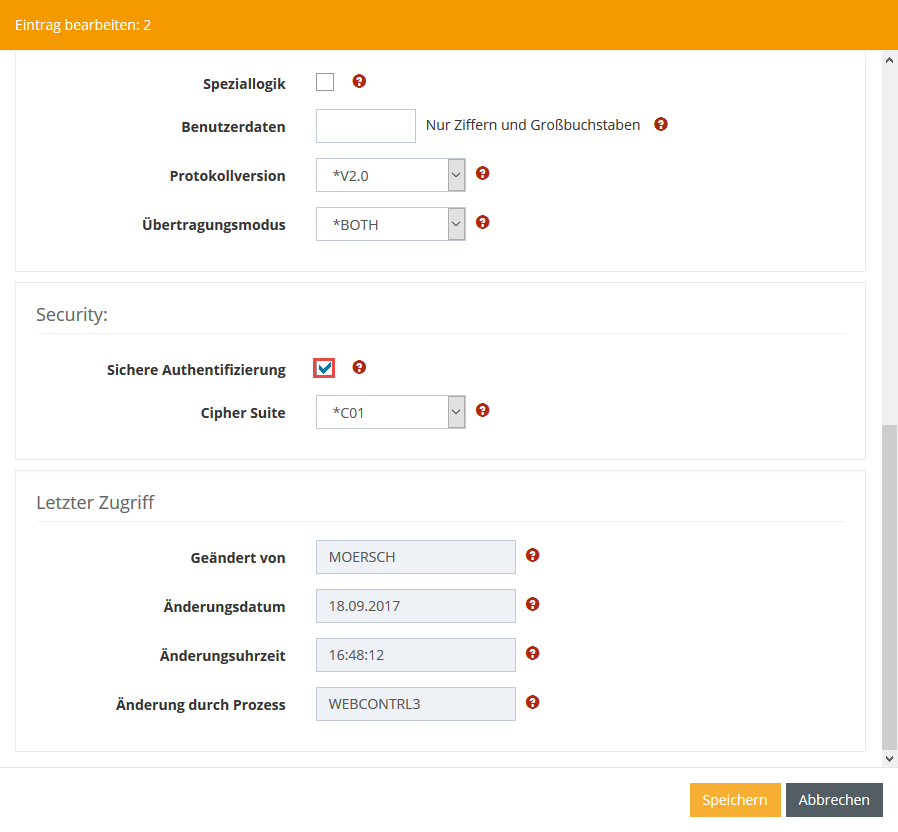
Step 4 – Secure sending and receiving
To enable secure transmission, add the following commands to the STROFTP2 command:
SIGNNOTIF(*YES)
SECLEVEL(*BOTH)
The command could then look something like this:
STROFTP2 PARTNER('Partner') PROFILE(1) FRMPATH('/tmp/test.txt') SIGNOTFI(*YES) SECLEVEL(*BOTH)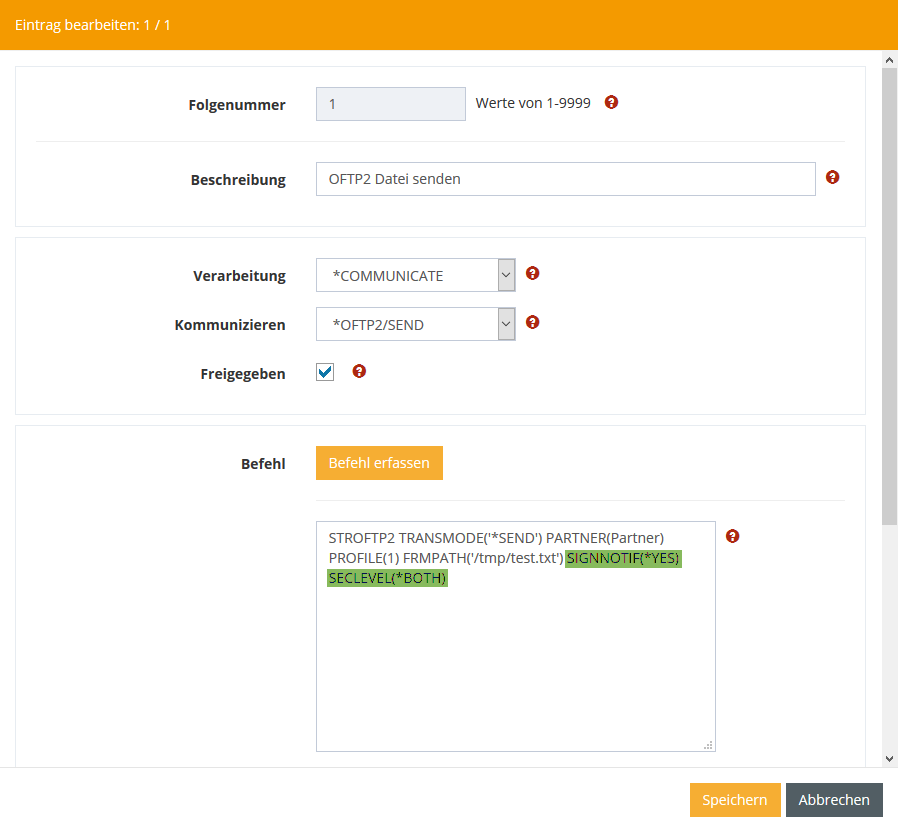
Further information on the STROFTP2 command can be found here.