Installation of i-effect *SIGG
If the requirements for the installation of i-effect SIGG signature server software are met (Java Edition 5 or higher, middleware) the installation can be started by calling up the file "Setup_VxRxMx_Bx.exe".
The setup file name of i-effect *SIGG can be interpreted thus:
- VxRxMx is the version of i-effect - the integrated solution for IBM Power Systems - with which the module i-effect *SIGG is compatible.
- Bx is the current Build number of the i-effect *SIGG module of this version. Newer builds have expansions or bug fixes of i-effect *SIGG.
Testing the Integrity of the Setup File
If desired, the setup file of i-effect *SIGG can be tested either with the CD/DVD or by the download area of the i-effect website.
We have provided an integrity verification tool for this purpose. This tool is found either on the CD/DVD or in the download area of our i-effect website.
To start the verification tool, double click on the file "i-effect_Prueftool.jar" and choose "Signature Validation" from within the program.

Open i-effect *SIGG's setup file by clicking on "sign.file".
After the setup file has been opened, open the verification tool through "Browse..." and click on "Validate". The signature file has the same name as the setup file and ends with ".pks".
If the test was successful, the following display will appear:
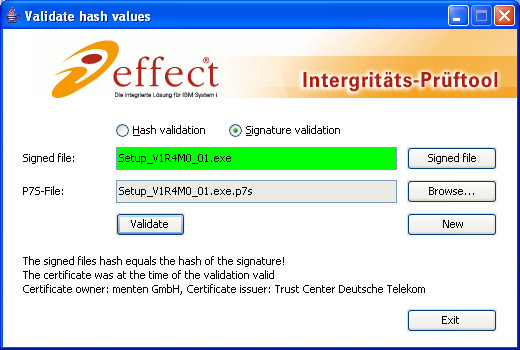
Information about the validity of the certificate at the time of the test as well as information about the owner and creator of the certificate will be displayed.
An unsuccessful test will bring up this display:
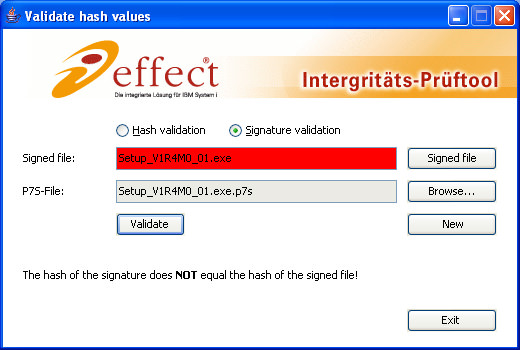
Verify if the correct files were used.
If the correct files were used, do not use this setup file for installation! Download the setup file again from our website or from the installation CD.
Note:
The software "D-SIGN" from D-Trust can also test the integrity of the setup file. This tool can test the online status of the certificate signature.
The software "D-SIGN Reader" can be found on the D-Trust's website (http://www.d-trust.net). Click on "Service" and then the link "kostenlose Prüfsoftware".
Installation of i-effect *SIGG
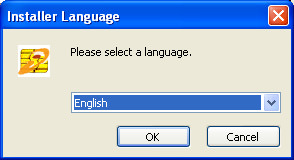
After i-effect *SIGG's setup has been started, a window where the setup language can be chosen will appear.
Choose the desired language or confirm the default setting by clicking on "OK".
The welcome message will give instructions for the installation of i-effect *SIGG.
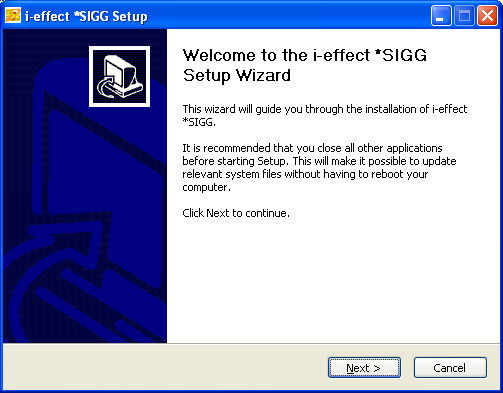
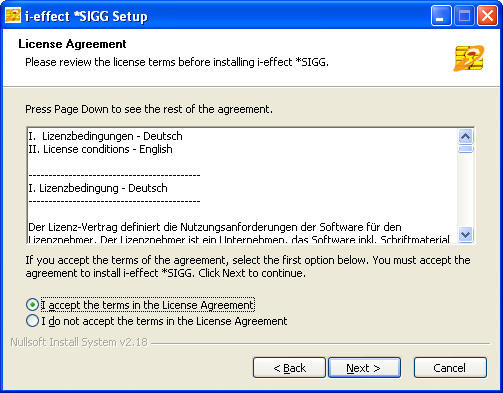
In the next dialog, the license conditions will be displayed.
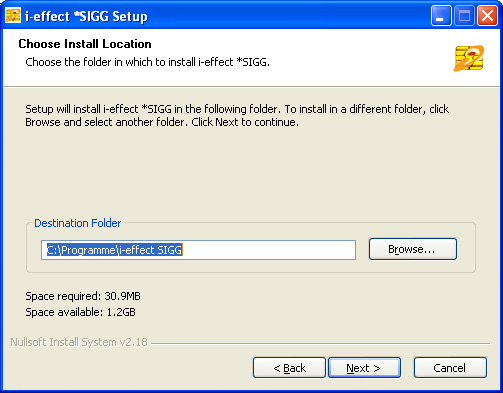
In this window, the install directory can be chosen manually.
We recommend the default directory path for the installation of i-effect *SIGG.
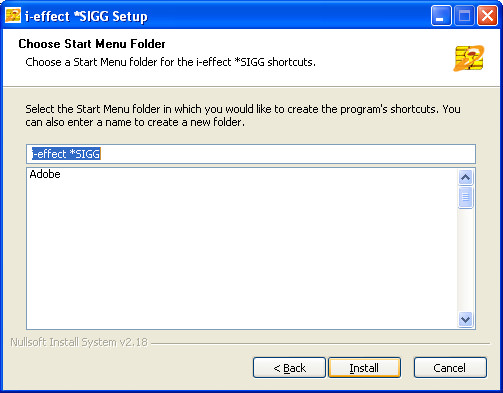
After the installation path has been determined, the start menu entry of i-effect *SIGG can be assigned.
The installation starts after "Install" has been clicked.
After the installation is complete, an overview of the actions that were performed will be shown.
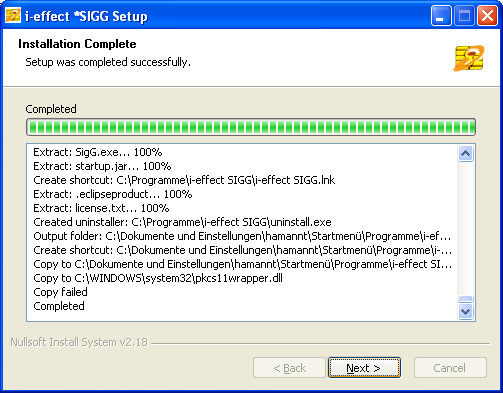
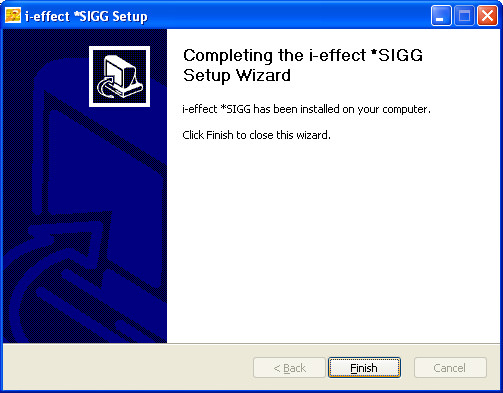
After installation a dialog will appear. Click on „Finish" to end the installation program.
