Mapping connection of source and destination
After you have successfully created a new mapping file .map, you now learn how to create your first mapping group (an example is the previously created mapping from EDI to DB).
Establishing the first source-destination connections with Drag&Drop
Step 1:
To do this, please select any item from the source module. In this example the data element 1004 is used from the BGM of a ORDERS D93A.
Step 2:
Drag this element now using Drag&Drop in the source area of the mapping: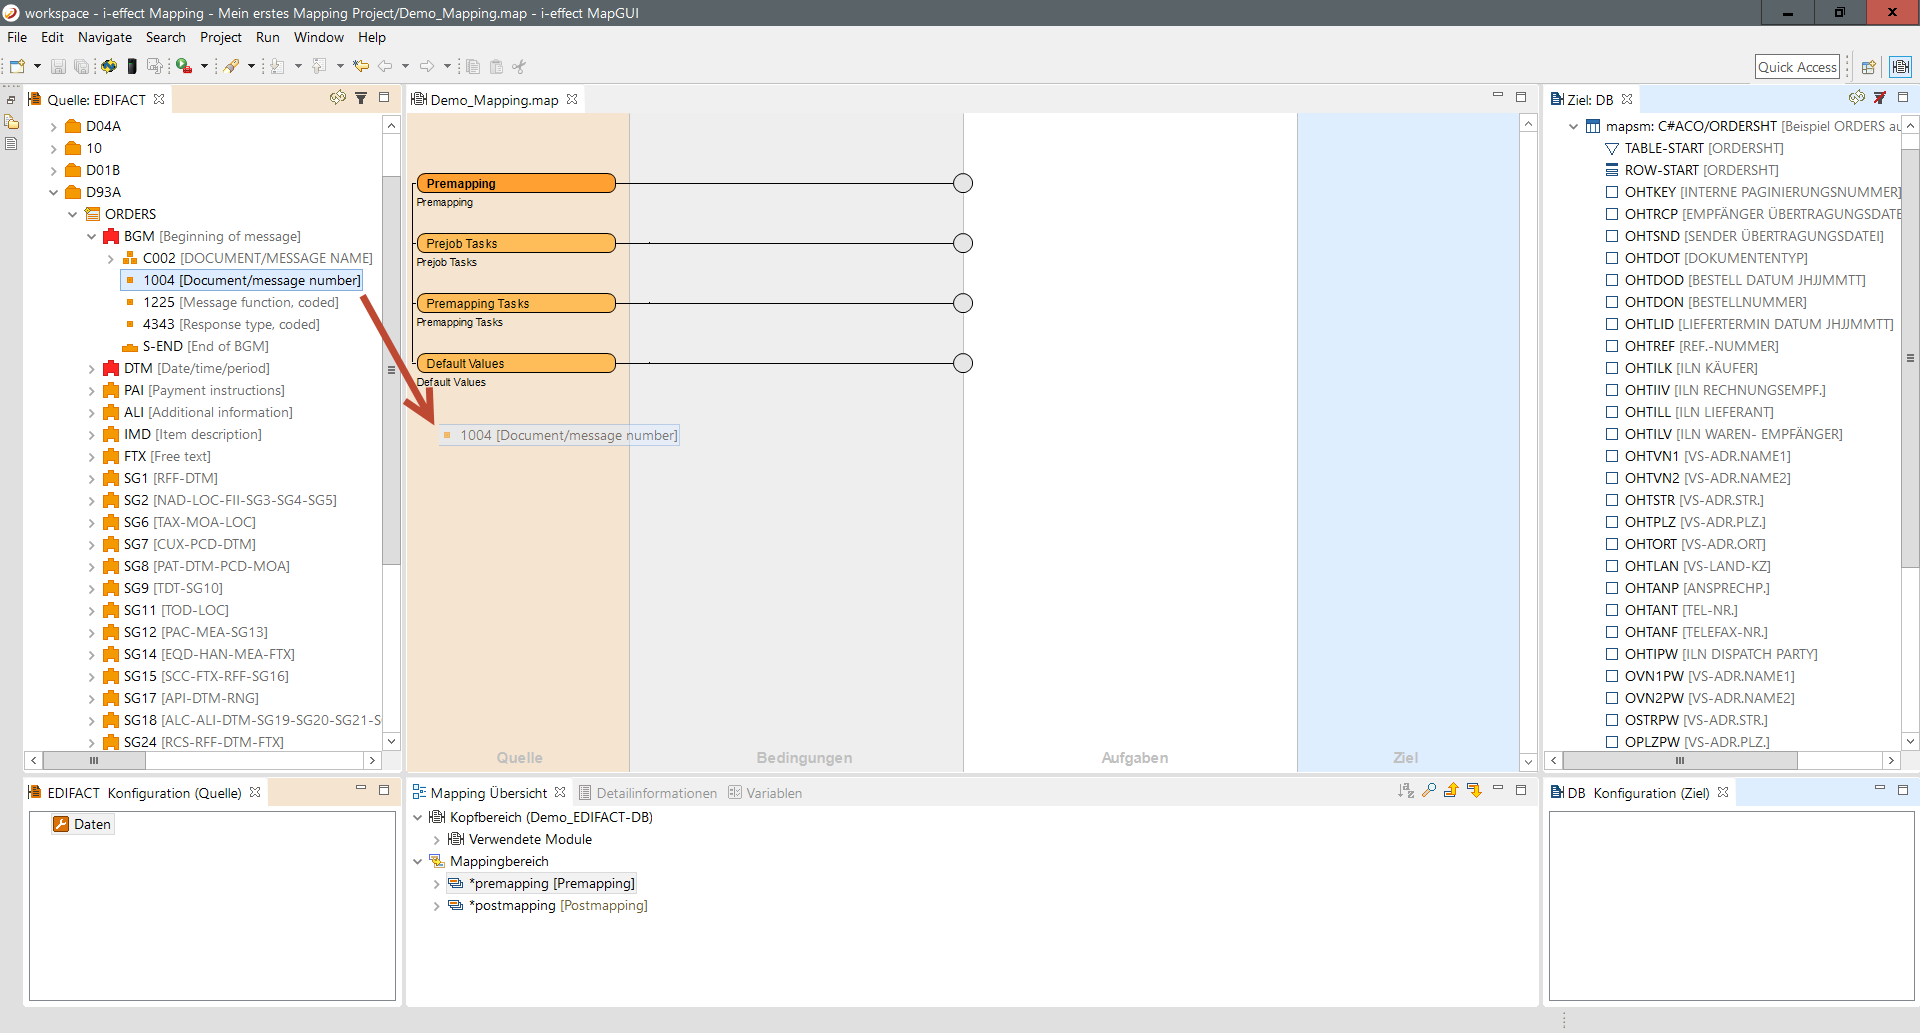
Step 3:
By dropping it, the group field 1 is created and the actual data element 2 is added. 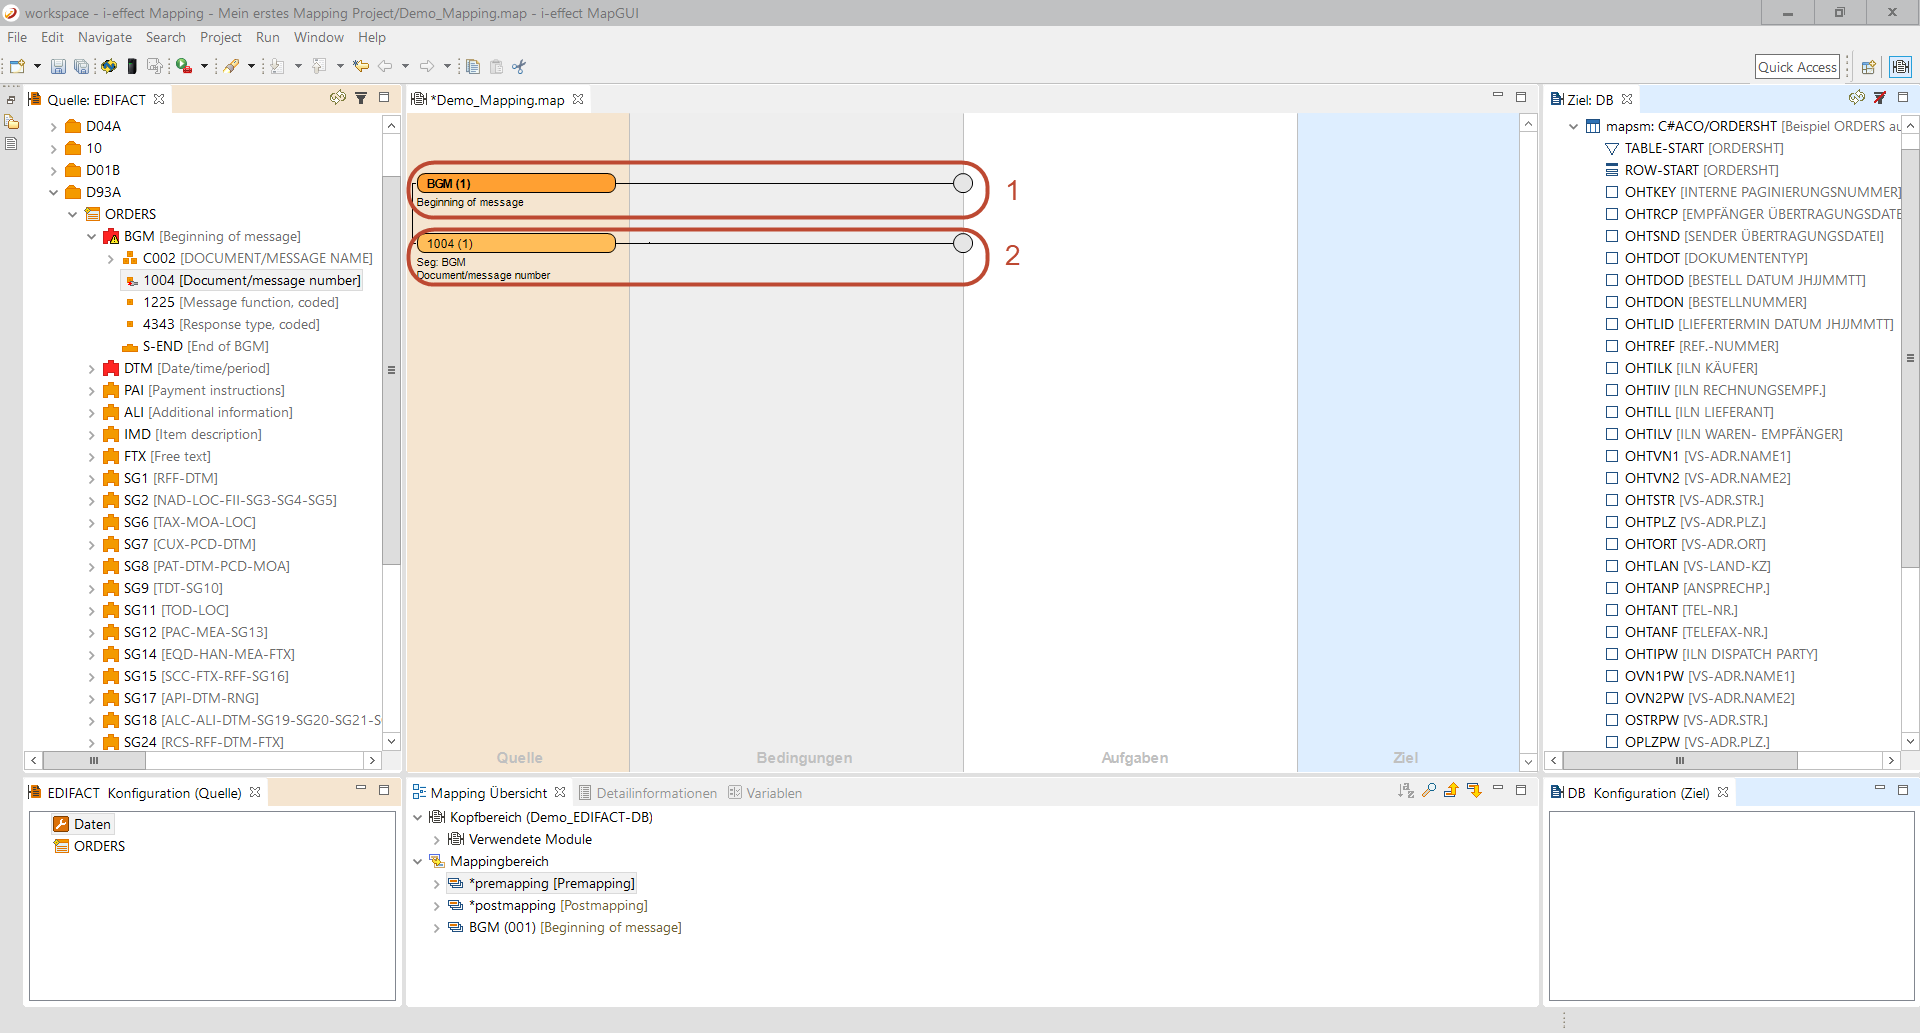
After the fields have been created the editor will test the status of the mapped elements and change them to the new status and displays the changes using the module overview. In this case, the editor recognizes that the source view elements were mapped. The test shows that element 1004 is not connected. The corresponding Icon was set.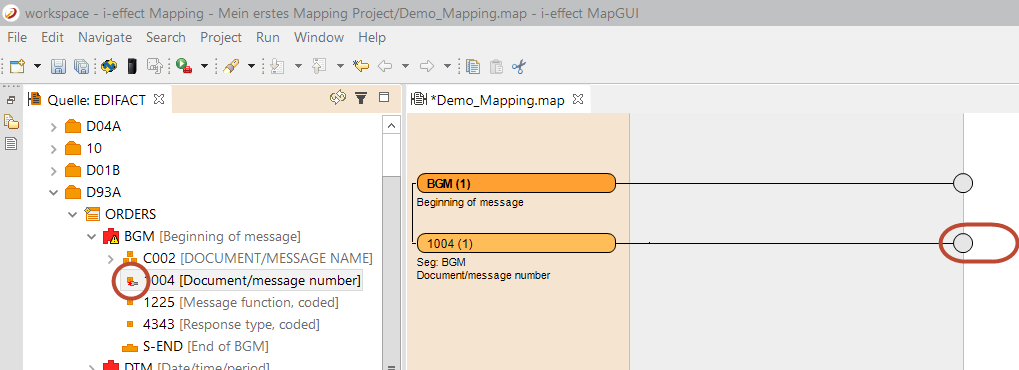
Step 4:
To correct this abuse please connect the corresponding target field with the node 1004. Here, you proceed exactly as you haver already done it with the source module. Drag the database field using Drag&Drop to the node.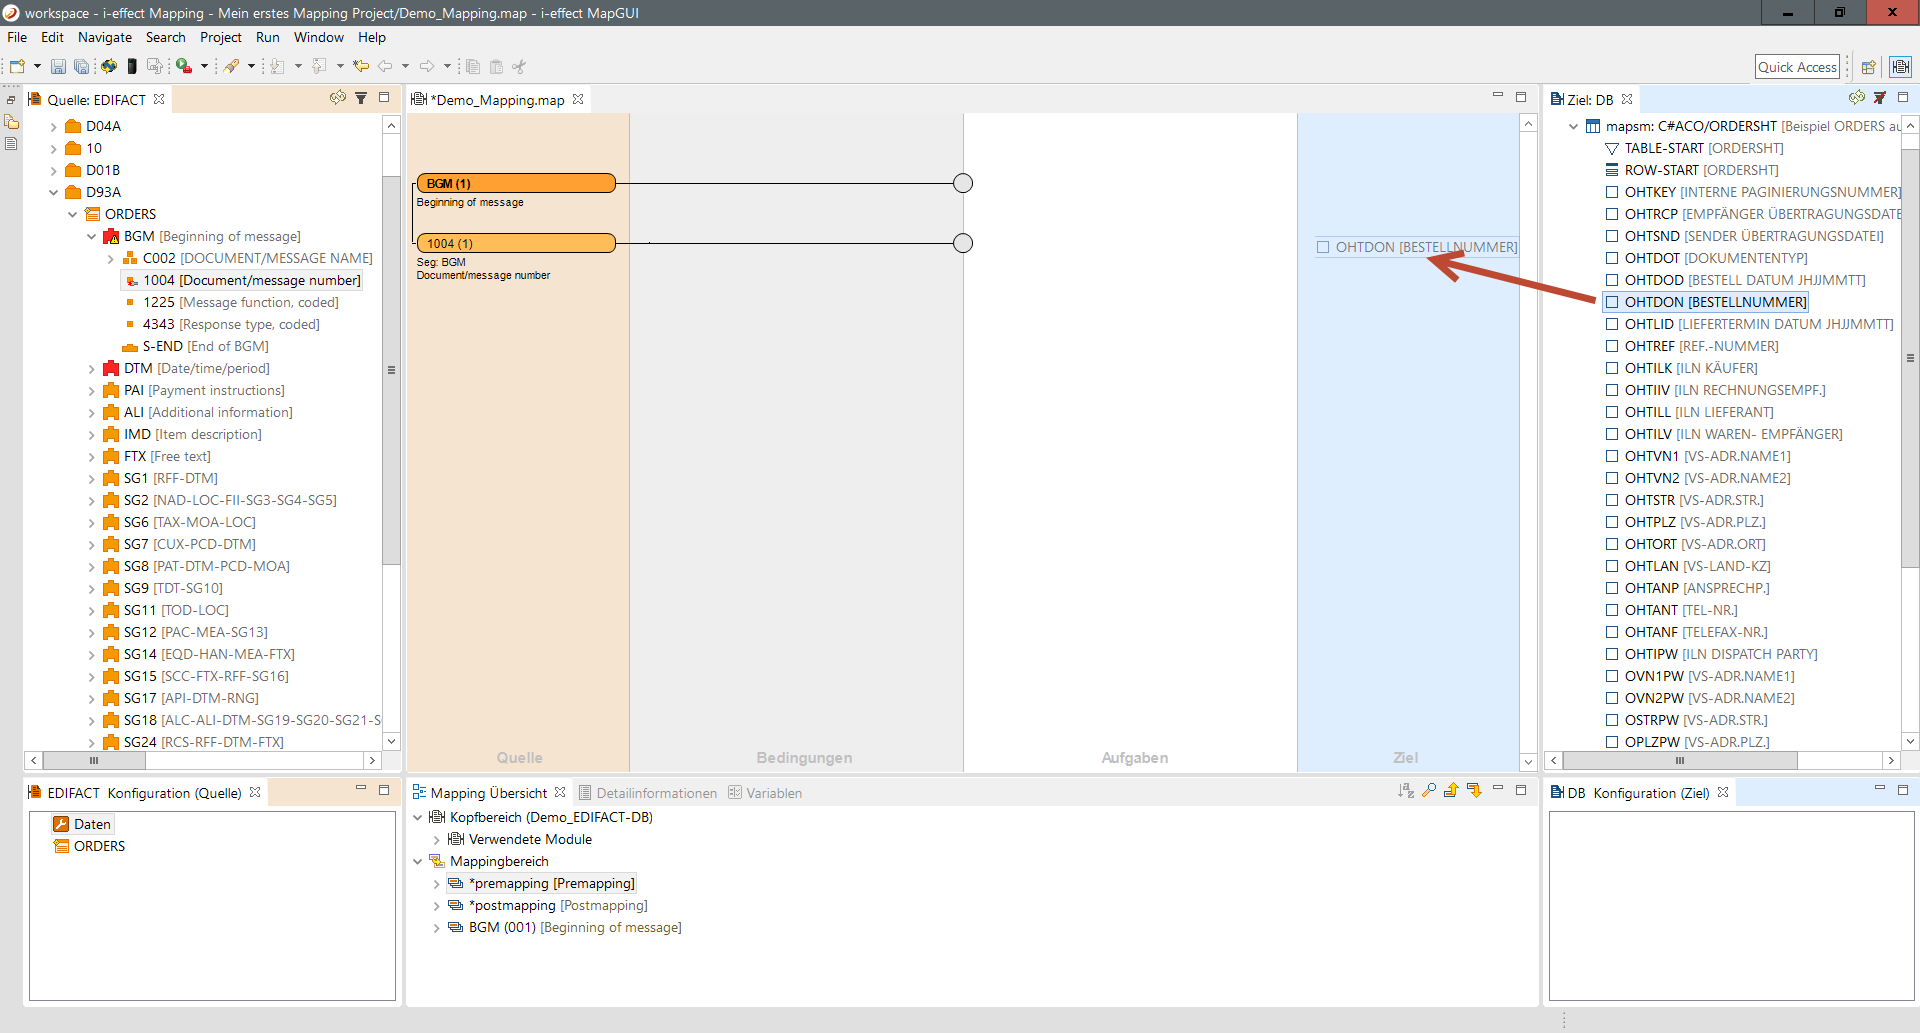
Step 5:
After you have connected the two data fields, these are displayed as successfully mapped: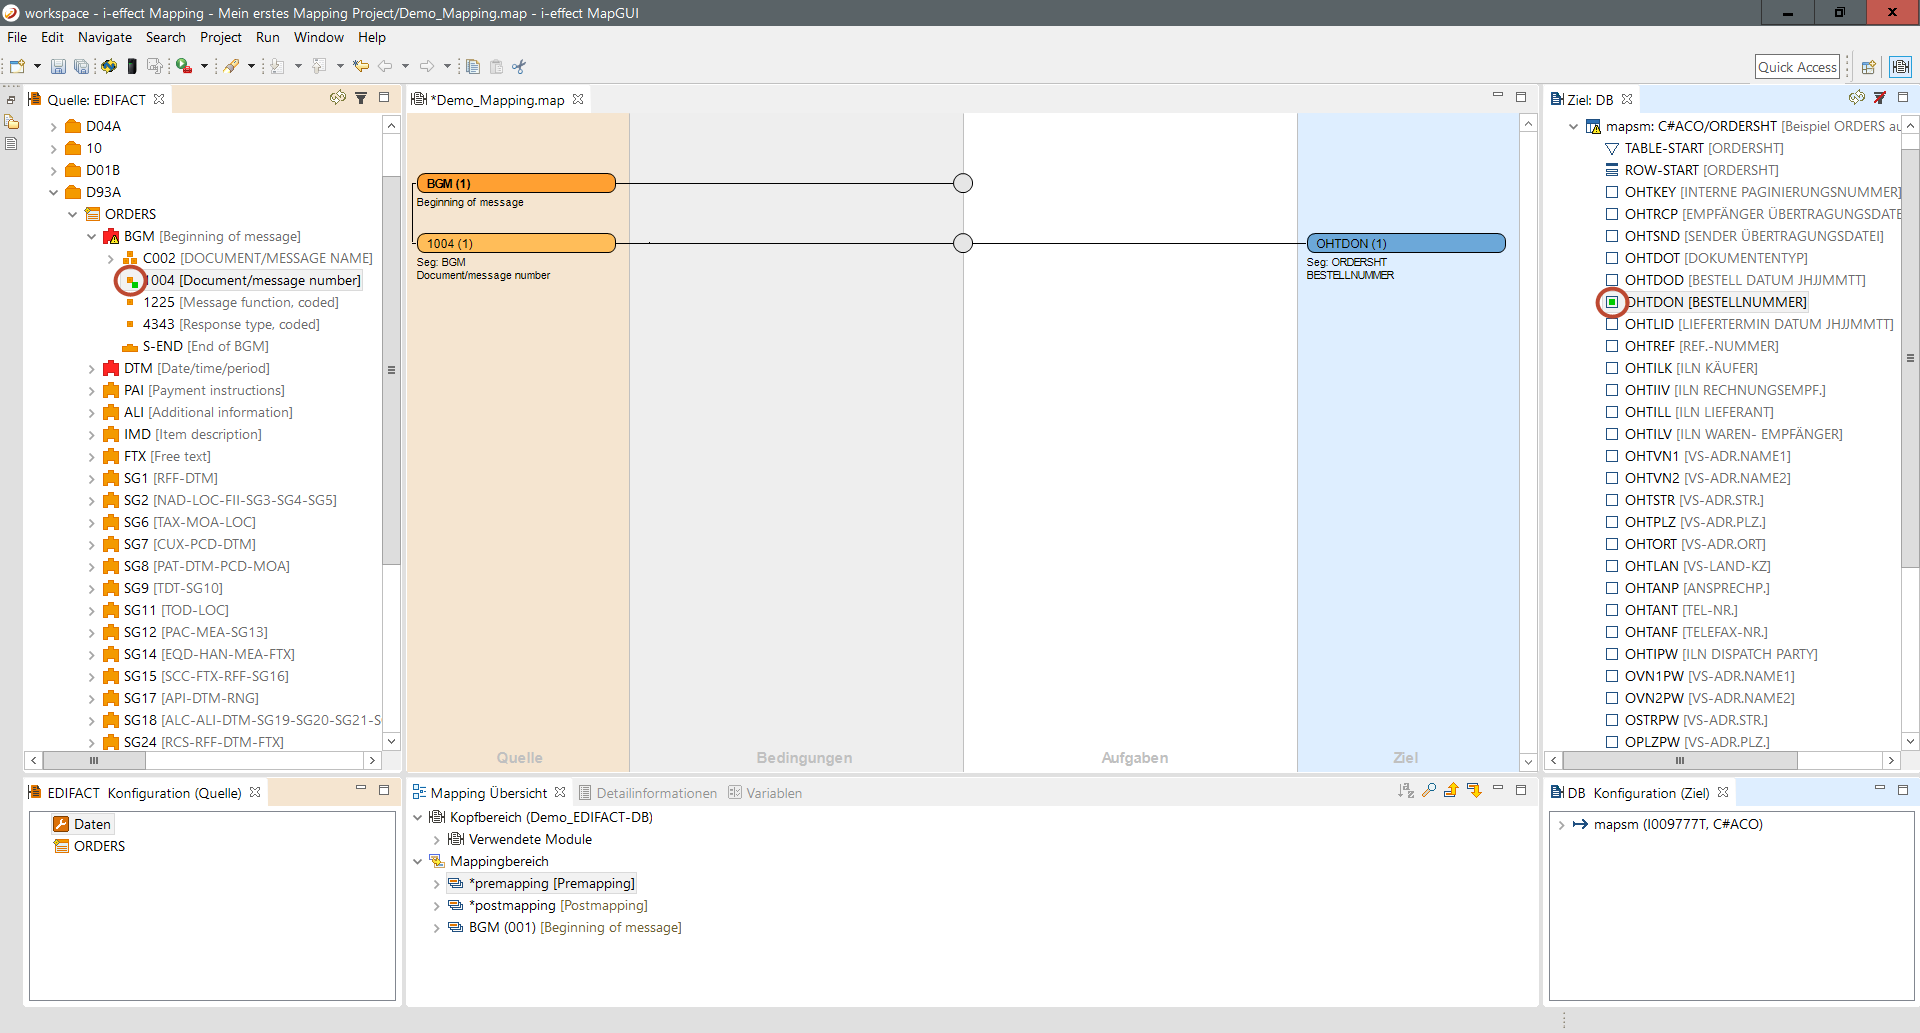
Multiple source-target connections in a mapping group
Of course mappings consists of a plurality of different fields which need to be mapped. These fields often belong to certain groupings. In this example the BGM is one of this groupings. To simplify the overview in the mapping, data elements of the same group are stored together (if this is desired). The following example illustates that:
Step 1:
Drag, after the field 1004 (see above) has been mapped, another data element from the group BGM in the existing mapping. For this, we now use the element 1225 (Message function, coded).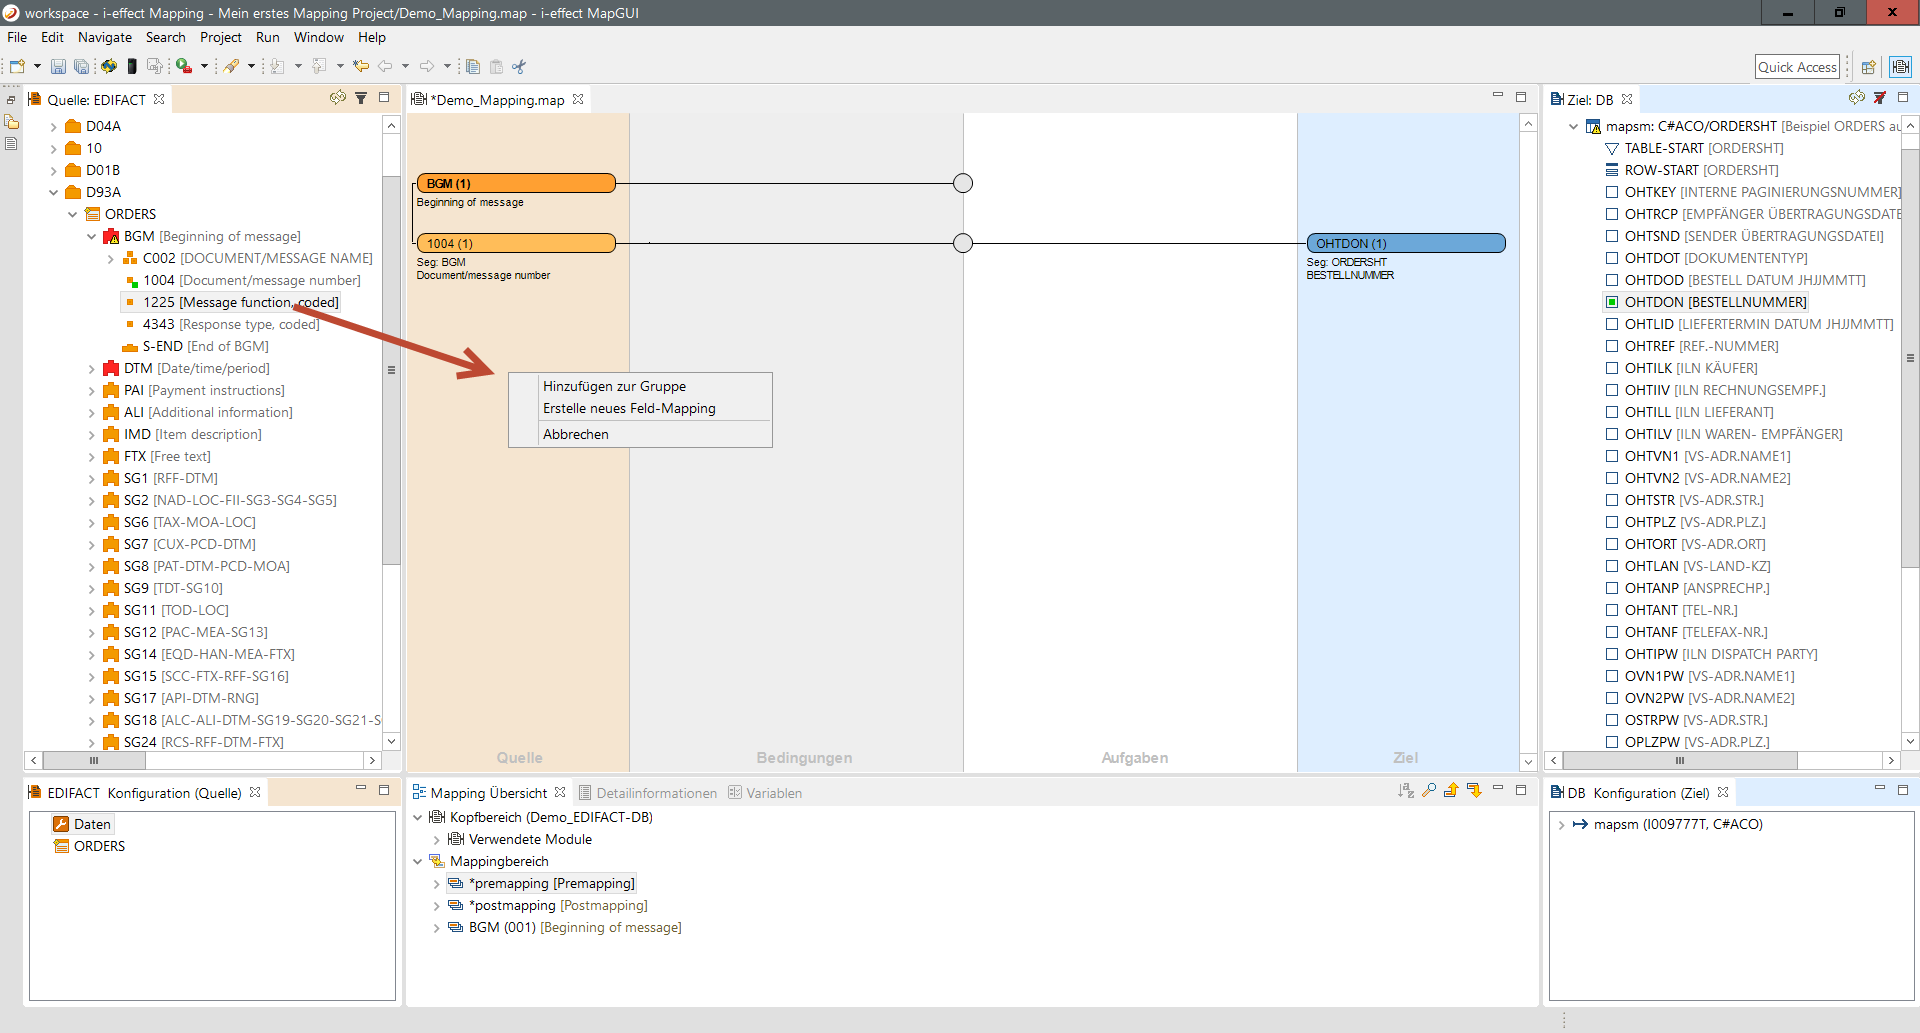
Step 2:
You will be prompted o decide if you want to add the field to the group. This would look like this.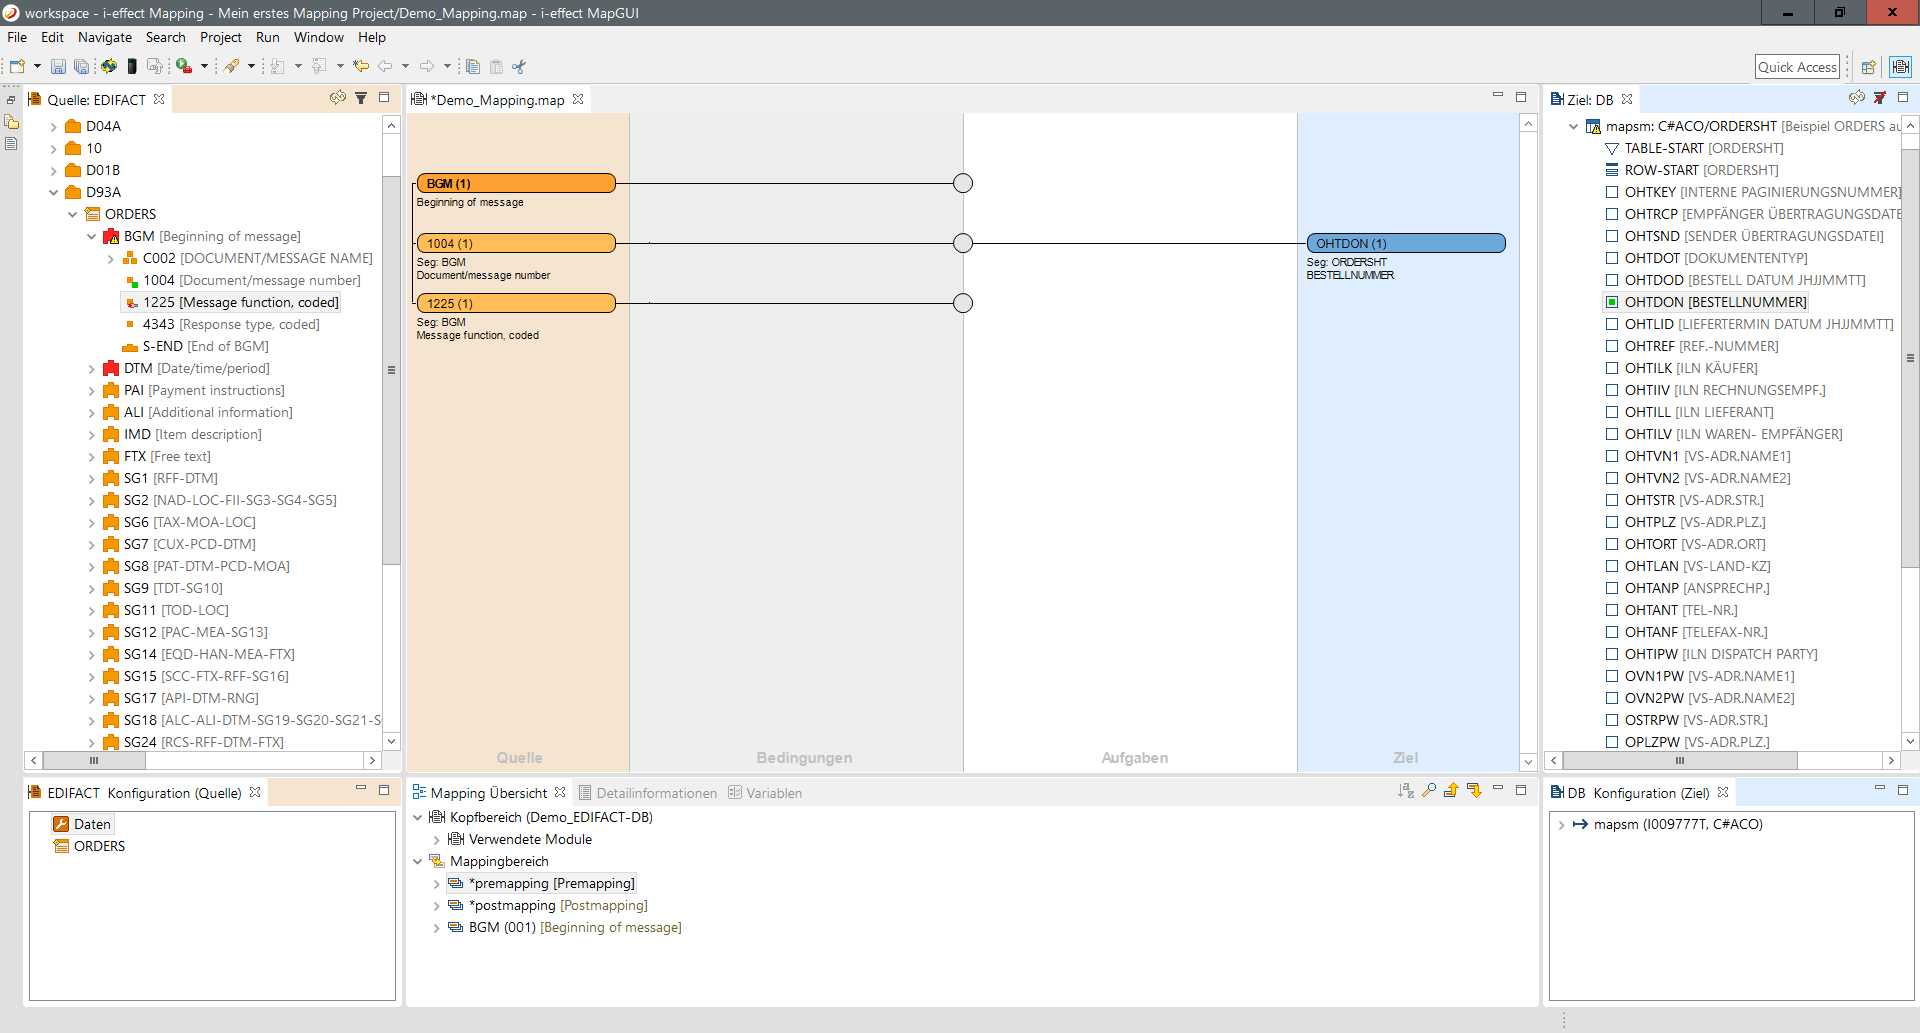
Step 3:
Or create a new field mapping. Now in this case you would have a new - second - BGM group which you would see isolated in the mapping overview. 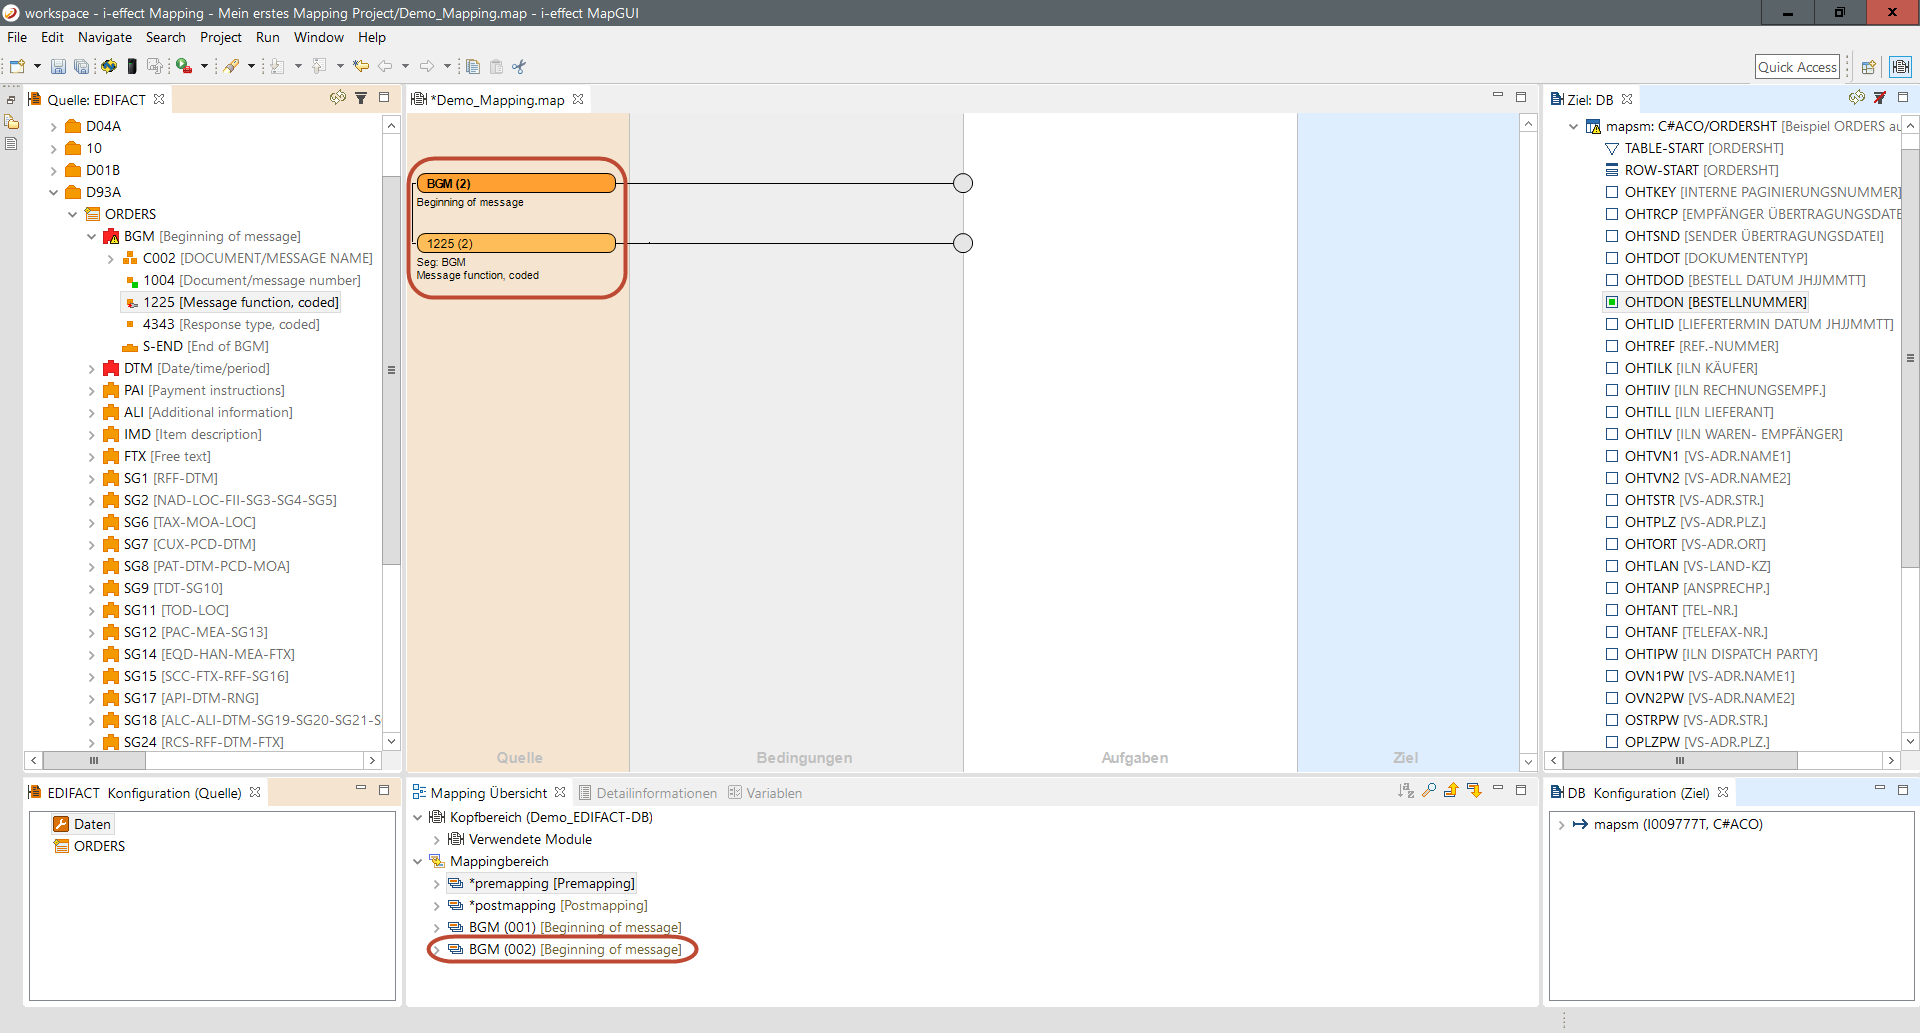
The difference again briefly explained:
| New Field Mapping | The field will not be taken into the current mapping field, but a new one. This new field appears in the mapping view. Elements of the same group are shown as separate. |
|---|---|
| Add to Group | If an element logicalls belongs to the open group 1225 and 1004 of the BGM, they are written into the samen mapping field. |
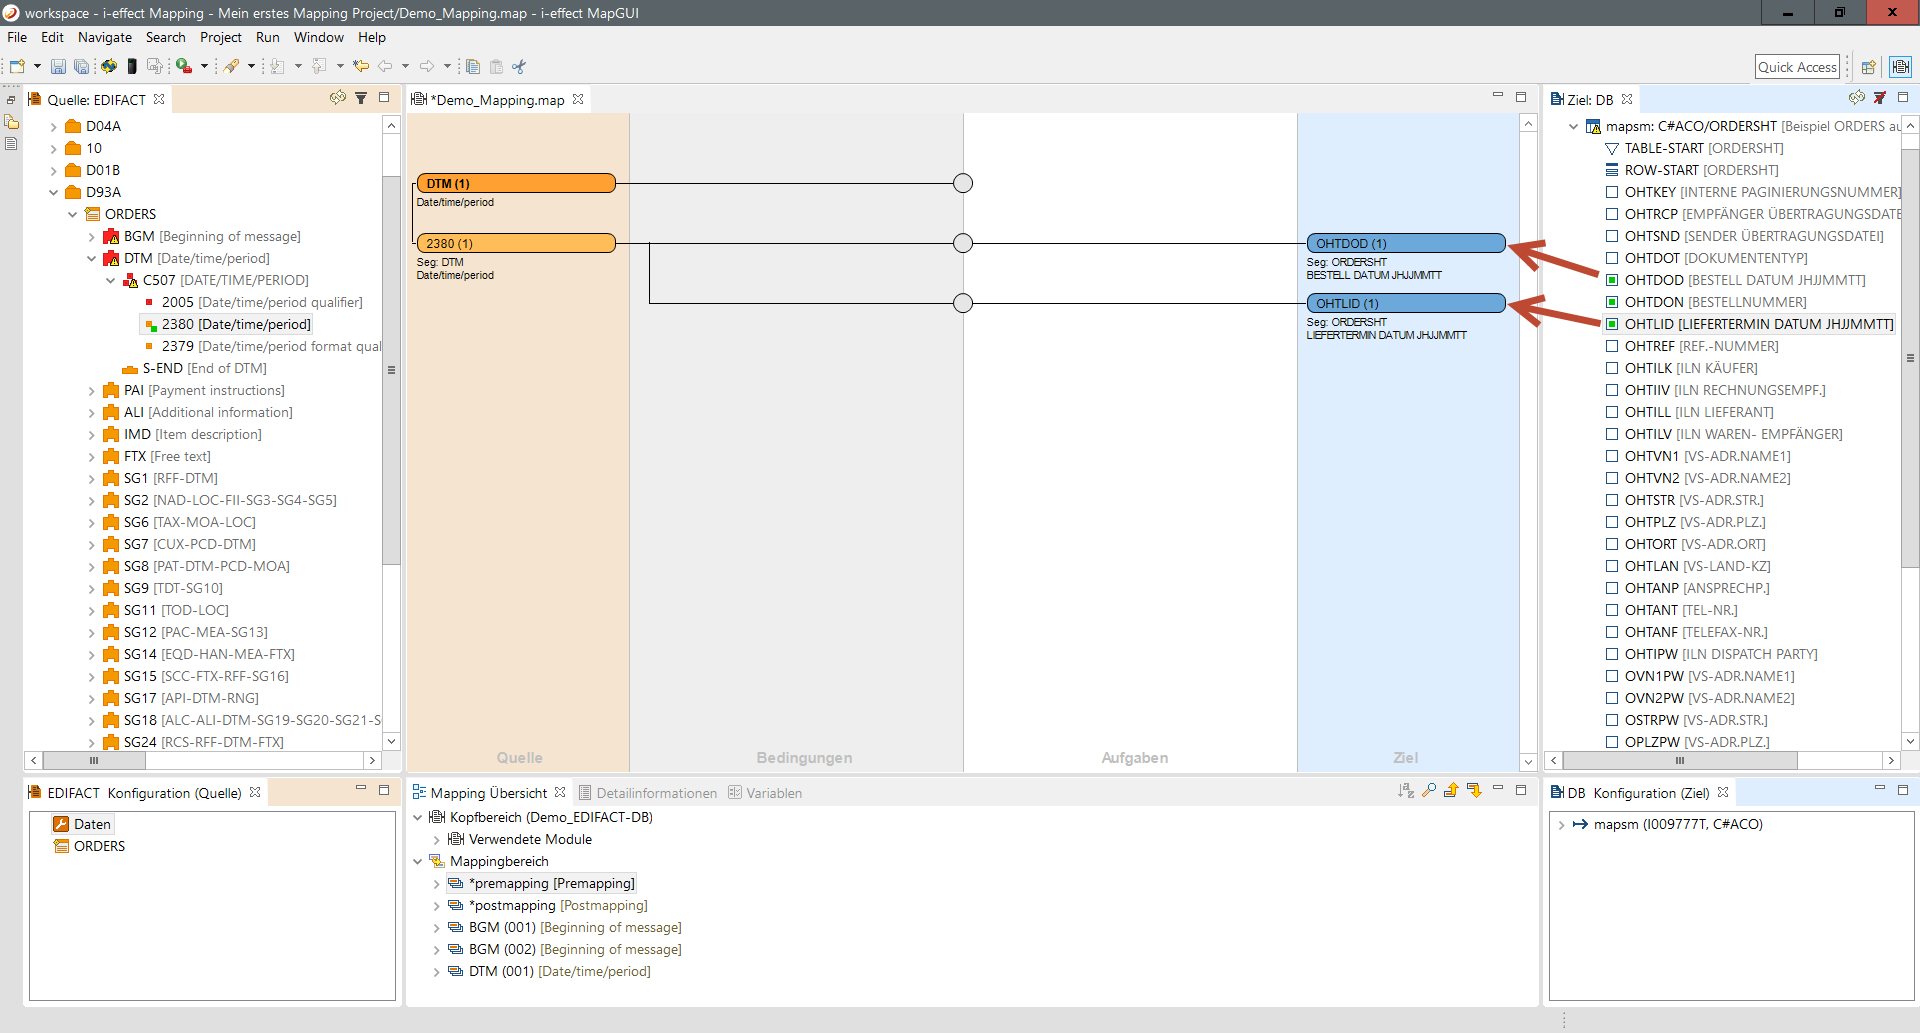
Connect a source date element with two or more target file elements
It happens quite often that a field from the source needs to be written into multiple data of a target. In the mapping this can be easily solved. The example shows on the basis of the data element 2380 DTM how you map two target fields:
Step 1:
Therefore drag the data element 2380 into the mapping area.
Step 2:
Then connect the node to the first desired data element of the target module.
Step 3:
Then simply drag another item under the previously mapped element. You can see that this element immediately connects with the privious (A source can be connected with multiple target fields. If you want to assign a target element to a specific source you need to drop the target element in the height of the line of the source field with which the target should be connected.
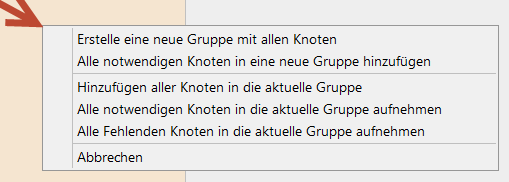
As an alternative to a single data item a group of elements can also be dragged and dropped into the source area. If a group can be dragged into the editor, a context menu will appear asking if only elements marked required should be inserted or if all elements of the group should be. It is also possible to cancel the action.
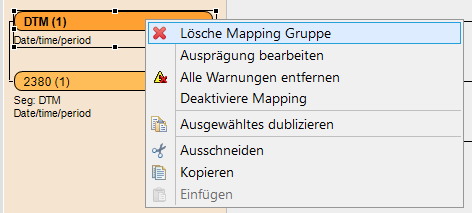
Deleting Elements
Right clicking on a field opens a context menu that offers deletion options:
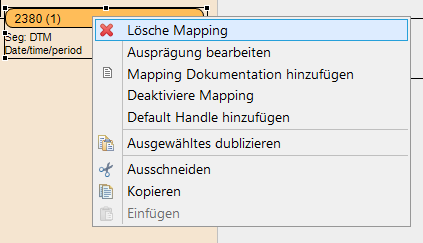
Depending on the type of field, the text of a menu item is adjusted. Alternatively a choosen field can be deleted with the delete key.
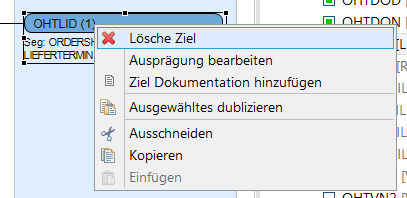
More than one field can be deleted by marking them with the mouse and pressing the delete key, which will delete the fields and their connections.
The deleted element's status will be refreshed in the source or target view and the relevant elements will receive a new icon.